One of my least favorite things about cookie decorating is writing on cookies.
Yes, I can make it legible.....but I'm never happy with it.
I don't know if it is because of my dislike of my handwriting......
the consistency of glaze.....or just pure laziness on my part.
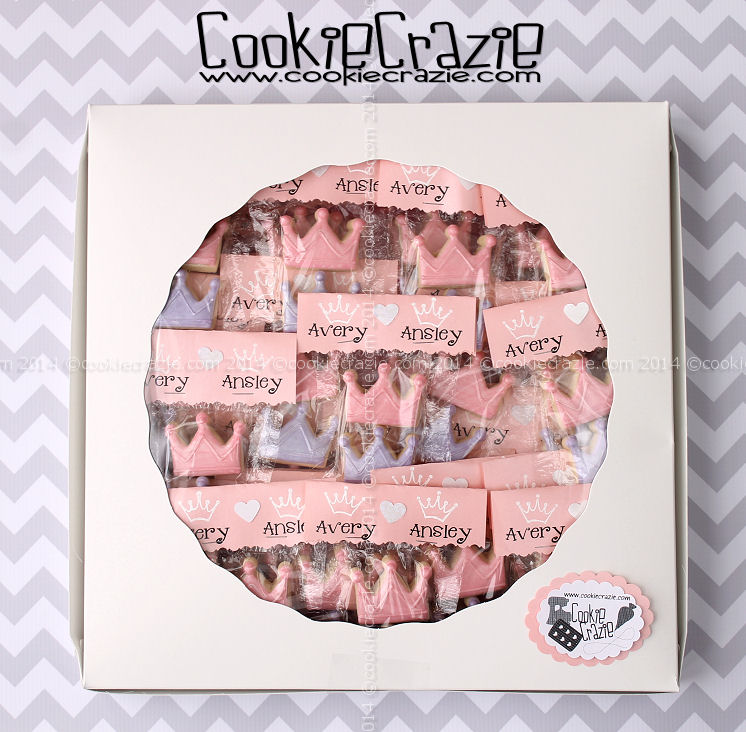
When my sweet friend asked me to make 32 cookie favors for a baby shower
for her twin granddaughters.......
and asked me to write their names on these 1" crown cookies over and over again.....
I knew I had to find a better solution!
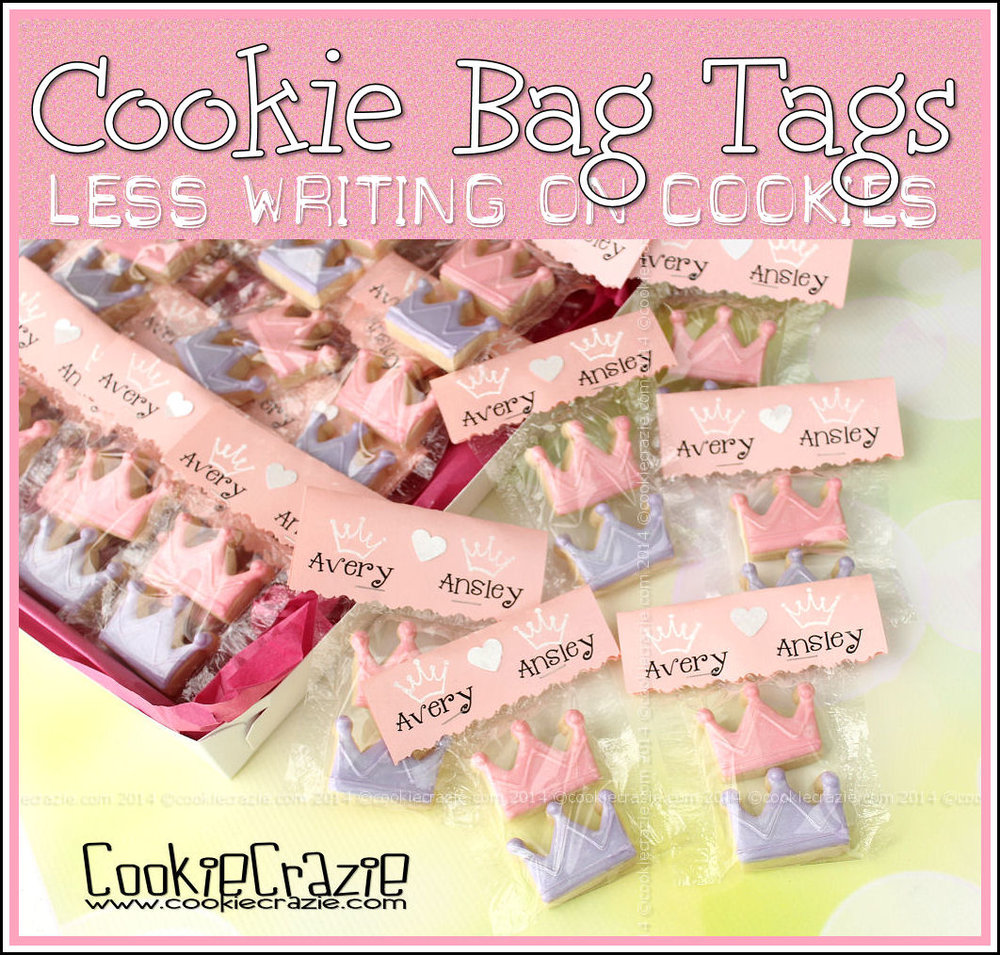
Cue the bag tags.......
Hurray! A solution to make both of us very happy.
Keep in mind....you can personalize bag tags ANY WAY you want.
(And trust me......you can really spend some $$s if you're not careful!)
I'm just sharing the way I happened to do it for this particular project.
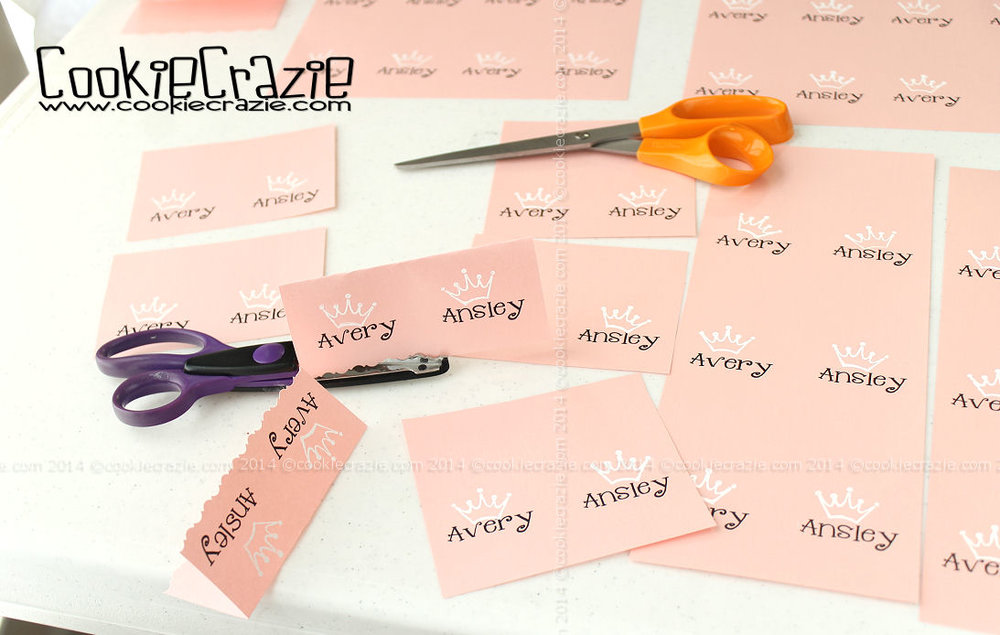
Here's my pile of supplies....
- 6 sheets of Pink 8x11 Scrapbook paper (8 x 11 for easier printing)
- Crown Rubber Stamp
- White Ink Stamp Pad
- Fancy-Edged Scissors
- 1 sheet (12 x 12) of white pearlized scrapbook paper
- Heart Paper Punch
- Glue Dots (not in photo)
- Stapler

Since I was decorating pink and purple crowns for the girls.....
it made since to make the tags pink.
I found the prettiest pink/pearl/shiny scrapbook paper at Hobby Lobby.
After experimenting with the printer,
I managed to print the girls' names to make six bag tags per sheet.
I printed the names in black......and then used a stamp with a white ink pad
to stamp a crown over each name.

I cut out each tag with regular straight scissors,
and then went back and cut a fancy bottom to both sides of the tag.
Not shown in the photos is how I used glue dots to put a cute shiny heart
in between the names on each tag.
I used the heart paper punch and the white pearlized paper.
I heat sealed my cookies in small treat bags.
Yes.....I use a regular flat iron to seal my bags.
It was bought new and has been used EXCLUSIVELY for my cookies bags.
It has a temperature adjustment on it.
This is important because you need to be able to adjust the temp
according to the type bag you are using.
I scorched through a few bags before I found the right setting!
Now my iron stays on that setting because I always use the same type bags.
(This is the flat iron I use. It stays on the heat setting #15 [out of 25 settings].)
(This is the flat iron I use. It stays on the heat setting #15 [out of 25 settings].)

I folded the tag over the sealed edge of the bag and
then stapled it twice close to the fancy edge on the bottom.

And there you have it......crown cookies for two tiny princesses......
personalized with non-icing names. :)