
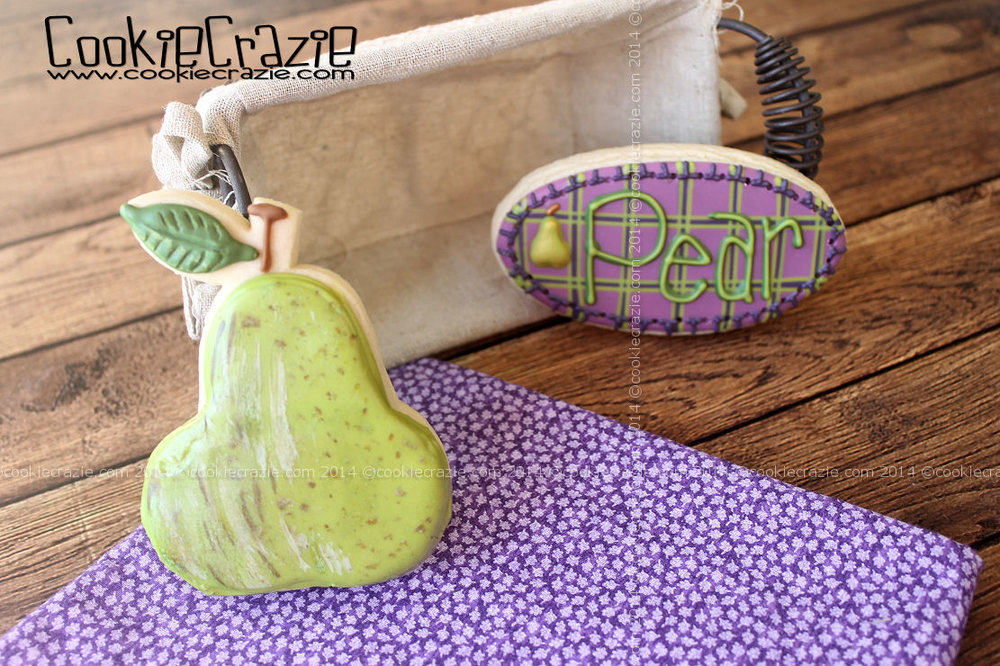
Here's another new cutter from CookieCrazie Custom Cutters........a pear.
For a classic pear look, the 10-second glaze needs to be a nice apple-y green.
Outline and flood the pear cookie.
For a classic pear look, the 10-second glaze needs to be a nice apple-y green.
Outline and flood the pear cookie.

If a more 3D pear is desired,
outline and flood the base of the pair a second time after it has dried 30 min.
You can also add a leaf in a darker green color.
(see photos below)

And if you're extreme like me, you might try to add a third base layer......
but it is not recommended. ;)
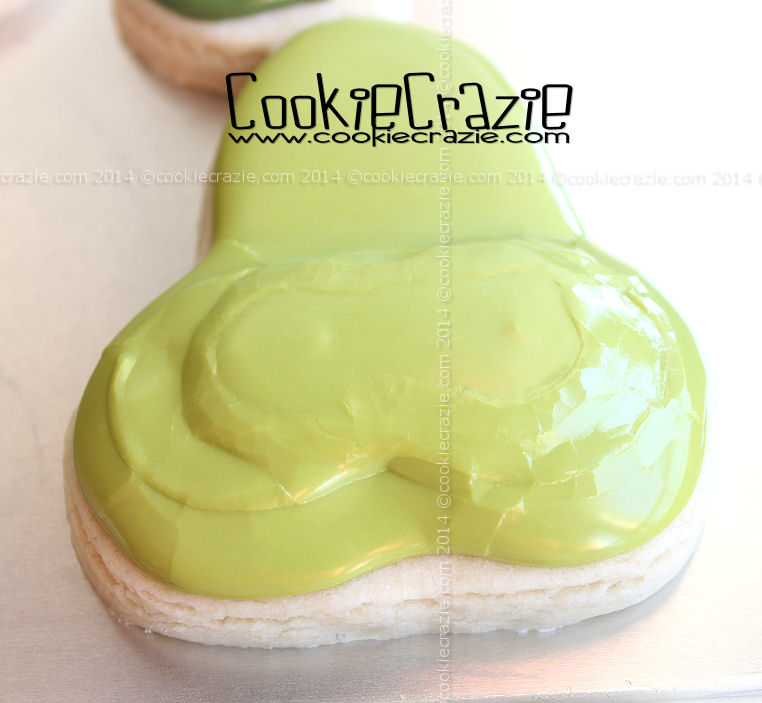
Because of my mistake,
I waited a couple of hours before adding a FOURTH layer to cover the ugly third layer. haha
Once the leaf has dried about 2 hours,
use a cake tester and/or scribe to add some veins.

Also, add a brown stem.

After the pear has dried overnight,
use a mixture of electric green, chocolate brown, and bright white color gels to paint on
some shadow lines and random splotches.

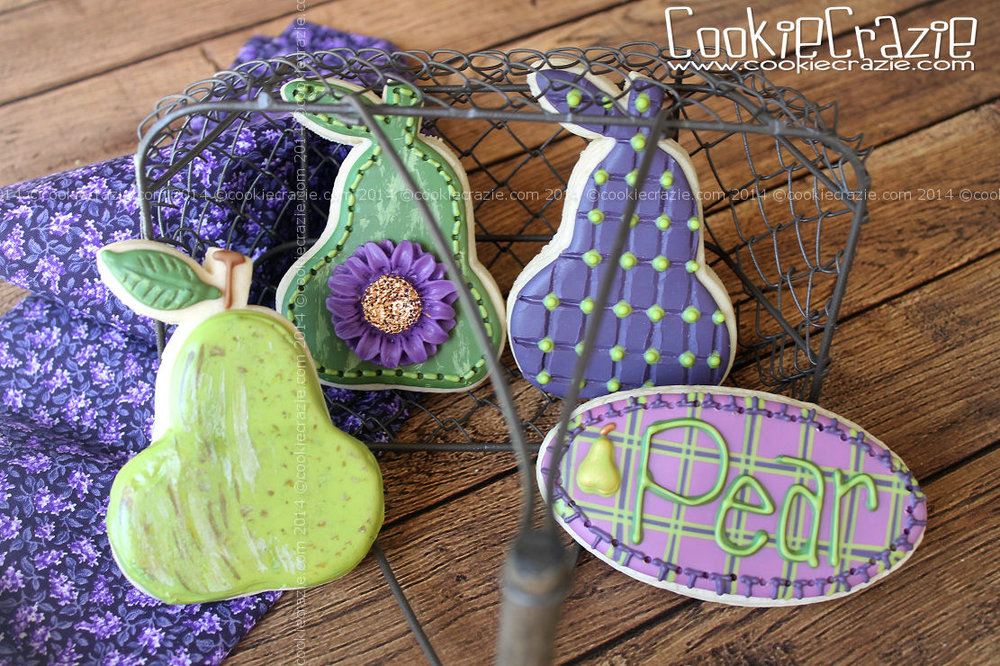
2014 Autumn Cookie Collection