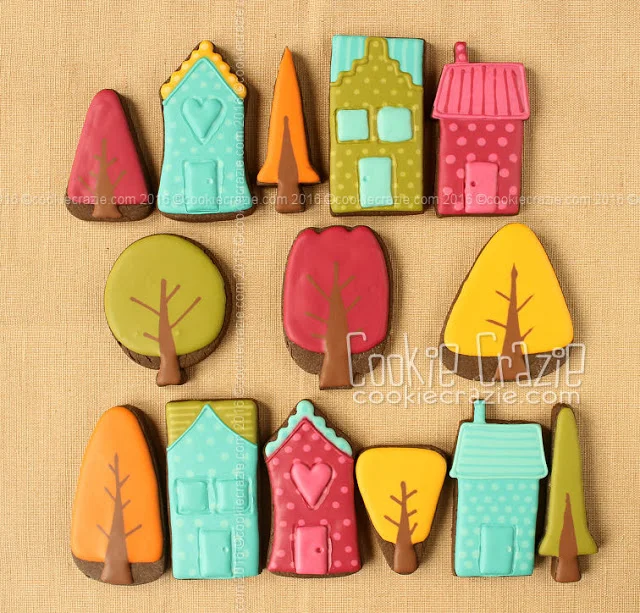
Mason jars continue to be a common staple shape in the vintage, shabby chic, & rustic genre. Here's four different ways to decorate them.
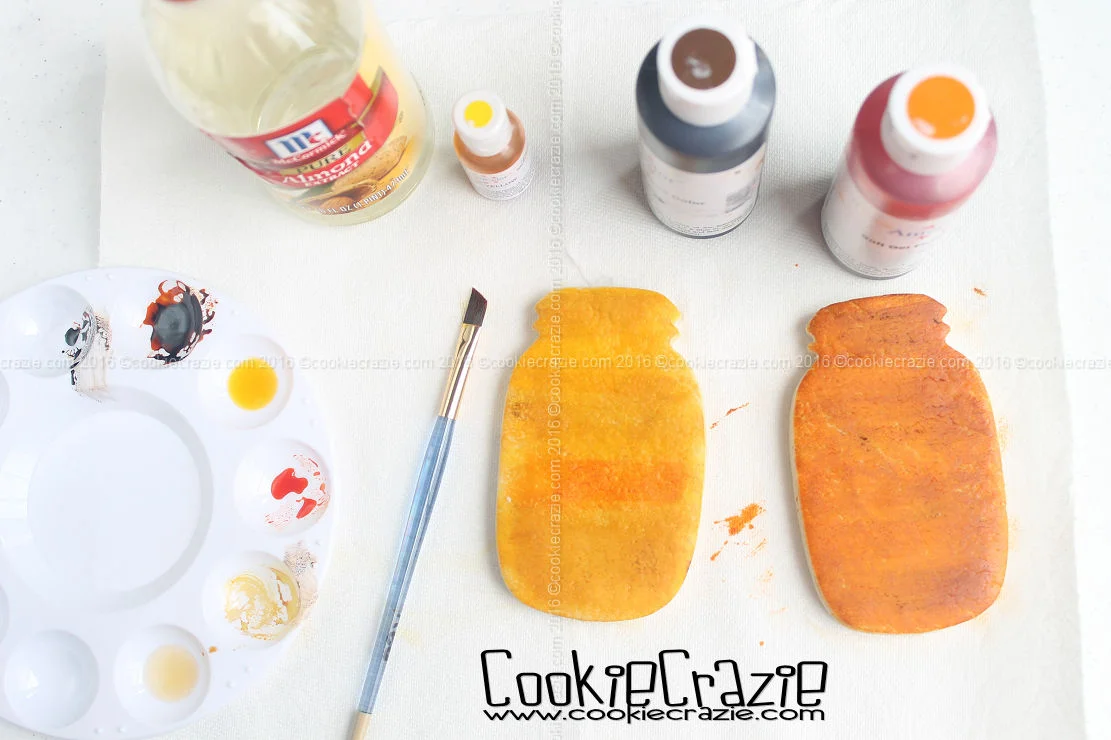
First Option
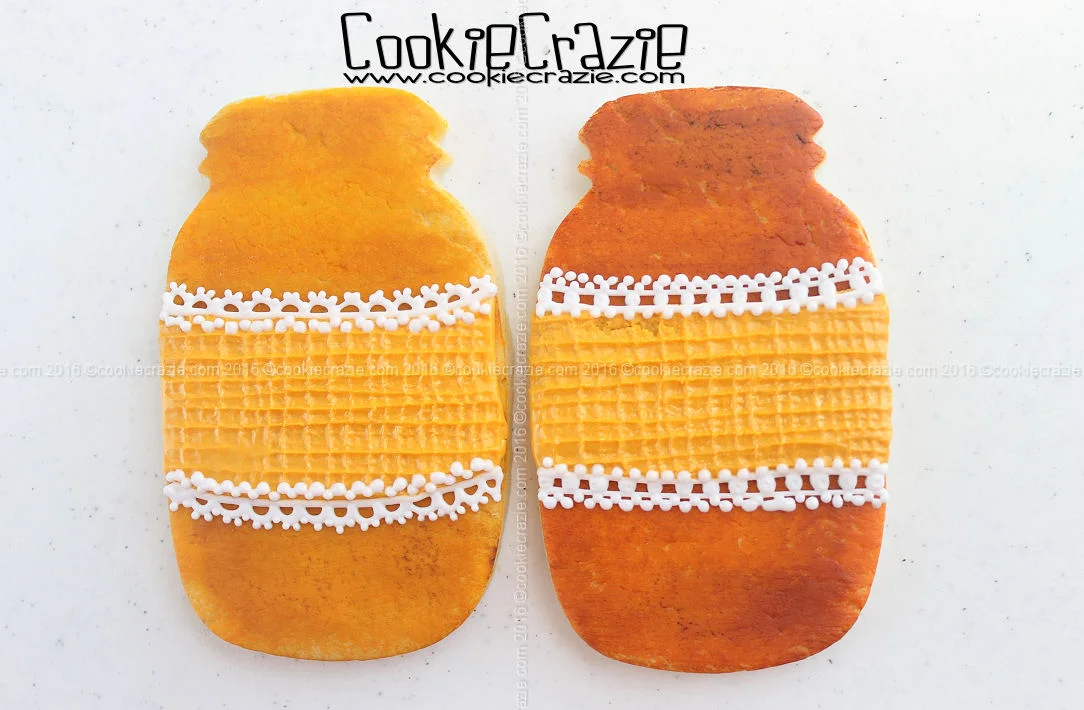
After you have cut, baked, and cooled the mason jar cookies, paint them with diluted autumn colors like lemon yellow, orange & chocolate brown. These gels were diluted with almond extract.
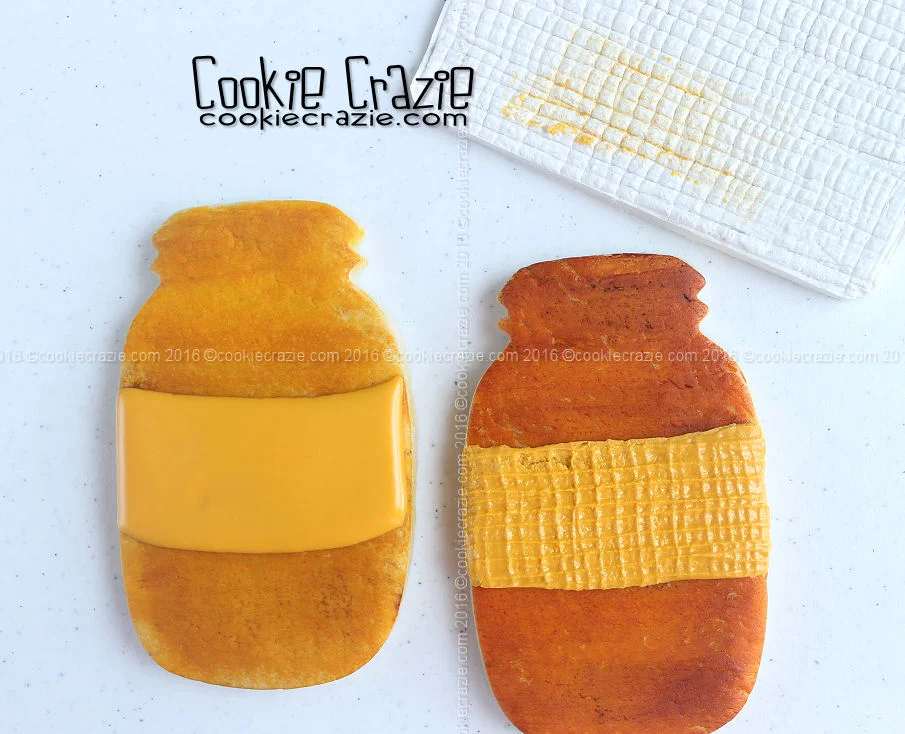
Allow the gel to dry on the cookie. Outline and flood a wide swath of the jar with gold glaze.
(see photo below)

Allow the glaze to dry for 3-4 hours. Use a burlap texture mat on the partially dried glaze to create a burlap-look.
Add dots and lines of white glaze to the edges of the "burlap" to create a lacy border.
Second Option
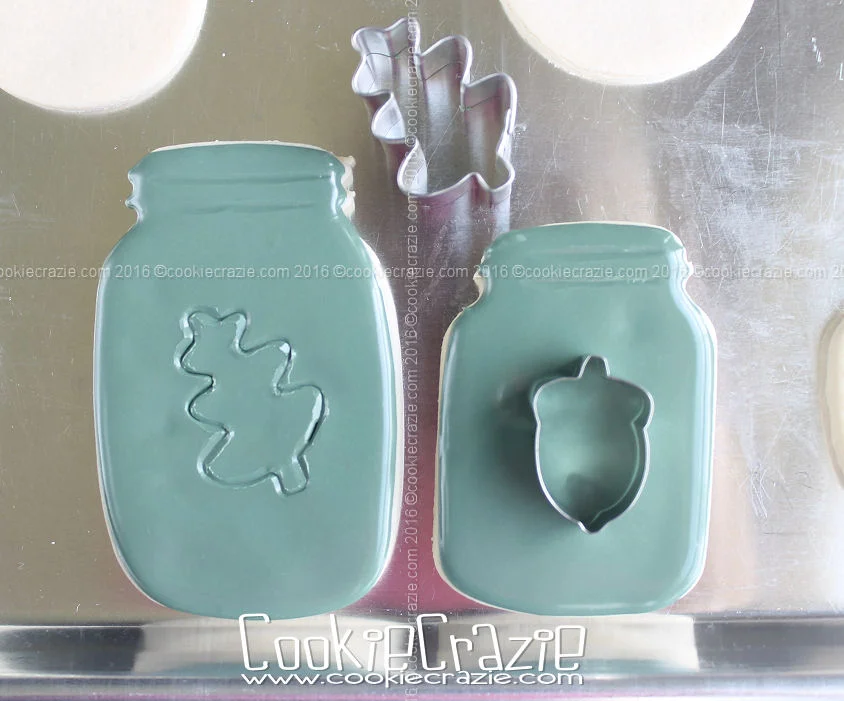
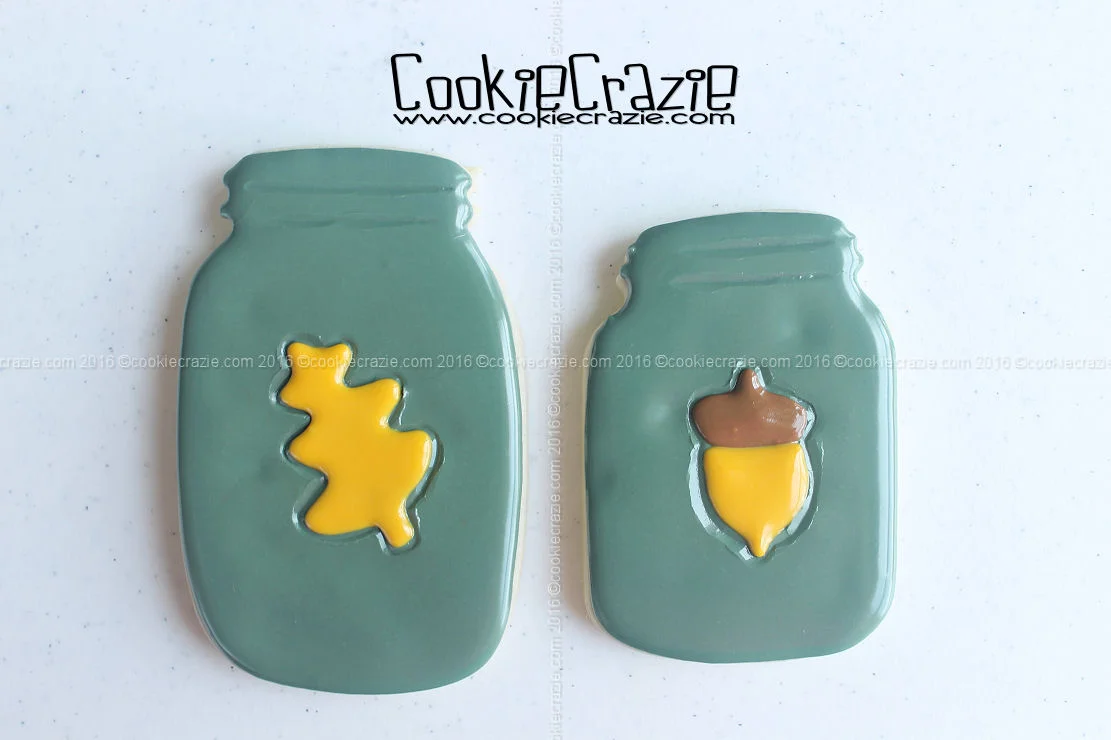
Outline and flood the entire jar with a glaze color of your choice. Allow the glaze to dry for 2-3 hours and then press a mini cutter into the partially dried glaze. Use that impression outline to create a cute autumn shape on the front of the jar.
Third Option
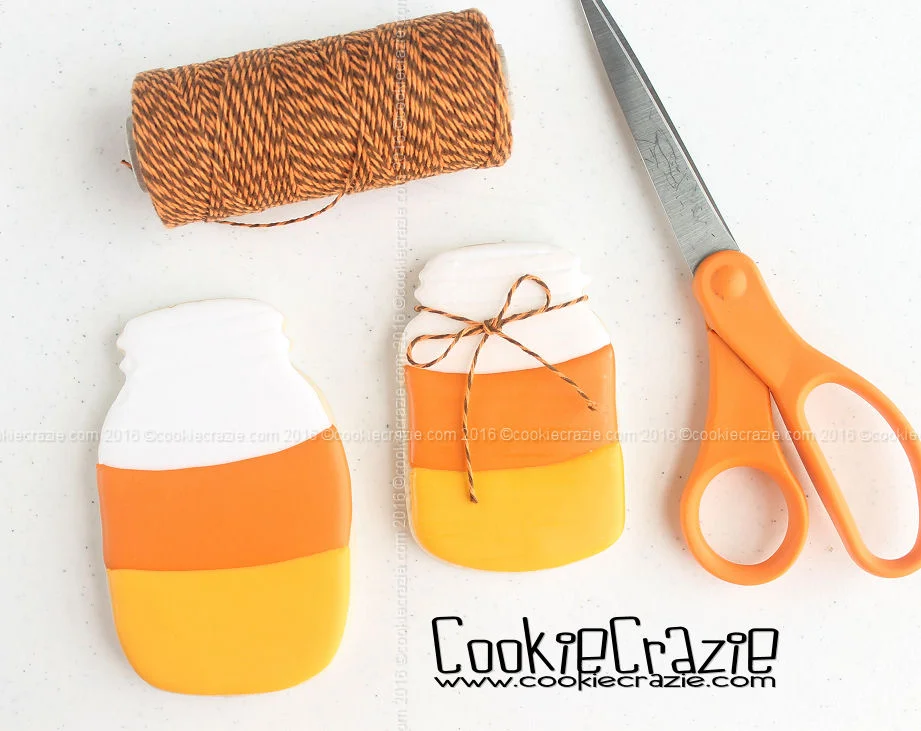
Divide the jar into three portions and outline and flood each part with the colors of candy corn.
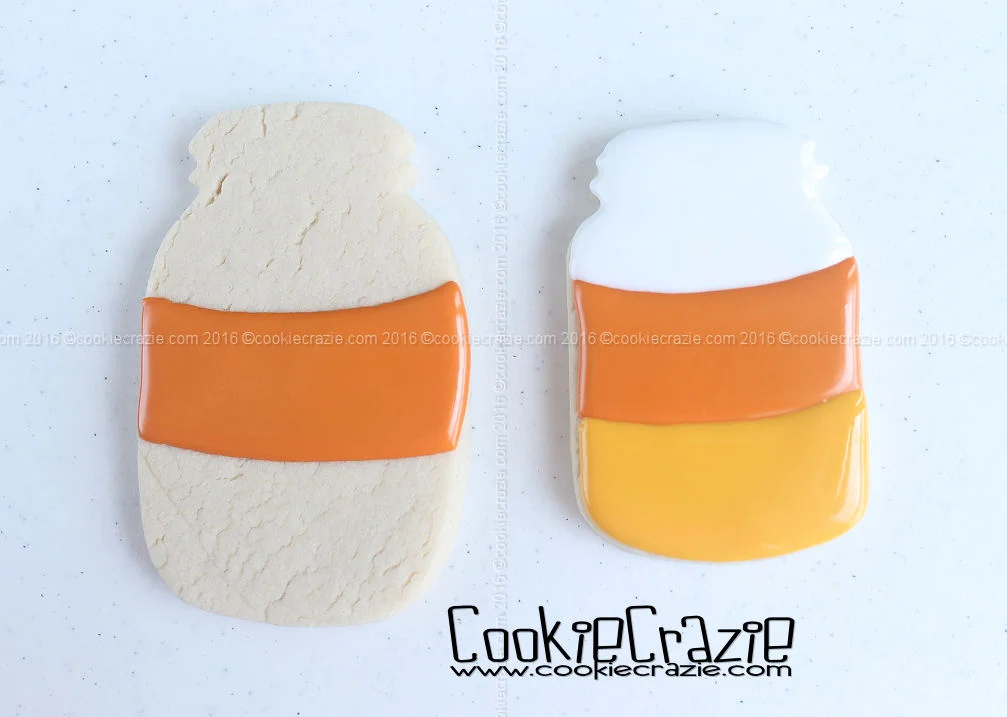
Once the cookie is dry, you can tie bakers twine around the jar and tie it in a bow.
Fourth Option
When baking the mason jar cookies, impress some dough with the burlap impression mat, and cut out a mini cookie using the same method shown in this tutorial. Be sure to cut out a hole at the top of the cookie (with a straw) so that you can tie it to the mason jar.
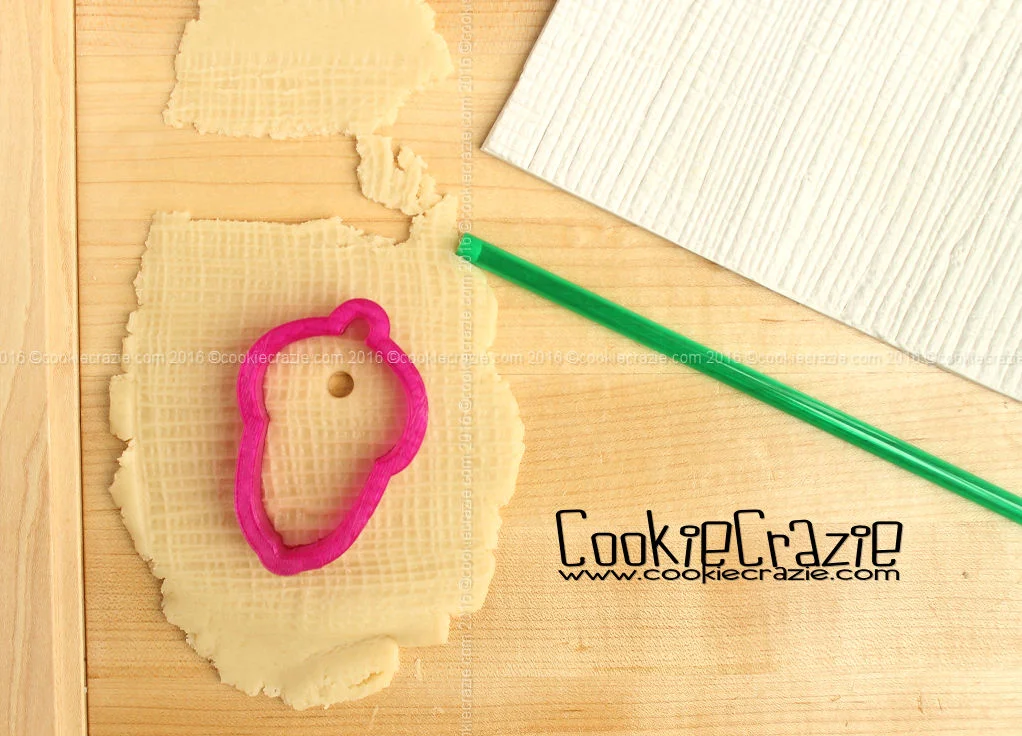
(Scroll down below to see the finished burlap impressed cookie....a mini acorn hanging on the jar.)
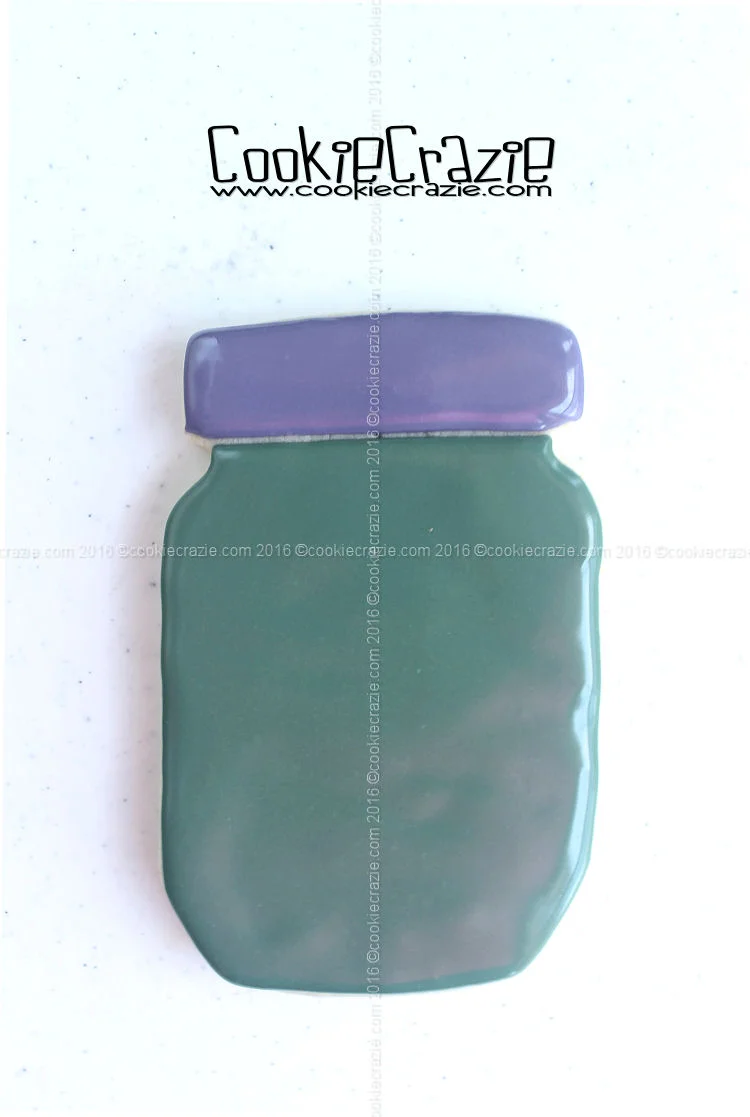
Outline and flood the jar in your choice of glaze color. Outline and flood the lid with grey glaze.
Dry overnight. Make a mixture of silver dust and vodka or almond extract,and paint it over the lid of the mason jar.
Brush dry caramel dust over the burlap impressed mini cookie to give a rustic look.
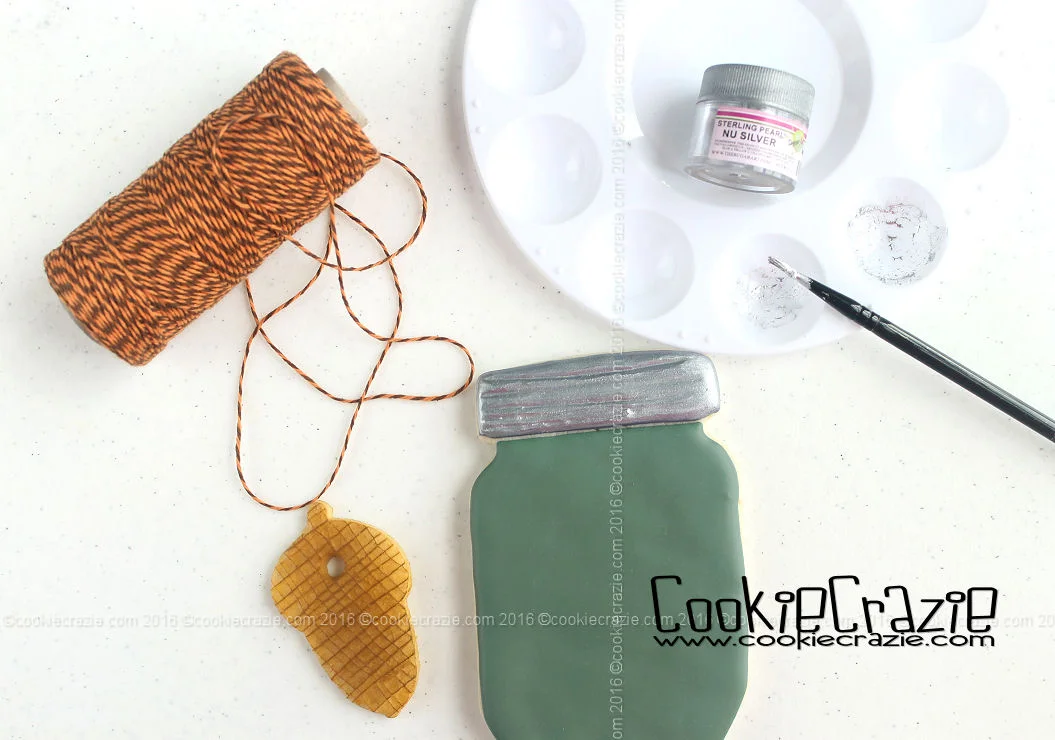
Attach the mini cookie to the jar with bakers twine.