peacock cookie platter

CookieCrazie Chatter...... Friday, Nov 6, 2015


_________________________________________________________


CookieCrazie's Week in Review


/www.cookiecrazie.com//2015/11/pink-yellow-shabby-chic-cookie.html


/www.cookiecrazie.com//2015/11/peacock-cookie-platter-tutorial.html


_________________________________________________

Personal Side


I was out of town the first part of this week.....and it was funny 
how I came home and immediately started decorating cookies.
Yes.....I still love it. :)

I'm getting so far ahead on my cookies that I think it best not to 
tell you what season/holiday I'm on. haha

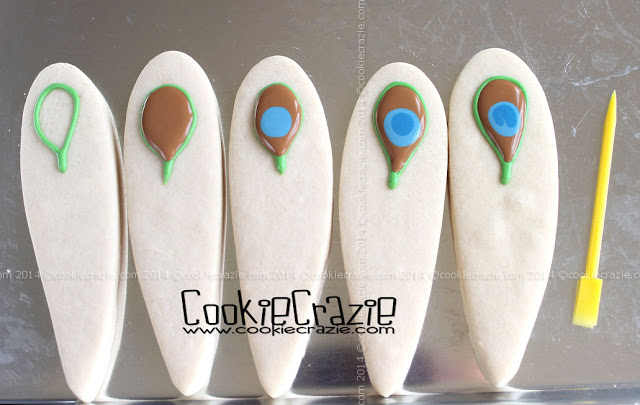
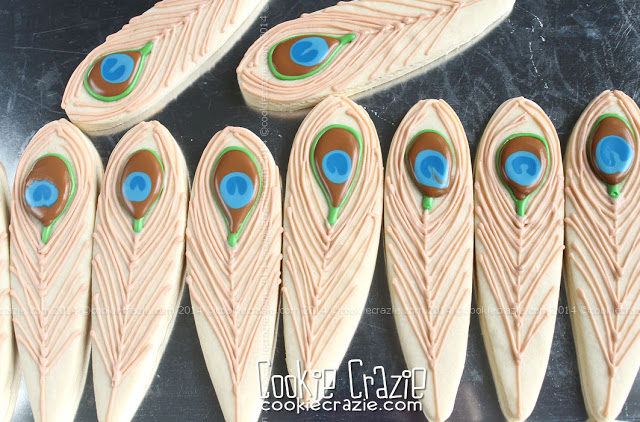
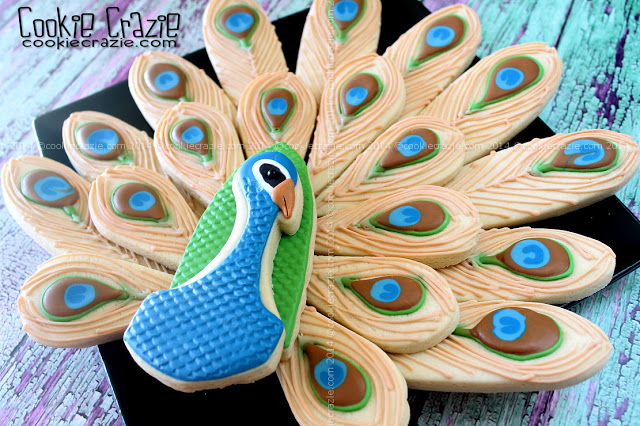
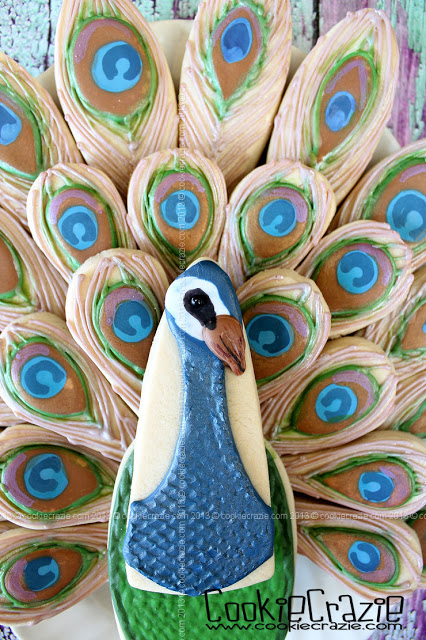
I am having a blast.....day after day.
There is something so gratifying about carrying out something that is in your head.

November.....can you believe it?!
Thanksgiving is just three weeks away.
I'm trying to take it in and enjoy it.....but busyness often steals joy.

I need to stop and smell the roses.....at least once a day. :)

♥♥♥


Instagram photos for this week:


Happy Friday!
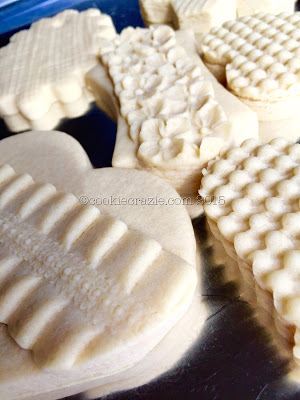
#quiltblock #tessellation #customcutter #patterns


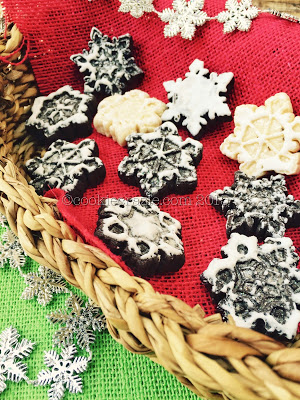
These molds from Party Train Cake Supplies are taking me to  a happy place.


I LOVE this set of snowflake stamper cutters.
#snowflake #winter #snow #yesiworkahead
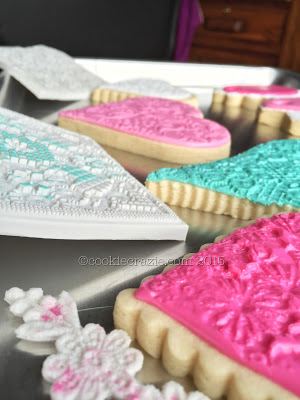

Happy Sunday!
#shabbychic #winter #christmas #lace


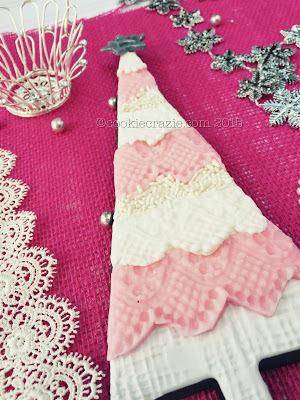
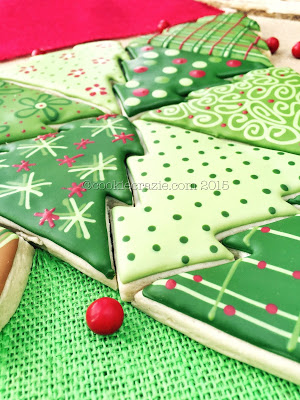
Oh how I love this time of year.....
The anticipation is often the best part.
#christmas #christmastree #whimsy #mixedmedia #winter


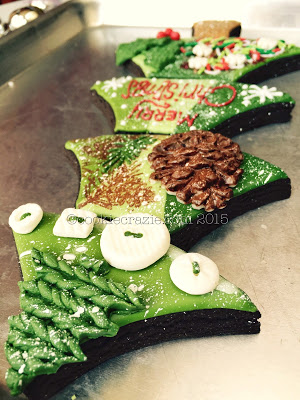
Oh the days when things go as you'd hoped.....
#itsoneofthosedays #loveit #ilovemyjob


Gobble Gobble!
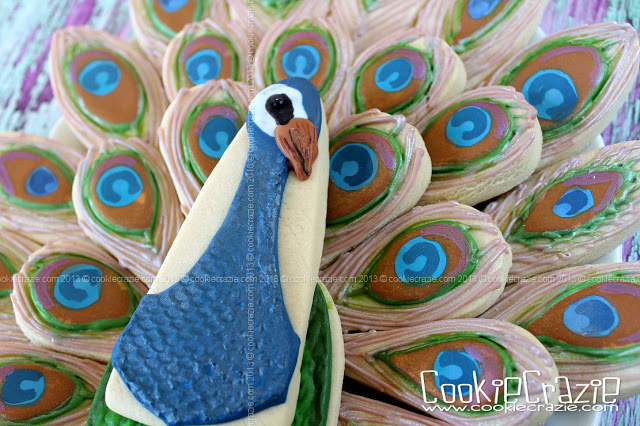
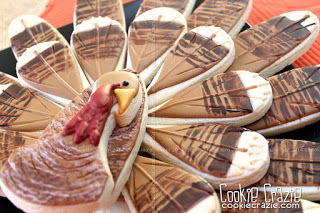
#tbt #throwback #thanksgiving #turkey

/www.cookiecrazie.com//2014/11/2014-thanksgiving-turkey-platter.html


_________________________________________

Last CookieCrazie Chatter....

Peacock Cookie Platter (Tutorial)


Somehow this cookie platter got pushed back a whole year from entering a blog post.
I originally created this set two years ago for a class I was teaching in Italy.
The class got postponed.....and eventually I taught it in November 2014.
But the actually tutorial never happened. Until now......

Creative Cookier designed a set of CookieCrazie custom cutters for this cookie platter.


You'll need 1 peacock head, 1 body (large oval), 12 large feathers, and 12 small feathers.

For the body, outline and flood it with green glaze.
Allow it to dry for at least 4 hours and then carefully press in this scale texture mat.


For the peacock head, cover the entire cookie with medium blue glaze, except for the beak area.
Immediately add white glaze to the eye area of the head as shown below.
While it is still wet, add a black sugar pearl for the eye.


After the cookie has dried for at least 30 minutes, add a gold/tan beak.
(see photo below)


Once the head has dried for about 4 hours, press the scale texture mat into it as well.


For the feathers, you'll need beige, green, brown, light blue, and medium blue glaze.
Both sizes of feather are done the same.....just adjust the sizes.

See photo below to create the tear drop pattern on the wide end of the feather.
All of it is done at one time......wet-on-wet.


Allow the teardrop to dry for at least 30 minutes, and then start adding the wispy feather tendrils.
You will need to make sure that the lines do not touch, because with glaze, they will run together.


Allow all the cookies to dry overnight before making the platter.


For the platter, fan out the large feathers around the top of the platter.
Next, fan out the small feathers overlapping the large ones.
Add the body in the middle bottom and layer the head on top of it.


Member Login
Welcome, (First Name)!

Forgot? Show
Log In
Enter Member Area
My Profile Not a member? Sign up. Log Out