Oh how I love an evergreen-filled Christmas wreath!
And when I found this cute baby bib cutter with a huge bow on top, I knew it would be the perfect cutter to create a Christmas wreath.
![Once the cookie is baked and cooled, use a boo boo stick or toothpick to etch lightly on the cookie surface, making a circle in the middle and an outline of the bow portion. [This will give you a reference of where to pipe the glaze.]](https://images.squarespace-cdn.com/content/v1/57c5aa00e58c625a7e37087e/1503920912116-IYNEFNCLI36H3EJRXOUT/Screen+Shot+2017-08-28+at+6.42.08+AM.png)
Once the cookie is baked and cooled, use a boo boo stick or toothpick to etch lightly on the cookie surface, making a circle in the middle and an outline of the bow portion. [This will give you a reference of where to pipe the glaze.]
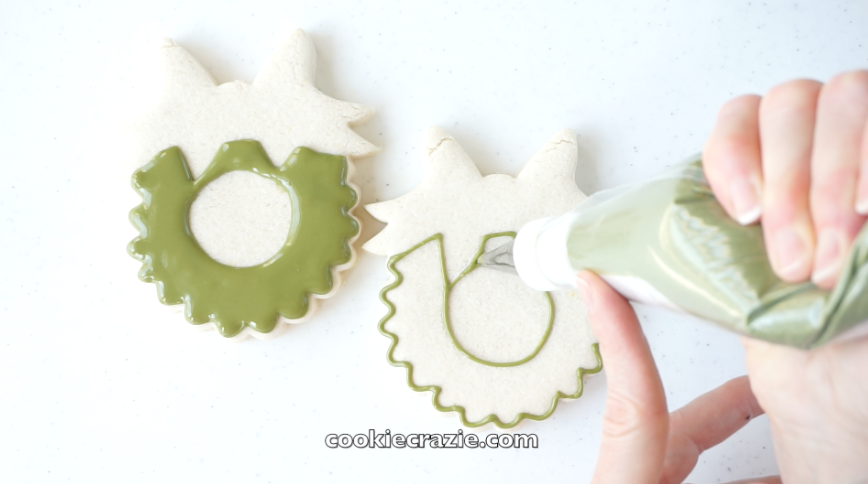
Outline and flood the main wreath with green glaze.
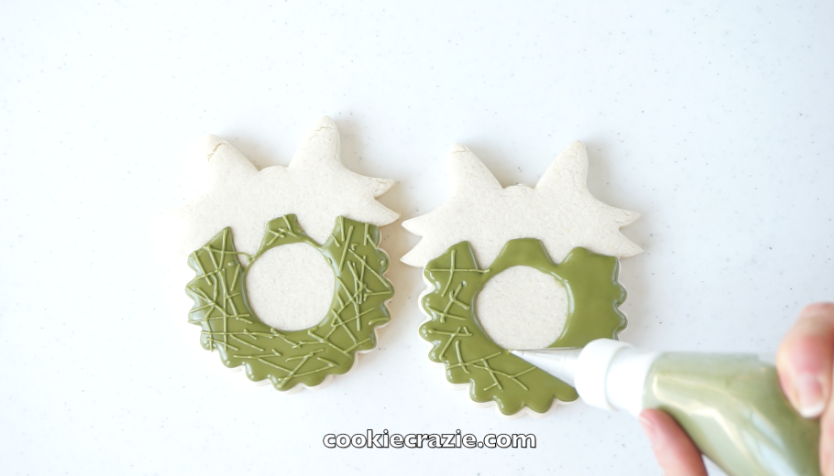
Allow the flood to dry for at least 30 minutes, and then start making random lines with green glaze all over the wreath to represent the evergreen sprigs.
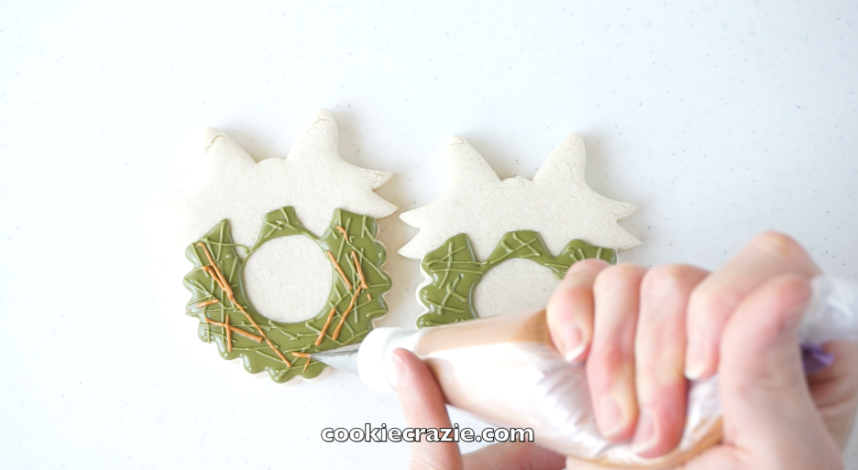
Add random brown glaze lines to represent the wood branches.
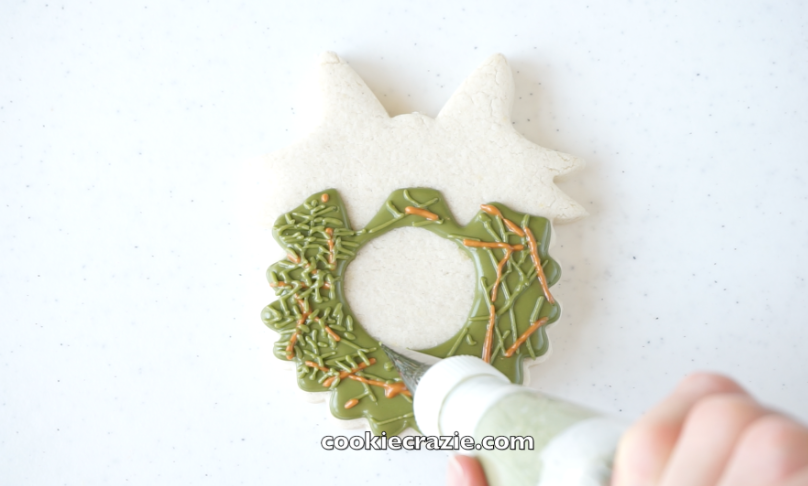
Allow the initial lines to dry for at least 15 minutes and then beginning adding smaller green lines to represent all the needles. (This is a tedious part, but it's worth the textured look that results from taking the time to do it.)
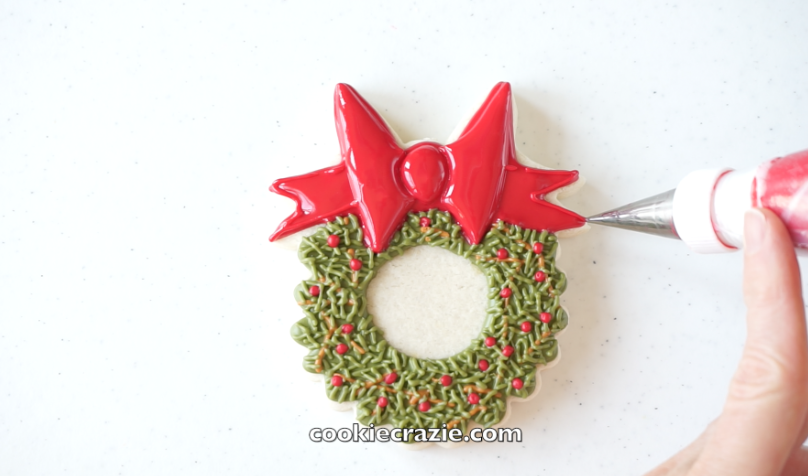
![Allow the green glaze to dry for a couple of hours before adding the red glaze. [This is to prevent the red from bleeding into the green.] Outline the entire red bow portion with red glaze.](https://images.squarespace-cdn.com/content/v1/57c5aa00e58c625a7e37087e/1503920907091-KY0FKP9J7AZI2FPTML71/Screen+Shot+2017-08-28+at+6.44.15+AM.png)
Allow the green glaze to dry for a couple of hours before adding the red glaze. [This is to prevent the red from bleeding into the green.] Outline the entire red bow portion with red glaze.
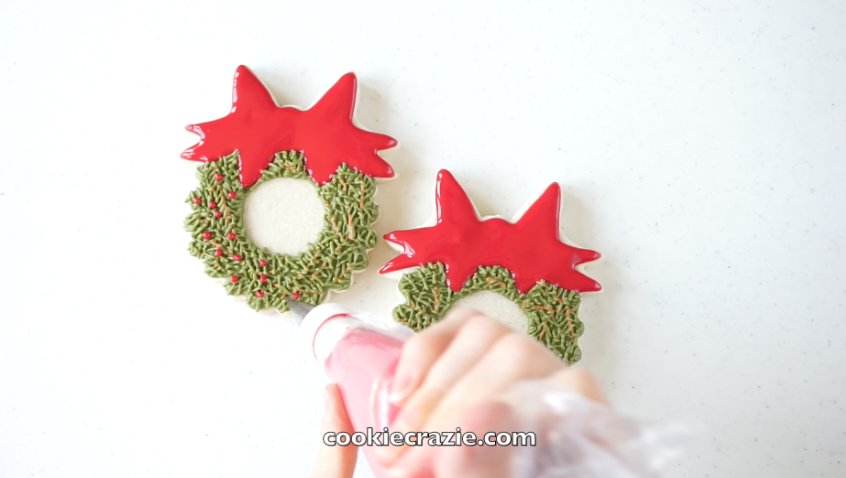
Add red dots to the wreath to represent berries.
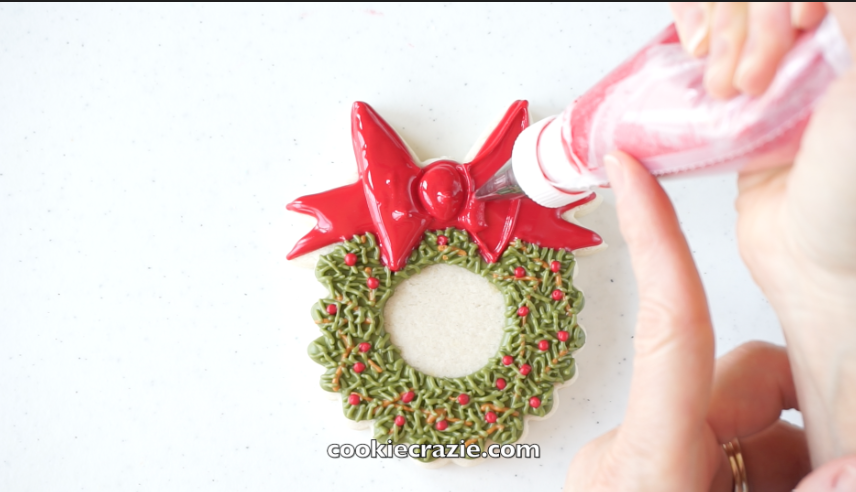
After the initial red glaze has dried for about 1-2 hours, add a 2nd layer of outline and flood to the main portion of the bow as shown in the photo and video. This provides a 3D effect for the bow to stand out.
Outline the outer ribbon ends with red glaze.