impression letters

Back-To-School Letter Pressed Cookies (Tutorial)


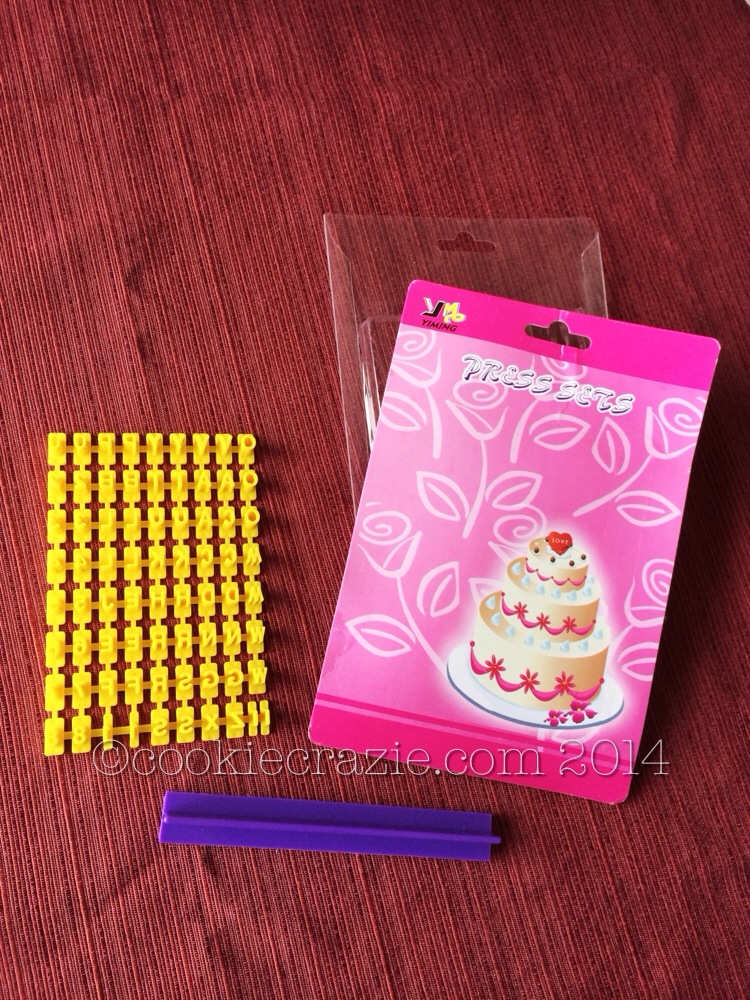
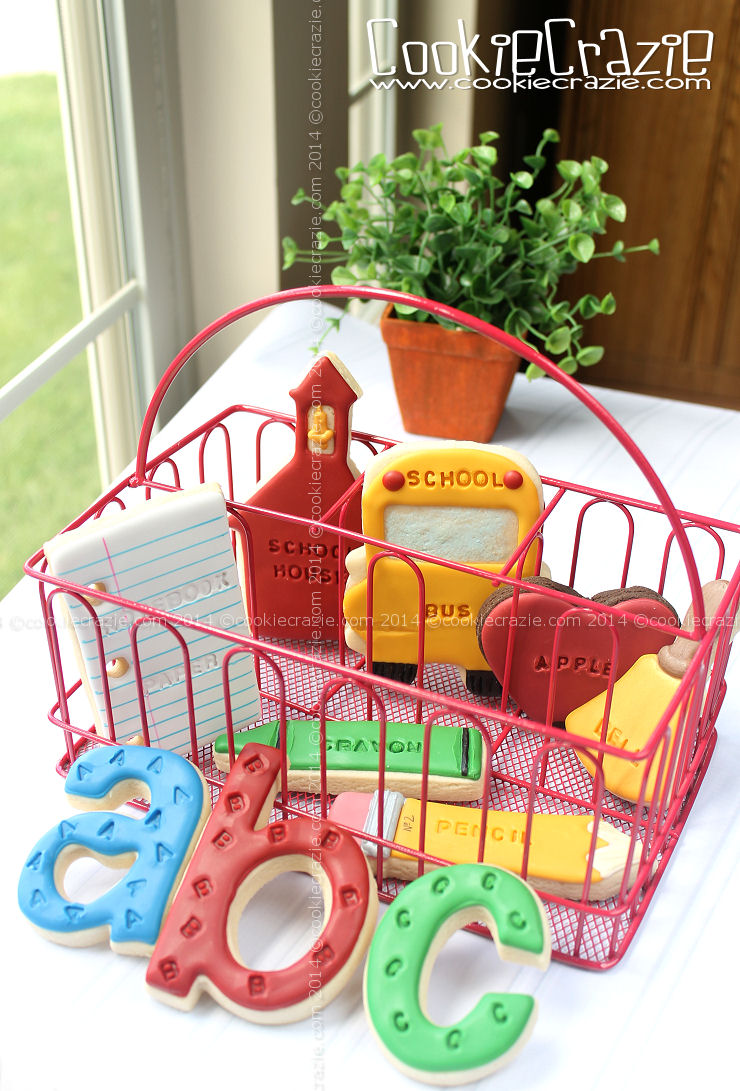
Now that I've acquired a cute little letter press set (from my precious daughter-in-law & son),
I'm inclined to find a way to use it on most of my cookies.
And back-to-school cookies are the perfect recipients. :)


Note: These are tiny little letters & numbers that need to be cut apart when you receive the set.
I used a big set of clippers to snip off all excess plastic around each individual letter block.
(It was tedious and time consuming......but worth the time in the end.)
This way, the letters will sit nicely against each other in the holding bar to make words.
Also, be careful when washing them.
It is easy to wash a few down the drain!
I put a dishcloth over the drain and set all the letters on it to wash them.


Once you have the letter press set ready to go......the fun begins!

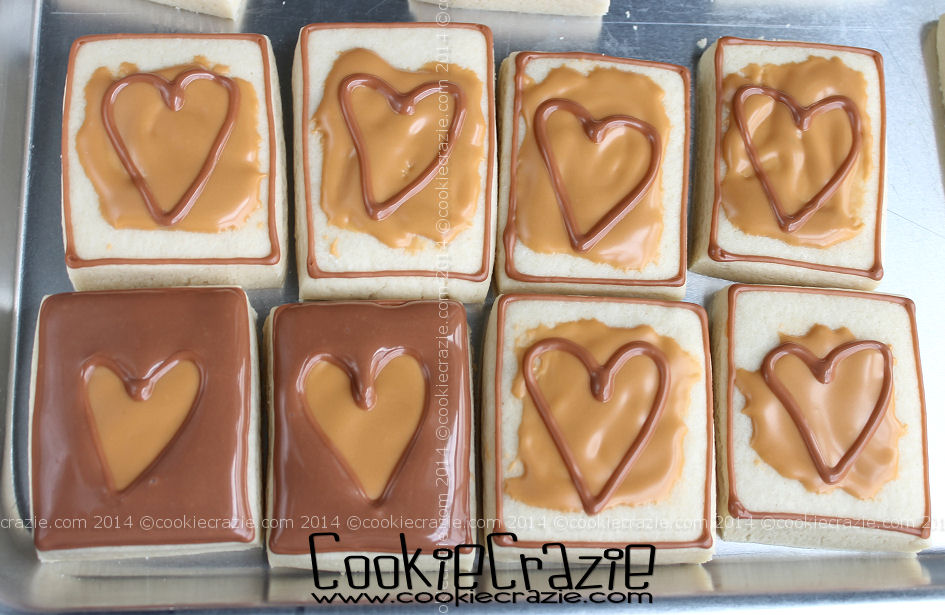
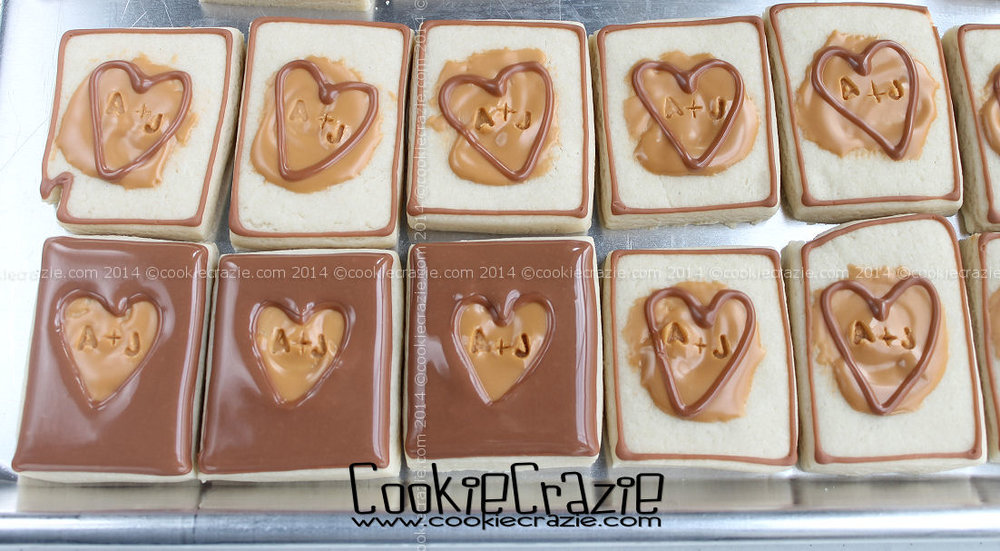
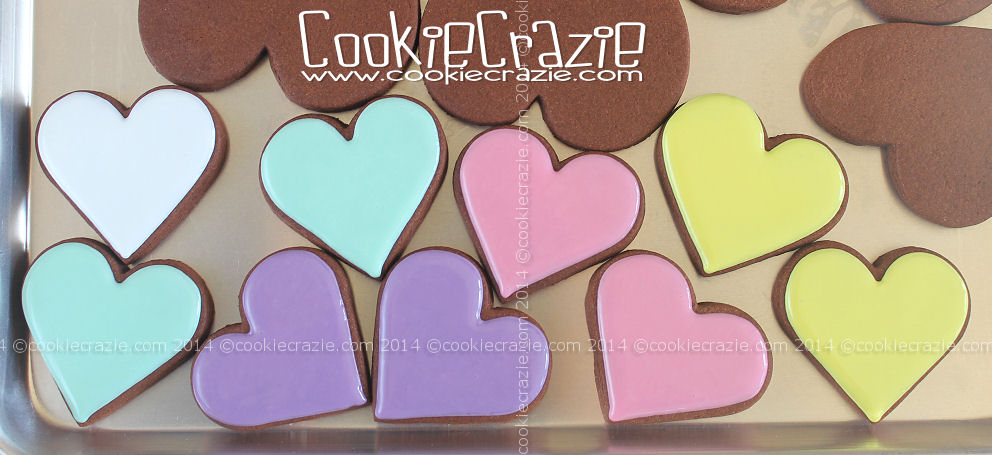
As you can see in the photo below, you can decorate your shapes as plain or as detailed as you'd like.

After decorating them, allow them to dry for approximately 3-1/2 hours (when using glaze).
Then carefully press the letters (either individually or on the holding bar) into the glaze.
(First, I use the holding bar to ensure the letters are evenly aligned and spaced.....
and if any impressions were not firm enough on the first try,
I go back with the individual letters and re-press them.)


For an awesome tutorial on the notebook paper cookie, use SweetAmbs version.


Super fun......and fairly easy. :)


Back-To-School 2014 Cookie Collection

Carved Tree Trunk Cookies (Tutorial)


My youngest daughter got married at the end of May.
We had fun choosing cookies that went with her reception theme and colors.

This is the first of three cookies made for the reception favors.


To make carved tree trunk cookies, start with some basic rectangle-shaped cookies.

To give them a carved-out look,
spread tan glaze over the middle part of the "trunk", where the heart "cut-out" will be.


Allow this to dry for about 30 minutes.
While the inside part continues to dry enough to add the initials,
use medium brown glaze to outline the rectangle and an outline of the heart over the drying glaze.
Flood the outer area with medium brown glaze.
(see photo below)


Once the inner tan glaze has dried for at least 2 hours,
use this letter press set to put initials into the carve-out.
I used the end of the boo-boo stick to make the plus sign.


Allow the outer medium brown glaze to dry for at least 2 hours, 
and then press the wood grain texture mat into them.


Dry overnight.

Using Americolor Bright white, chocolate brown, and gold color gels,
mix up various bark-like colors and paint them on the outer bark of each cookie.


Love Message Cookies (Tutorial)


Putting messages on heart cookies is perfect for Valentines Day.
 
And I received the BEST birthday present for doing just that!

This little set of impression letters is just the right size for putting little messages on hearts.
My dear sweet daughter-in-law saw this online and decided it would be something I might like.
She's so smart!


It's pretty inexpensive.....and comes directly from China.
Warning: These little letters have to be carefully snipped of their plastic sides 
to fit into the slider just right.
It's a bit tedious.....but worth it in the long wrong.


Here's the best part......
Decorating these cookies are a snap!
Outline and flood the heart cookies in your choice of glaze colors.


Allow them to dry for about 2-3 hours.
(The timing will be something you have to work out for your particular environment)
Then align the words you want to impress into the glaze on the slider.....
gently press them into the crusted glaze......
and you have a cute simple message cookie. :)


Valentines 2014 Cookie Collection
Member Login
Welcome, (First Name)!

Forgot? Show
Log In
Enter Member Area
My Profile Not a member? Sign up. Log Out