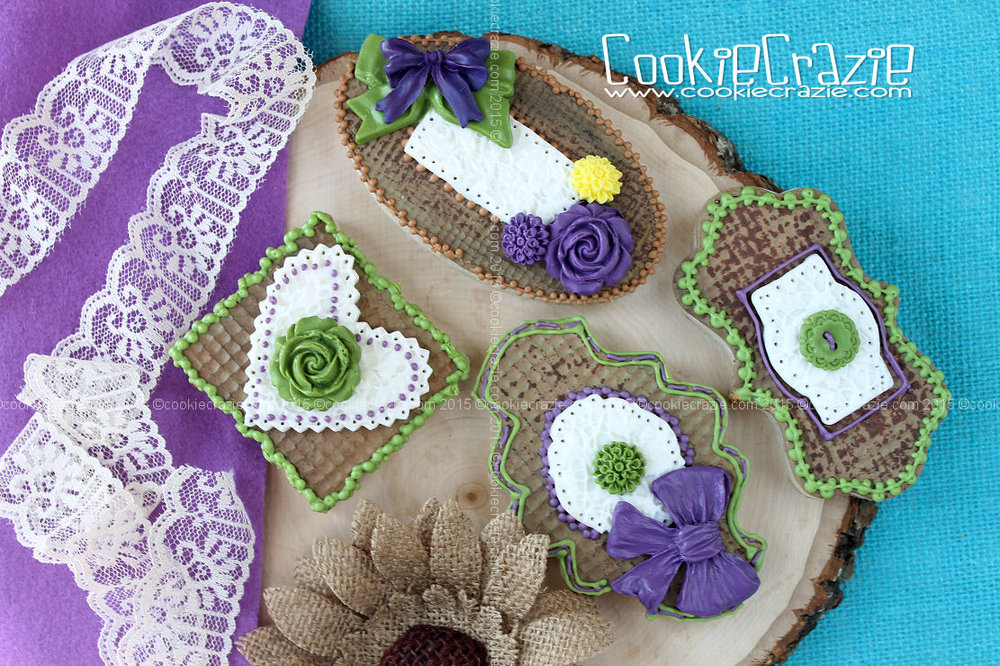
Burlap is all the rage these days.
I've found a few ways to achieve the burlap-look using both glaze and edible clay.
This shabby chic American flag uses a burlap silicone texture mat with edible clay.
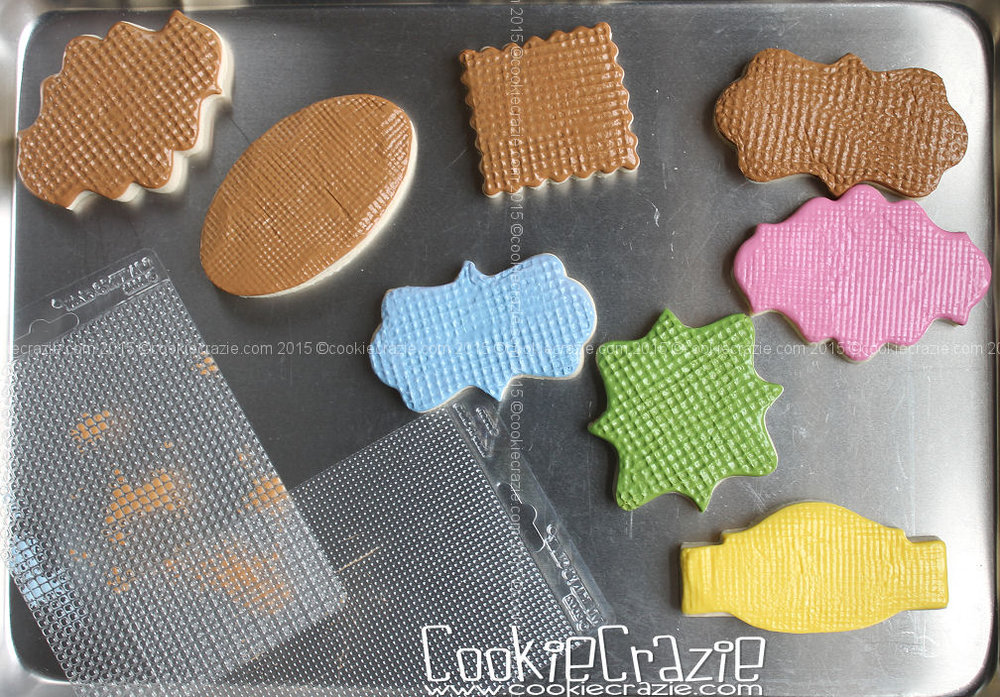
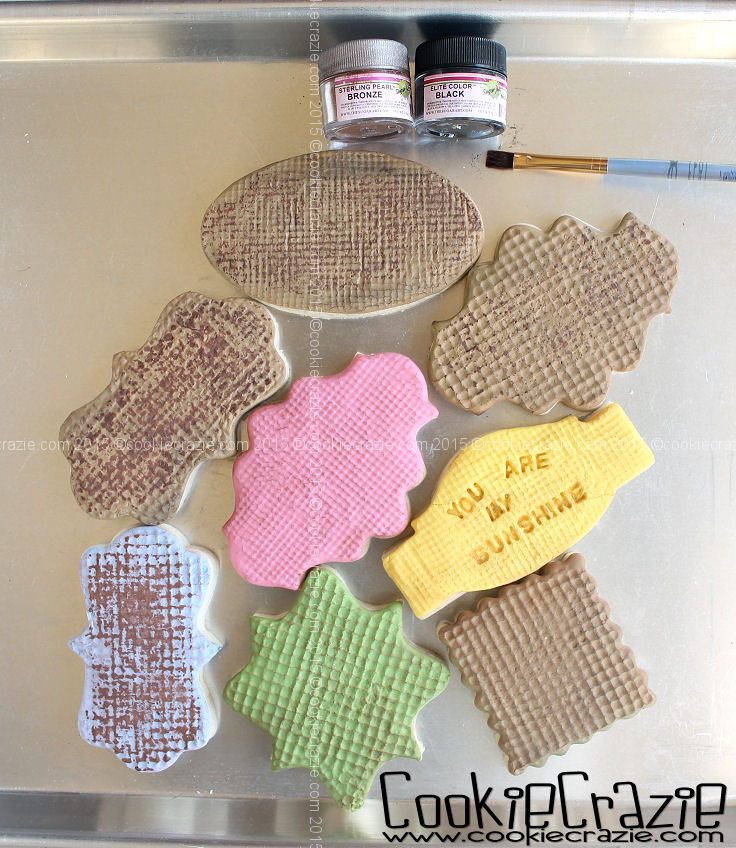
However for this tutorial, I used a texture mat on the glaze
and then some luster dust to shadow the texture.
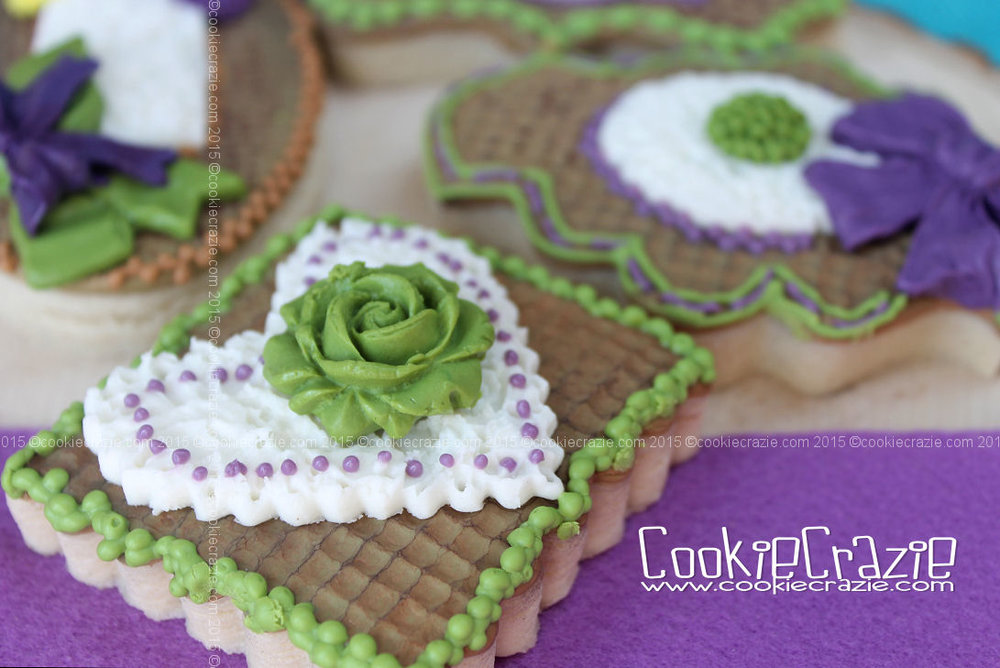
Any cookie shape will work fine with this project.
Outline and flood the cookie with 10-second glaze and allow it to dry for about 4 hours.
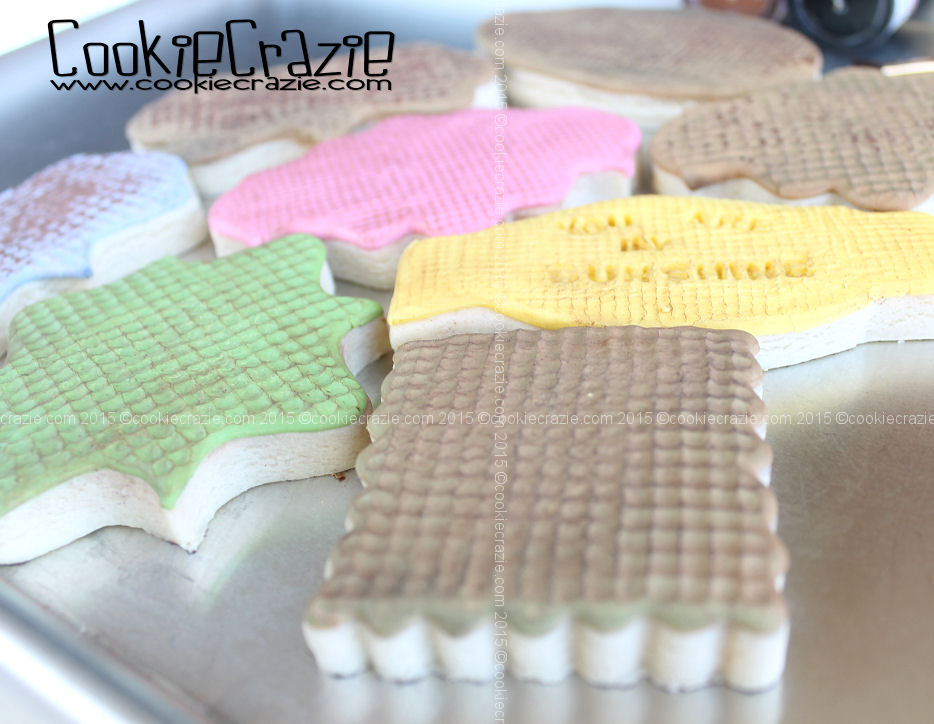
Press this checks texture mat into the partially dried glaze.
Allow the cookies to dry overnight.
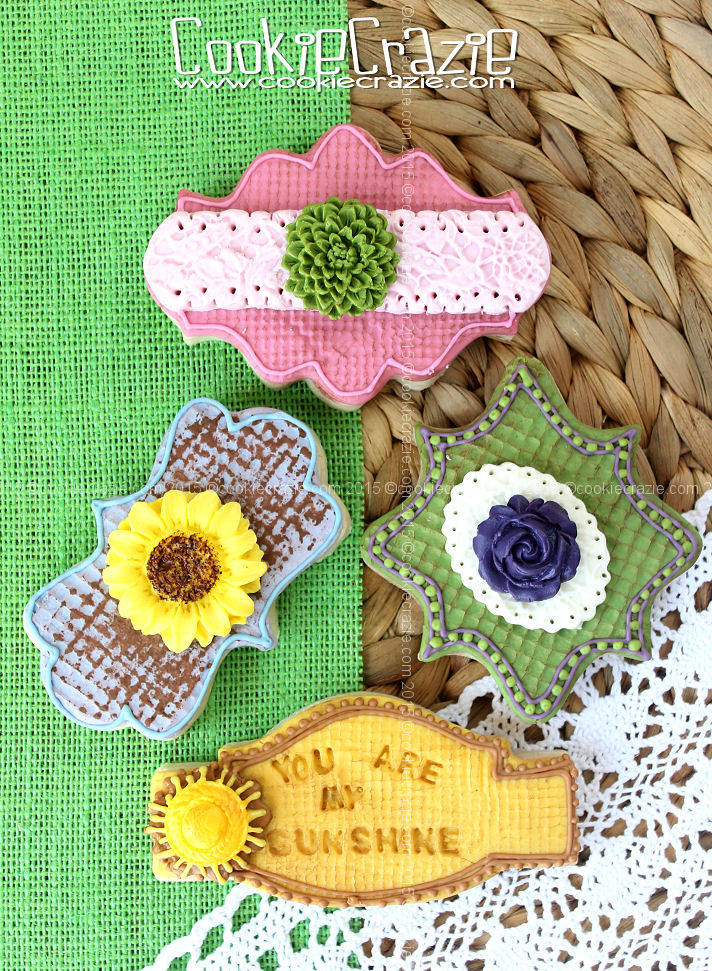
If desired, you can add some textured edible clay over the top of the burlap.
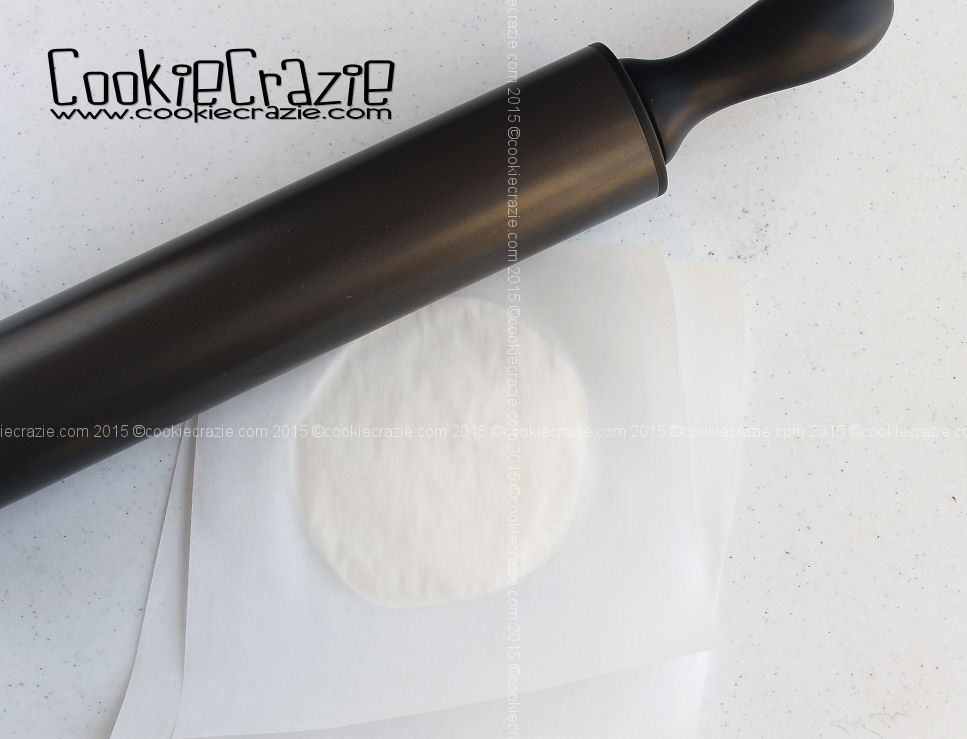
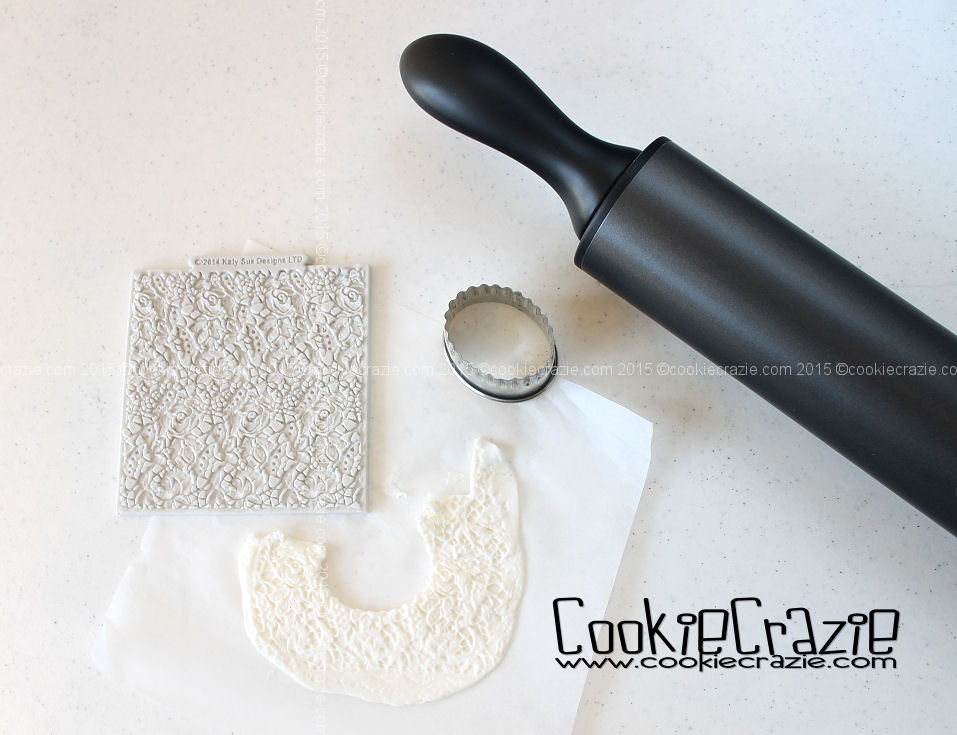
Roll out some white edible clay between two pieces of parchment paper.
Freeze the clay for at least one hour.
to add shading that will emphasize the "burlap" texture.
Take the rolled edible clay from freezer and place a silicone texture mat face down on the clay.
Roll the rolling pin over the mat to impress the clay
Cut desired shapes out to embellish the burlap cookies.
Edible Glaze Molding Clay