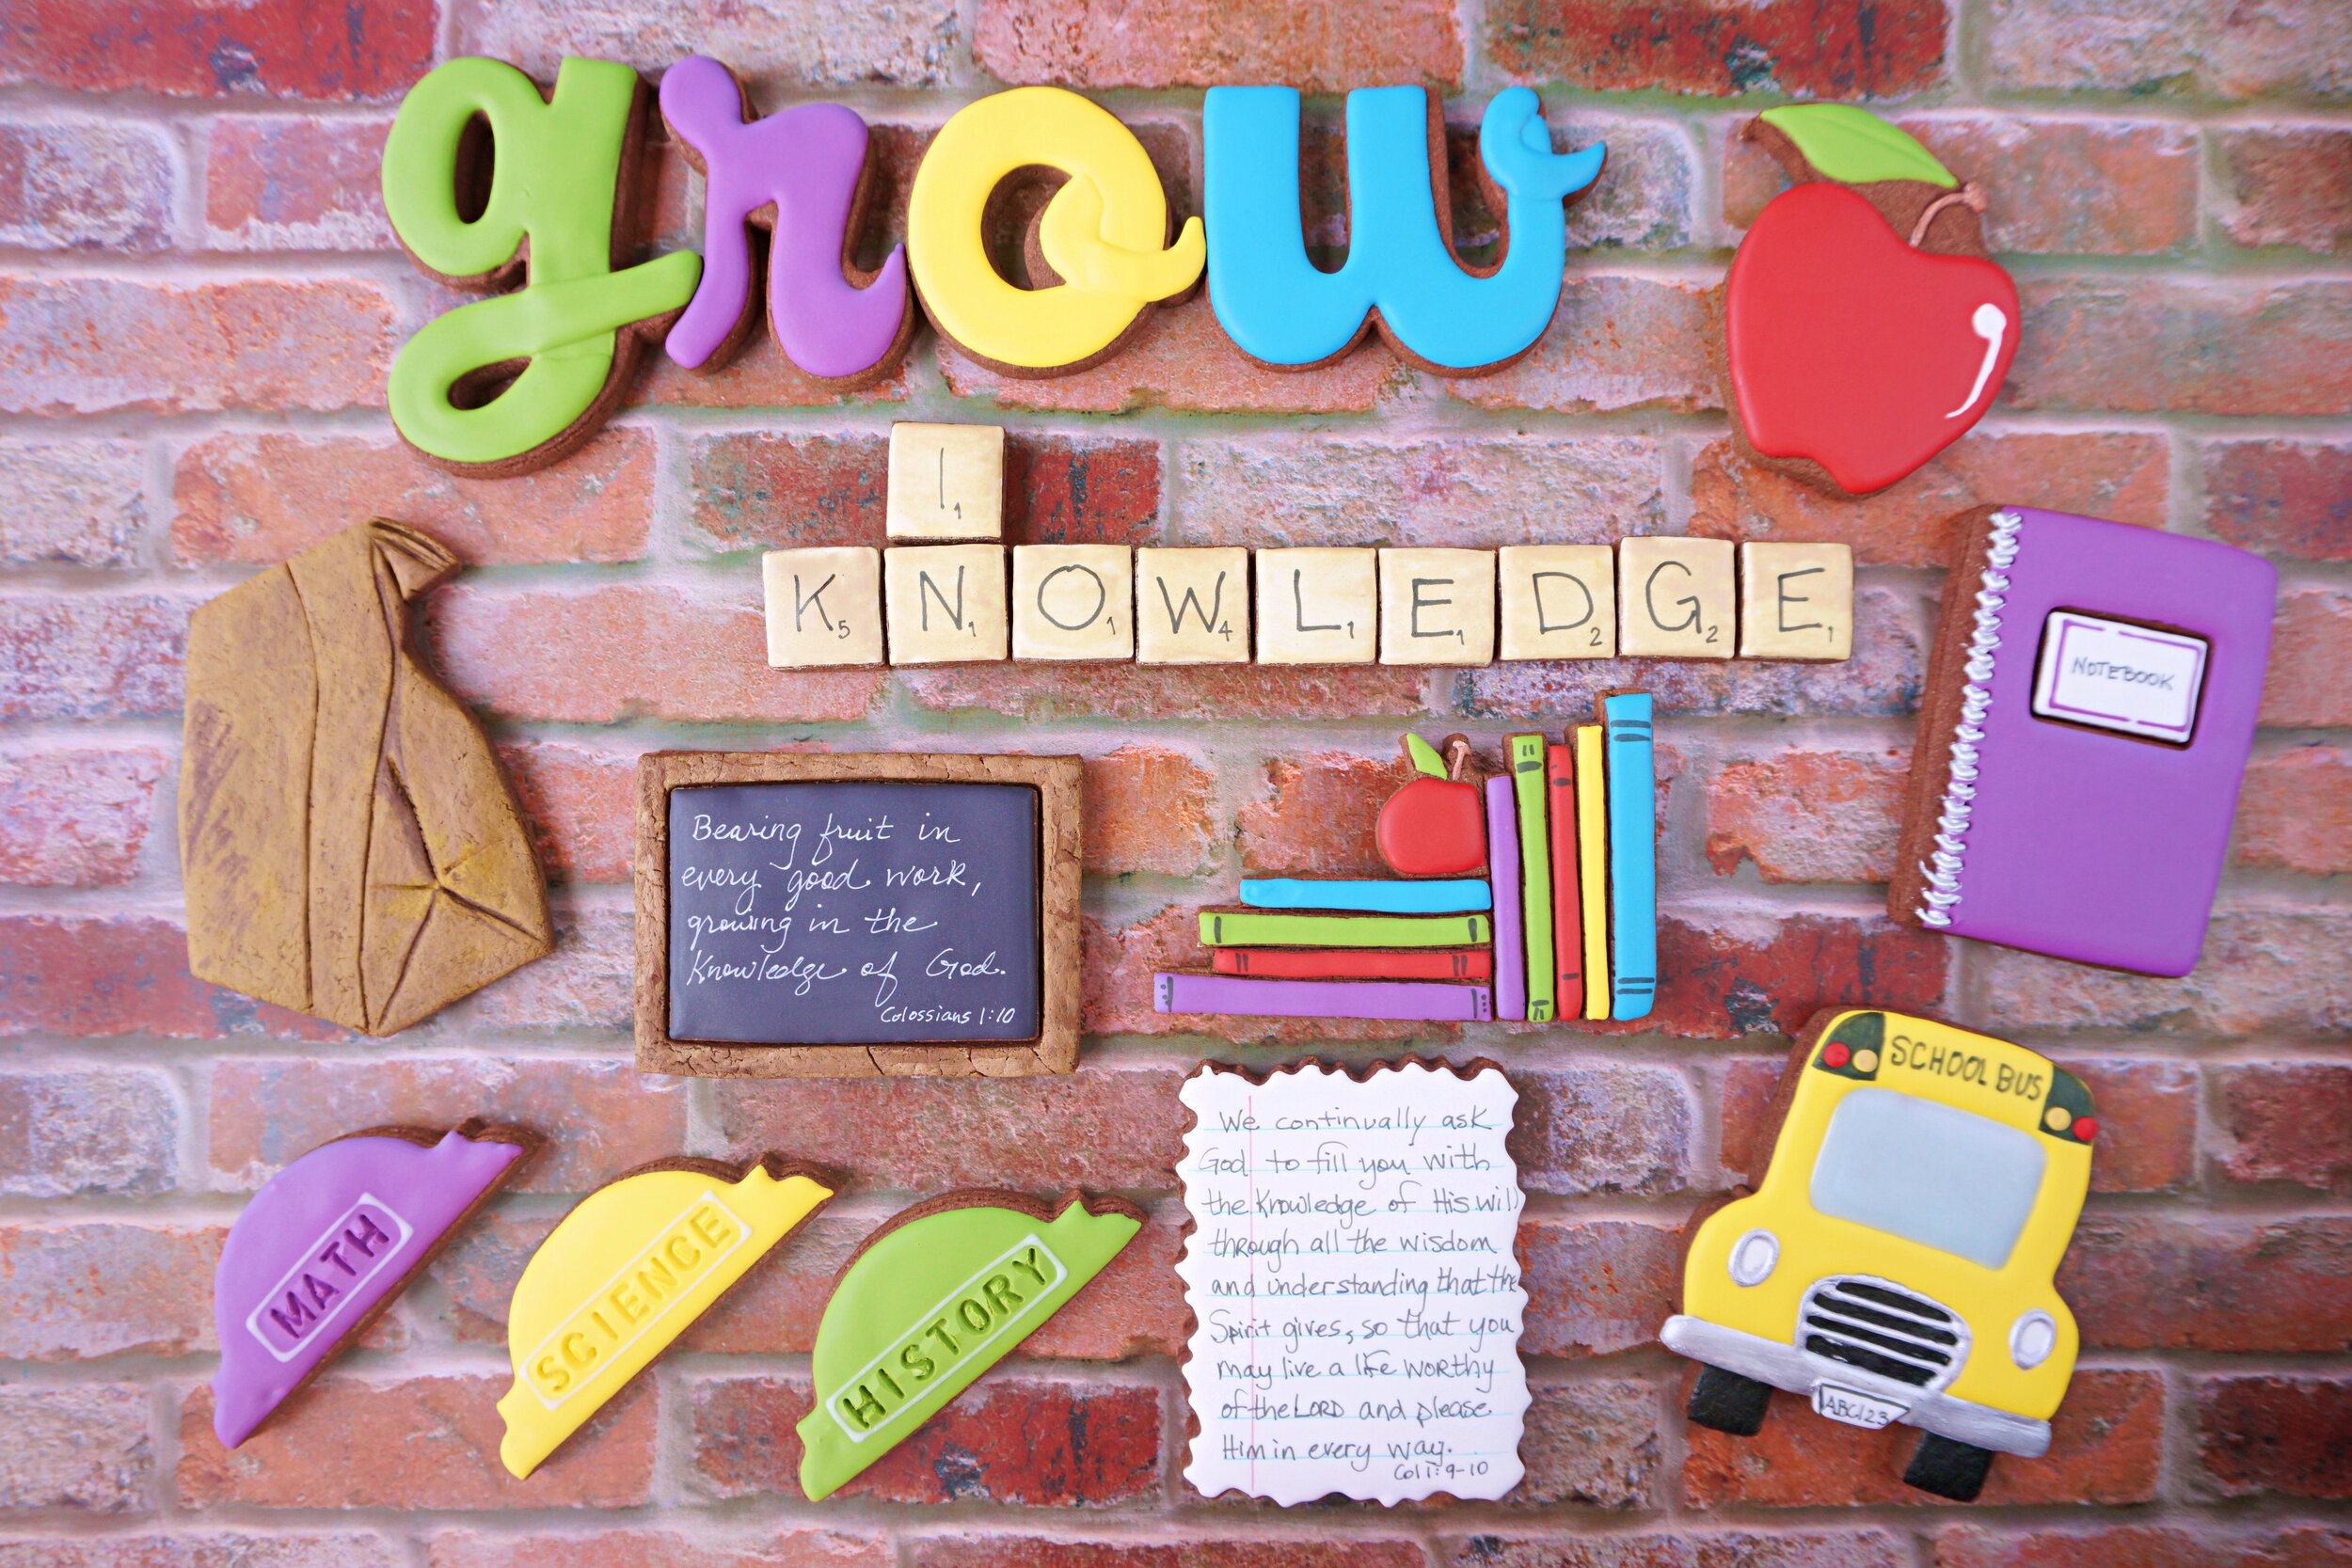
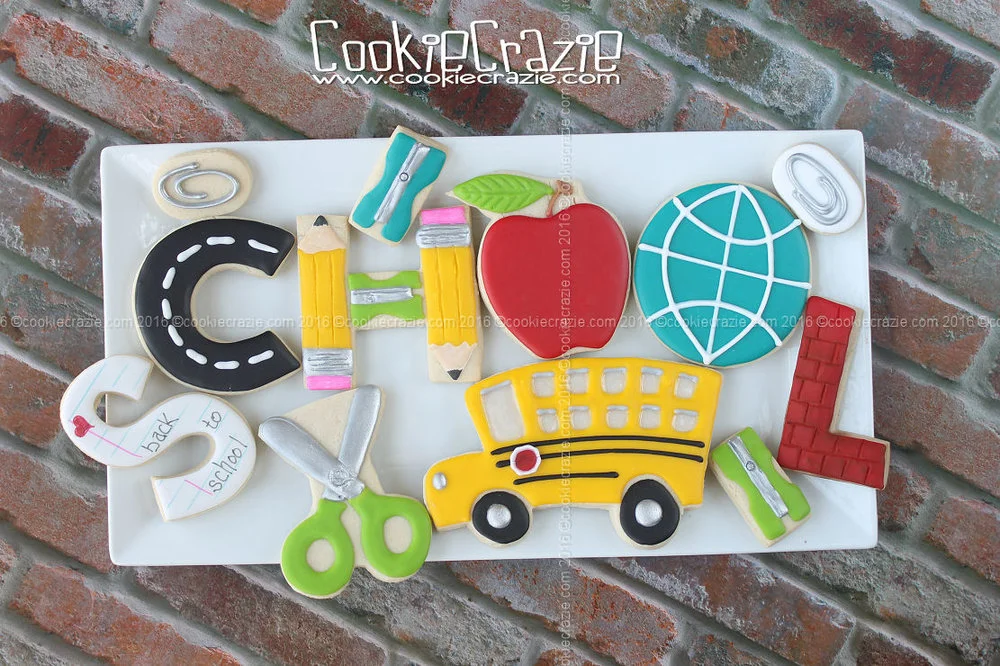
school supplies

Back to School 2018 Decorated Cookie Collection

Woah! Where has the summer gone?

As usual, time is flying way faster than we can keep up with. And since school starts super early these days, it's time to go back to school soon. But cheer up.....there's cookies to celebrate! :)

[Click on the drop down links to go to corresponding YouTube tutorial videos of the featured cookies.]

Scrabble Tile Pieces Decorated Sugar Cookies YouTube video HERE

Pencil Decorated Sugar Cookie YouTube video HERE

School Desk Decorated Sugar Cookie YouTube video HERE

Open Book Decorated Sugar Cookie YouTube video HERE

Stapler Decorated Sugar Cookie YouTube video HERE

Magnifying Glass Decorated Sugar Cookie YouTube video HERE

Banana Decorated Sugar Cookie YouTube video HERE

Locker Decorated Sugar Cookie YouTube video HERE

Tablet of Paper Decorated Sugar Cookie YouTube video HERE

Tablet of Paper Decorated Sugar Cookie YouTube video HERE


CookieCrazie Chatter...... Friday, August 12, 2016

_________________________________________________________

CookieCrazie's Week in Review

/www.cookiecrazie.com//2016/08/clipboard-decorated-cookie-tutorial.html
/www.cookiecrazie.com//2016/08/2016-back-to-school-cookie-collection.html

_________________________________________________

Personal Side

I'm writing this ahead of time as I wait to depart for the airport on Wednesday.

We are headed to Ukraine in just a few hours!

I don't know what my wifi situation will be like on Friday,

so I decided just get this all loaded up to automatically post today.

It has been a whirlwind week.

Sadly, I injured my lower back on Saturday and was in so much pain and limited movement,

that I really didn't think I was going to get to go on the trip.

I could hardly bend over....and putting on my socks was excruciating (and nearly impossible)!

But thankfully God orchestrated lots of help for me.

I work in a chiropractic office now, and the doctors and physical therapist are like family.

They took good care of me on Monday and Tuesday.

I believe I had every treatment know to mankind for lower back pain. ;)

And I'm happy to share that in just 48 hours, my back has improved remarkably.

I'm still not 100%, but I'm getting there.

I'm a bit concerned about the long flight overseas.....having to sit too much for long periods of time.

But I'm armed with supplements, exercises, and lots of good advice. :)

This is my ninth trip to Ukraine.

I am so excited to return and greet all of our family there.

It is like a huge family reunion....and they are all so kind to us.

What a privilege God has given me to serve them.... but the truth be told, THEY serve US.

My perspective is always moved to a better place as I go there.

I remember what is most important and am humbled

by the genuine, humble, & content people we visit.

The trip is hard work.....and sometimes grueling.....but worth everything!

It is like a huge amazing Christmas present every year.

I look forward to see what God has in store for all of us.

I'll share as much as I can.

Hopefully I can get some photos and updates posted to Instagram and Facebook.

And of course, I'll dedicate a whole blog post to the trip and the cookies I made for the Ukrainians. :)

Thank you for all your support, love, and encouragement.

Isn't it amazing what cookies can do?!

♥♥♥

Instagram photos for this week:

Happy Friday with a cherry on top! 🍒
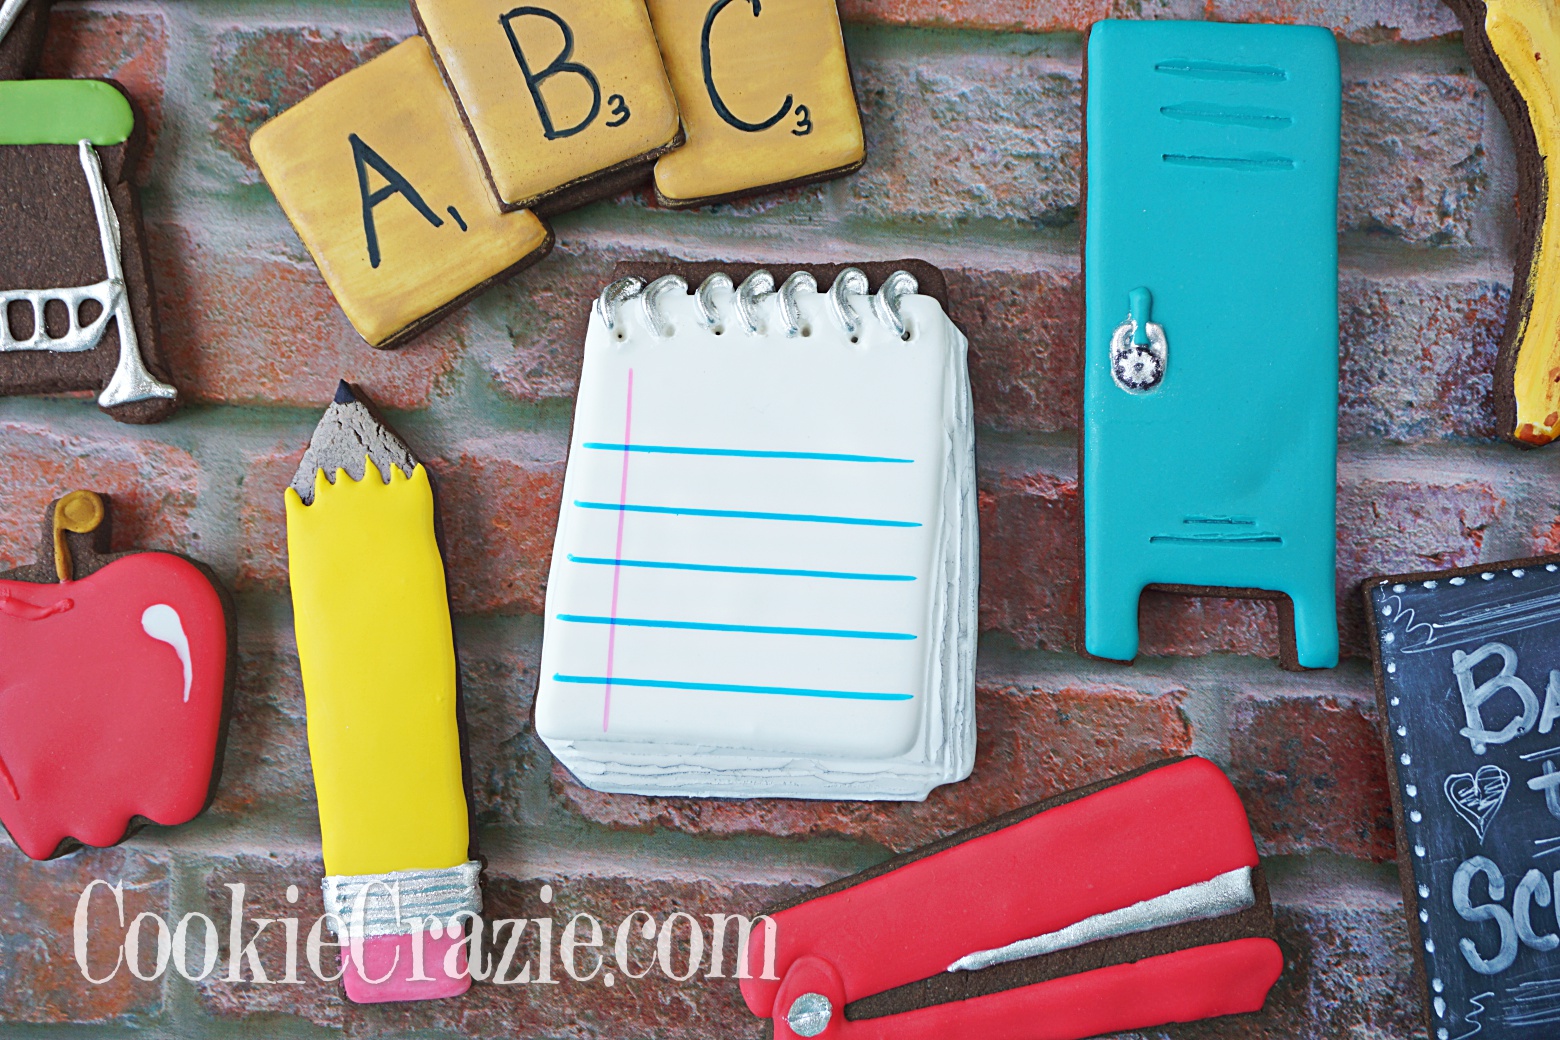
🍎🍏🍎

Happy Sunday!

Have an apple-icious day!

BTS Lunch Box cookies from last year.....

/www.cookiecrazie.com//2015/08/lunch-box-cookies-tutorial.html

_________________________________________

Last CookieCrazie Chatter....

CookieCrazie Chatter...... August 5, 2016

2016 Back To School Cookie Collection

It's that time of year again!

School is officially in session. 📚📝📓🖇🖍📋

For all the teachers and students.......may this be the best year yet. :)

Paper Clip & Pencil Sharpener Decorated Cookies (Tutorial)

/www.cookiecrazie.com//2016/08/paper-clip-pencil-sharpener-decorated.html
/www.cookiecrazie.com//2016/08/clipboard-decorated-cookie-tutorial.html

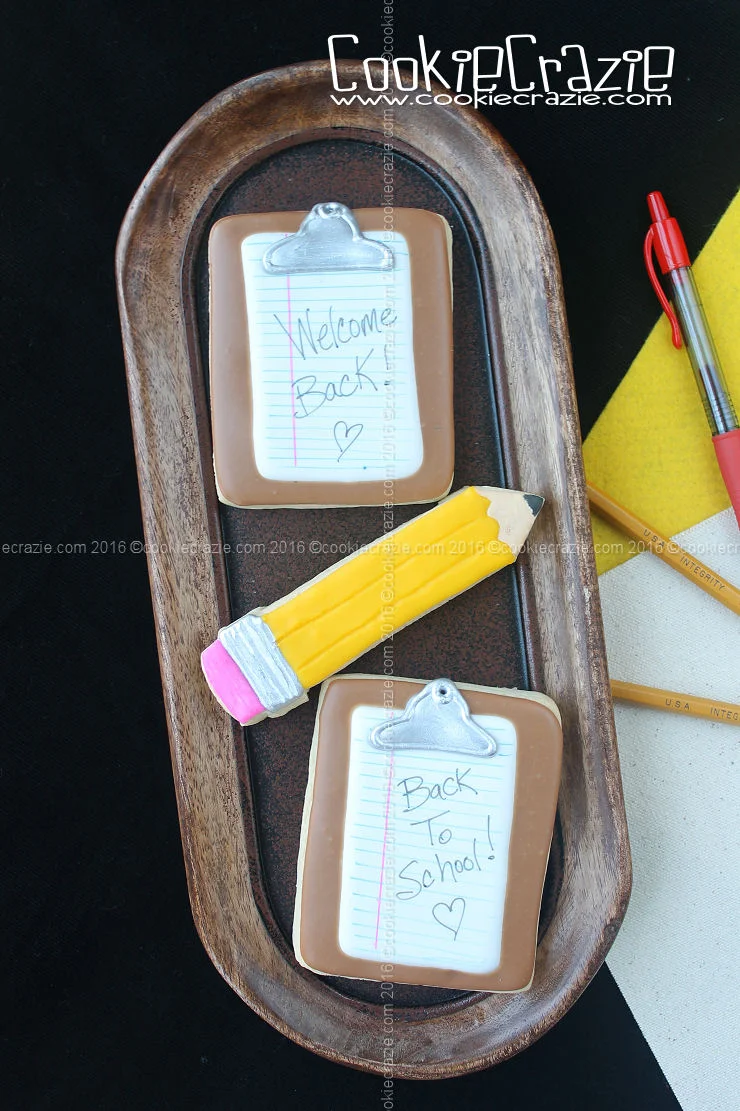
Clipboard Decorated Cookie (Tutorial)

How about a clipboard cookie to celebrate the new school year?

The shape is simple......a wide rectangle.

Outline and flood the entire cookie with a light brown glaze.

 After an hour of dry time, outline and flood the center of the rectangle with white glaze

to represent notebook paper.

(see photo below)

After another hour of dry time, add gray glaze as shown below for the silver clip.

Dry cookies overnight.

 Make a mixture of silver dust with almond extract or vodka and paint over the gray clip.

To create the notebook paper look, add blue horizontal lines and 

one pink vertical line as shown below.

(Here are the markers I used.) 

If desired, use a black food color marker to add a message on the "clipboard".

Paper Clip & Pencil Sharpener Decorated Cookies (Tutorial)

For this new Back To School season, I wanted to do some shapes I'd never attempted before.

Even though a paper clip and a pencil sharpener might be funny shapes to put on a cookie,

they definitely don't require a special cutter.

And they are fairly simple to decorate. :)

I used this set of oval cutters for the paper clips.

The pencil sharpeners started with a 2" x 1" rectangle cutter.

For the paper clip cookie, you can do it two ways.

You can add the silver paper clip (with glaze) to a naked oval cookie,

or you can outline and flood the cookie first with white glaze, allow it to dry for at least 1 hour, 

and then add the silver paper clip.

Allow the cookies to dry overnight.

Paint over the paper clip with silver luster dust mixed with vodka or clear extract (ex. almond) to give it the metallic look.

(I apologize that I forgot to photograph this step.)

For the pencil sharpeners, outline and flood the side panels with glaze.

(see photo below)

 After the cookies have dried for at least 1 hour, add the center gray area of the sharpener.

 Allow the gray area to dry for about 1-2 hours, and then add the indented line to one side of the "blade" and use a #4 decorating tip to add a circle in the blade to represent a screw.

 (see photo below)

Allow the cookies to dry overnight.

Paint over the silver middle (the blade) with silver luster dust mixed with vodka or clear extract (ex. almond) to give it the metallic look.

Member Login
Welcome, (First Name)!

Forgot? Show
Log In
Enter Member Area
My Profile Not a member? Sign up. Log Out