Scrolling through past CookieCrazie spring posts.......
you'll see that I have a bit of an obsession with trying to emulate a daffodil in cookie form.
Each year, I'm trying to find a new way to make them look as 3D as possible. :)
Well......with a new daffodil CookieCrazie custom cutter at CreativeCookier,
me thinks I am finally satisfied with the latest daffodil creation.
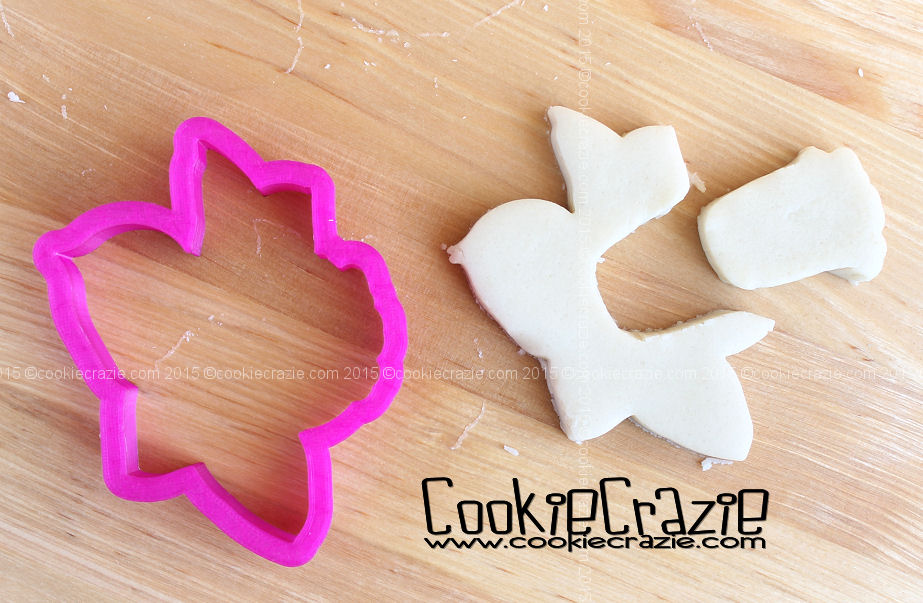
Cut out two daffodils with the new custom cutter.
One will be the base of the cookie.
With the other, cut out the corona (cup-shaped part of daffodil) as shown below.
One will be the base of the cookie.
With the other, cut out the corona (cup-shaped part of daffodil) as shown below.
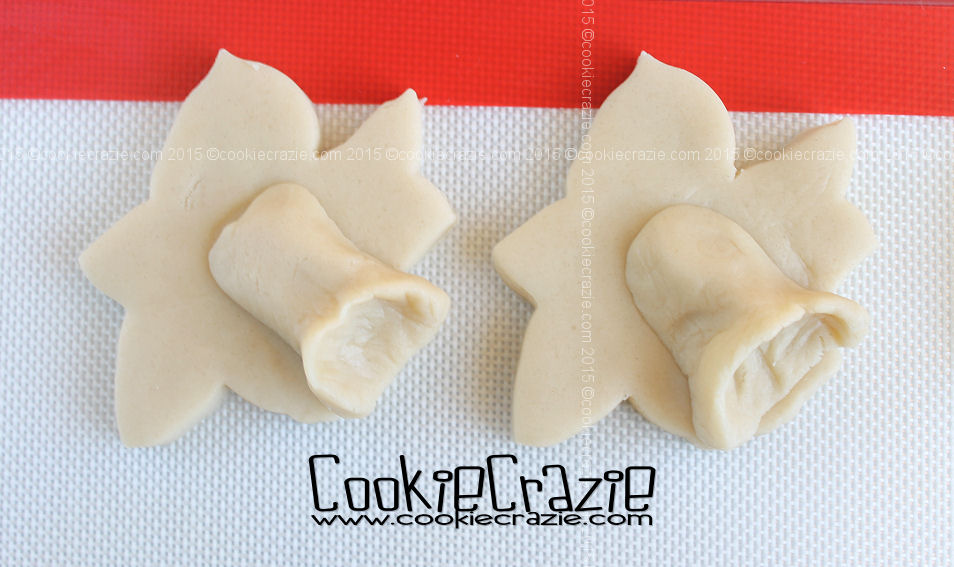
Add the cut-out to the corresponding place on the base cookie and
then shape it to form a cup on the one side.
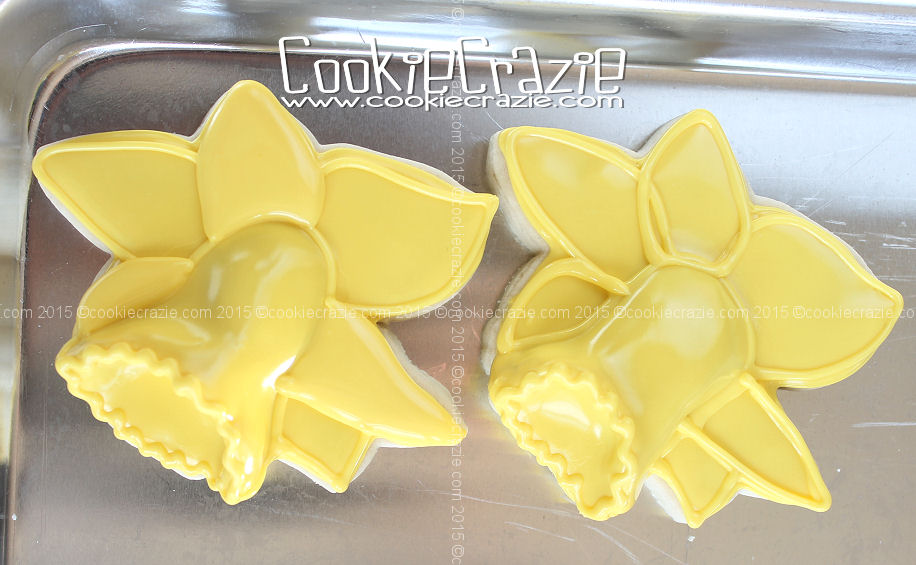
Once the cookie is baked, outline and flood it with yellow glaze.
Be careful to not put too much glaze on the 3D cup, since it will blob at the base of the cup.

After at least 30 min, outline every other petal with same yellow glaze and flood them.
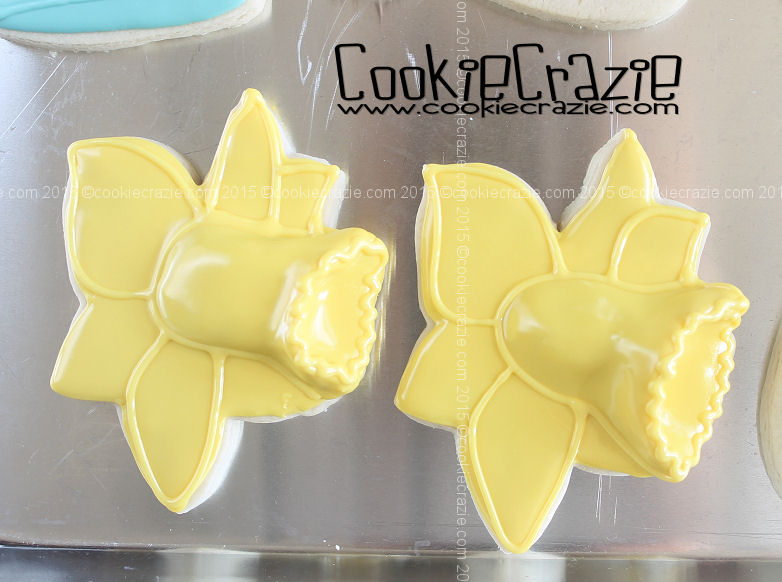
Outline the remaining petals and flood them.
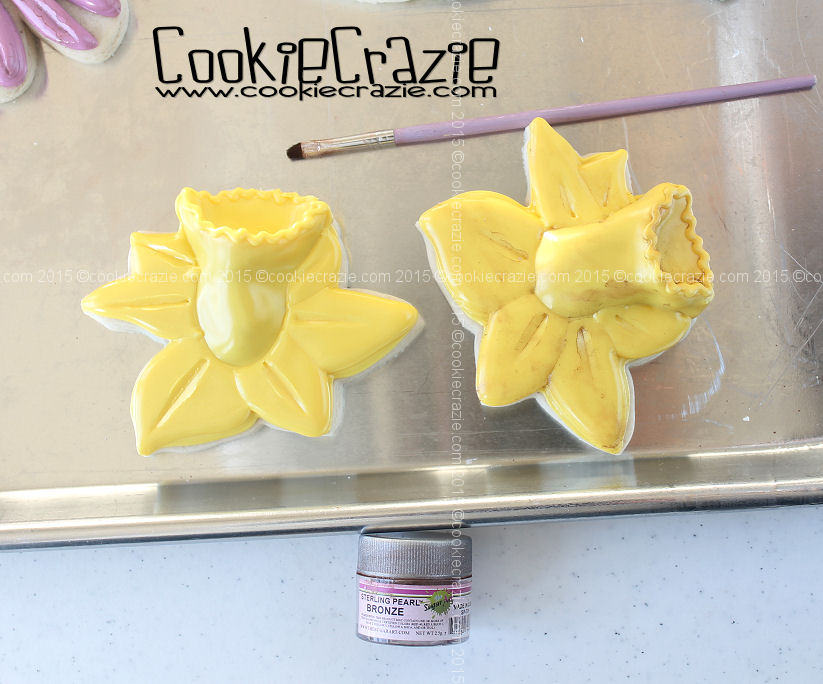
Add a fluted line to the rim of the corona as shown in photos.
If desired, wait about 2 hours and add mid-to-center indention marks
to each of the petals with a cake tester.
Dry overnight.
Lightly brush on bronze pearl dust all over the nooks and crannies of the daffodil cookie
to give it a more realistic look.