
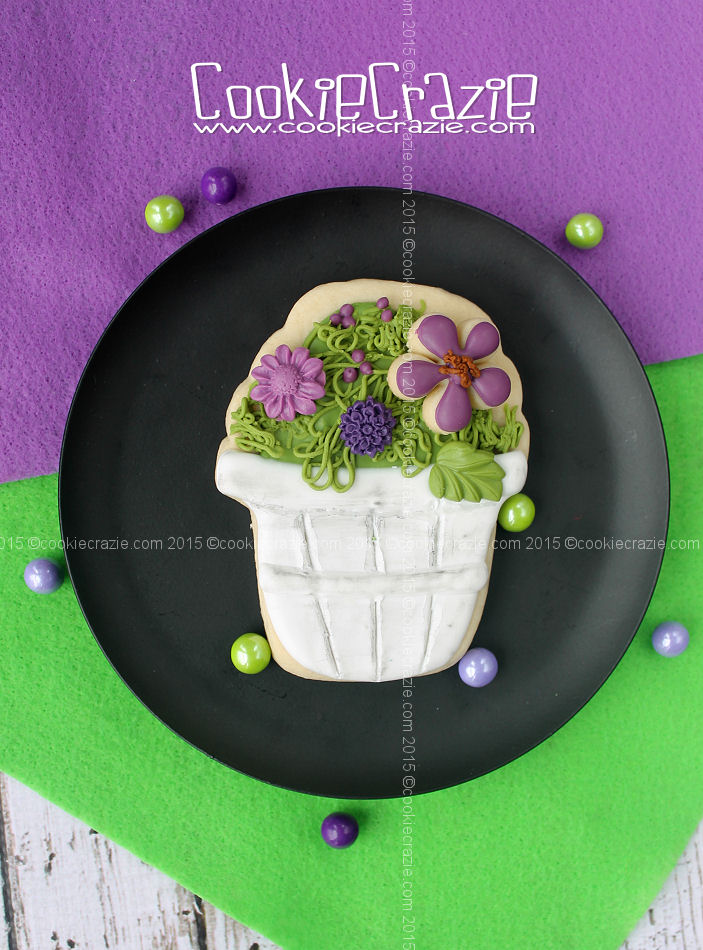
Flowers in a Basket Cookie......so appropriate for spring and Mothers Day celebrations.
This is the second of three tutorials for spring using the CookieCrazie custom cupcake cutter.
The first was the Woodland Moss Pot Cookie.
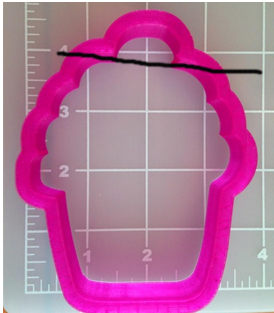
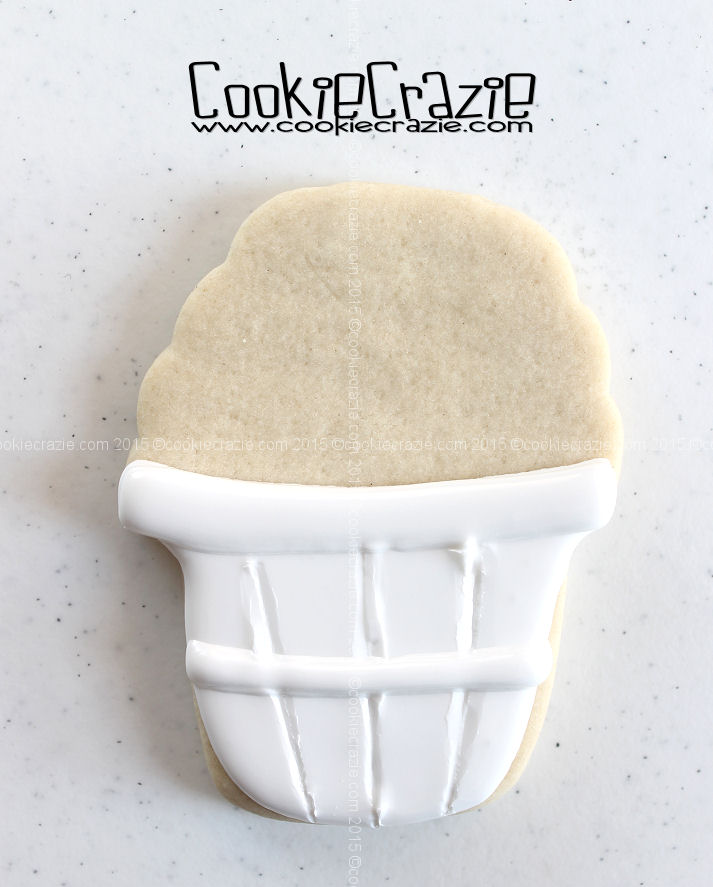
When cutting the cookie, cut the top off the cupcake as seen in the photo below.
Once it is baked, outline and flood the bottom portion of the cookie with white 10-second glaze.
(see photo below)
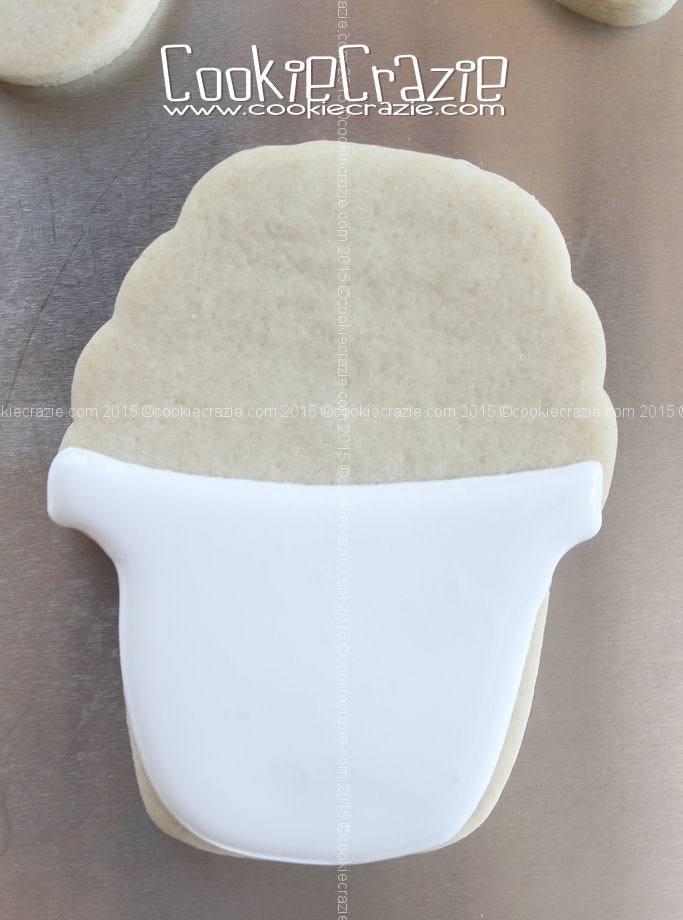
Allow the glaze to dry for 2-3 hours.
Using a cake tester, make vertical basket lines in the partially dried glaze.
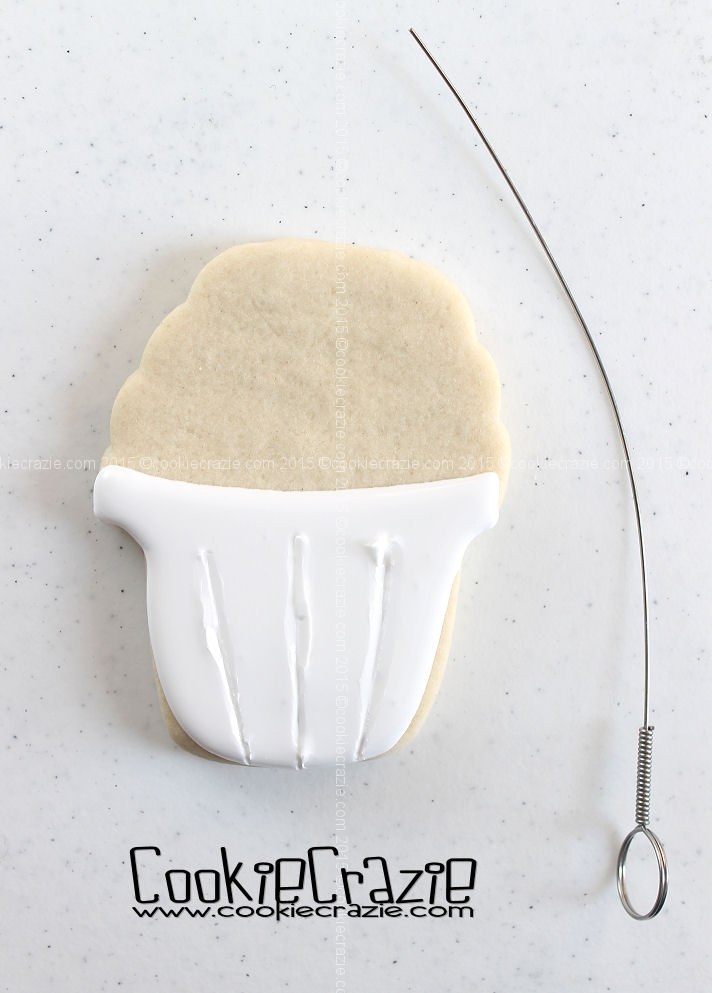
Outline and flood horizontal bands with white glaze at the top and middle of the white basket.
(see photo below)
Outline and flood the top portion of the cookie with green glaze.
(sorry.....no photo specifically of this)
Once it has dried for at least an hour,
pipe green edible clay through the grass/hair tip on to green glaze.
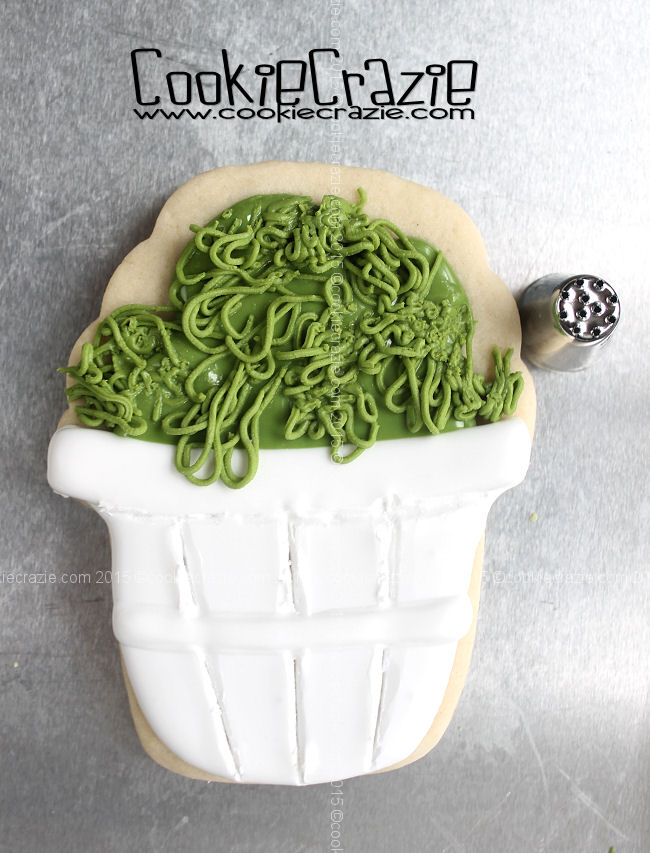
Let your creativity take it from there.
Add leaves and flowers in the mix.
The cookie in the photo has a mini cookie flower plus molded edible clay.
Once the cookie has dried overnight,
brush the white basket with some black petal dust to bring out the texture.