knitted look

Knitted & Crocheted Easter Cookie Collection


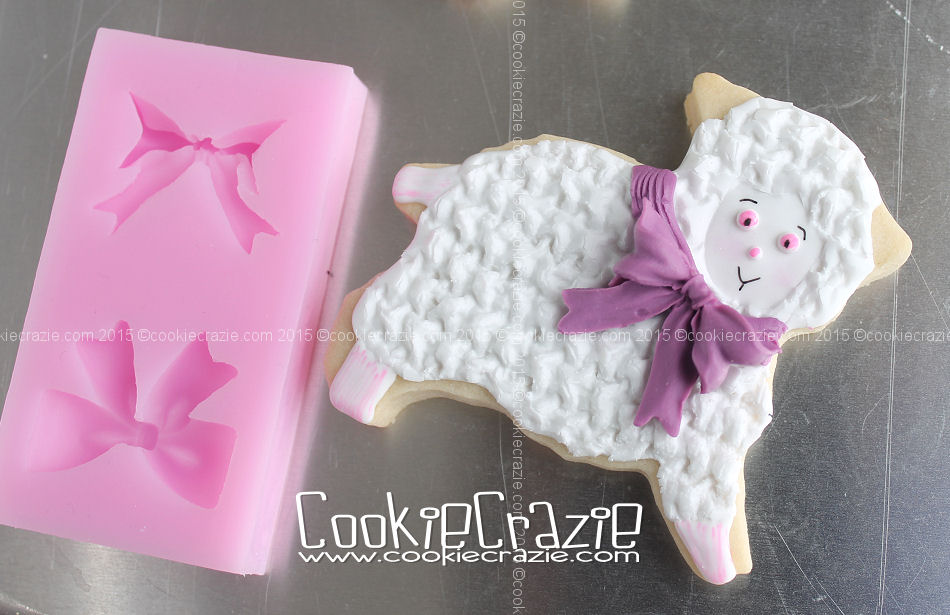
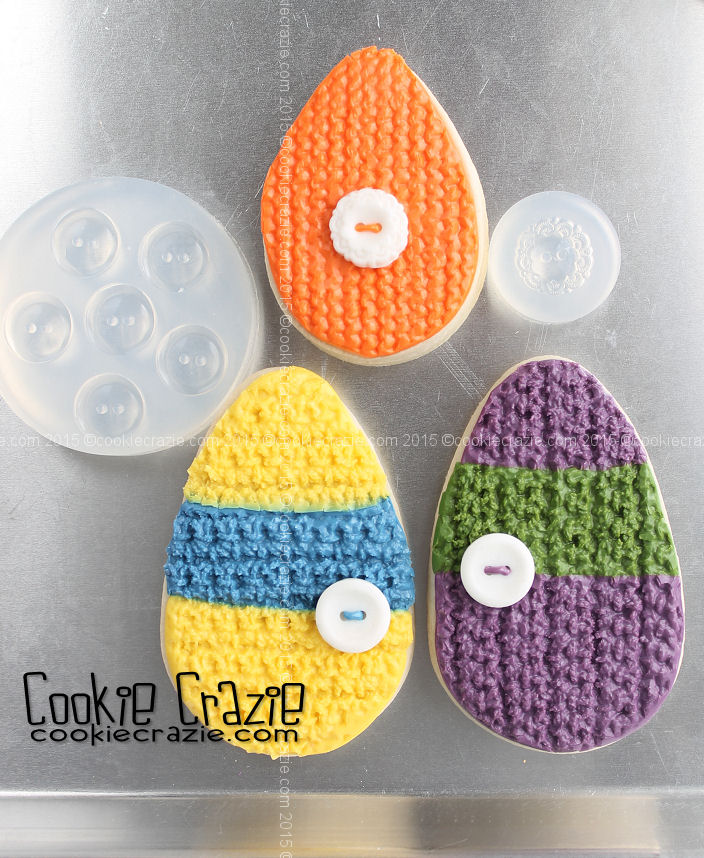
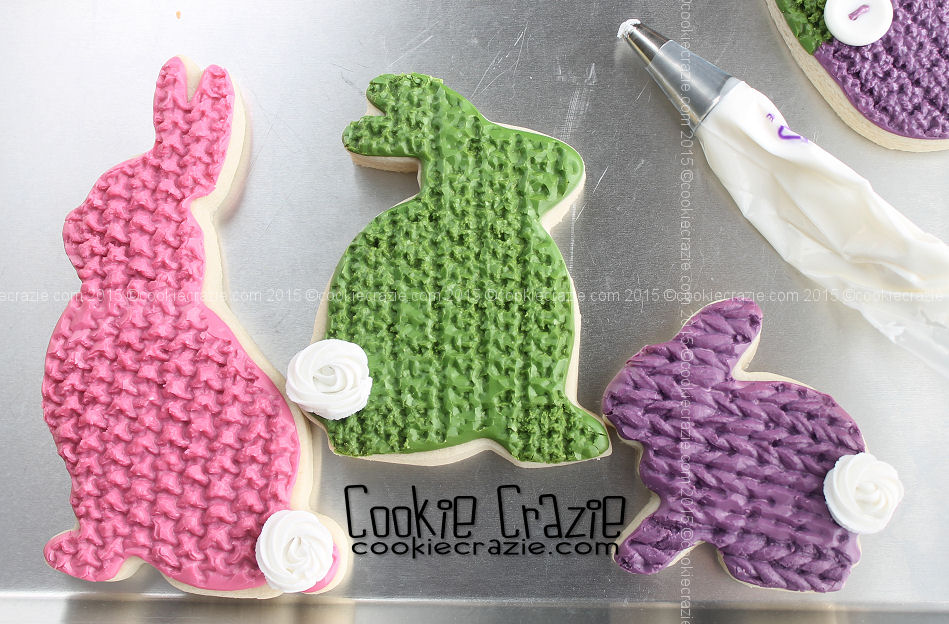
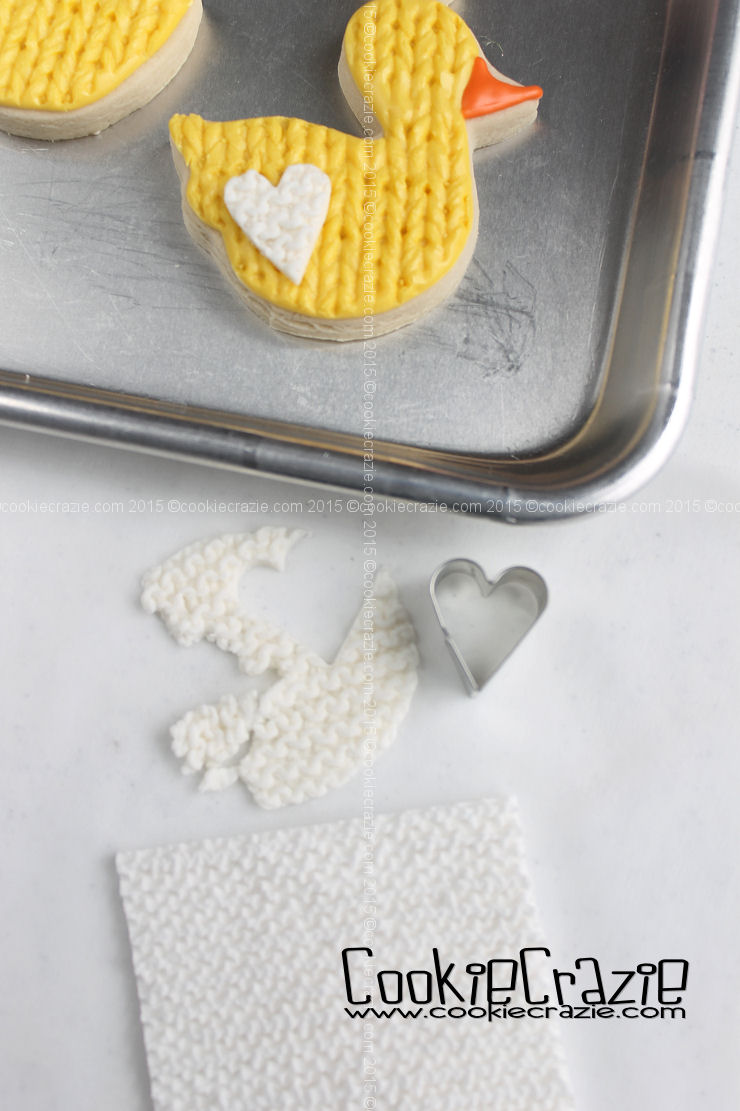
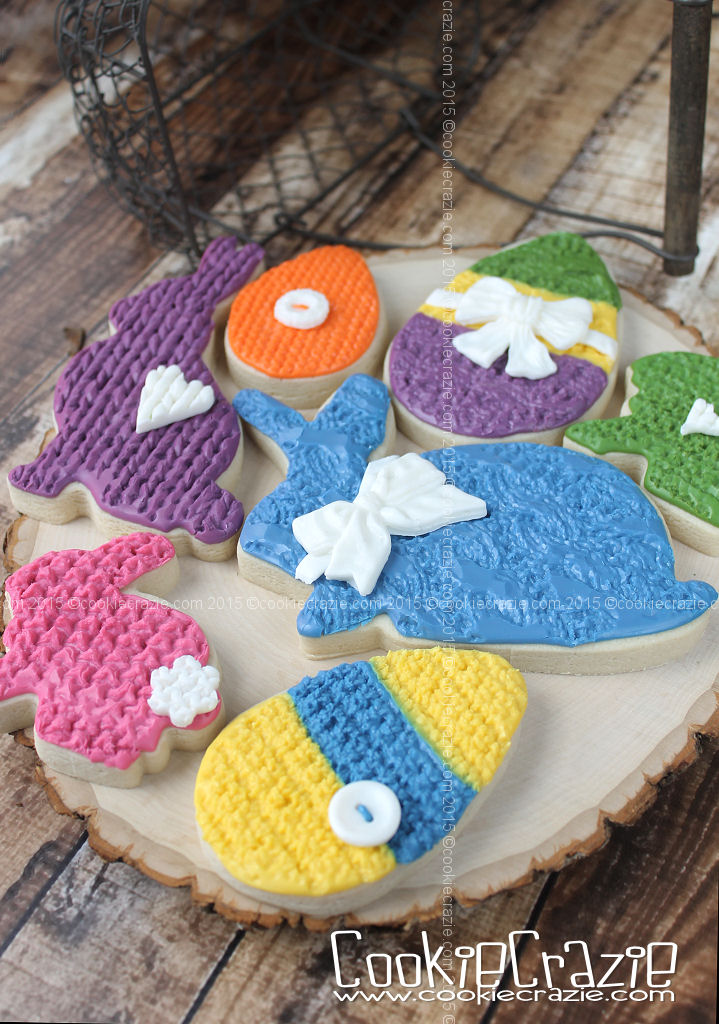
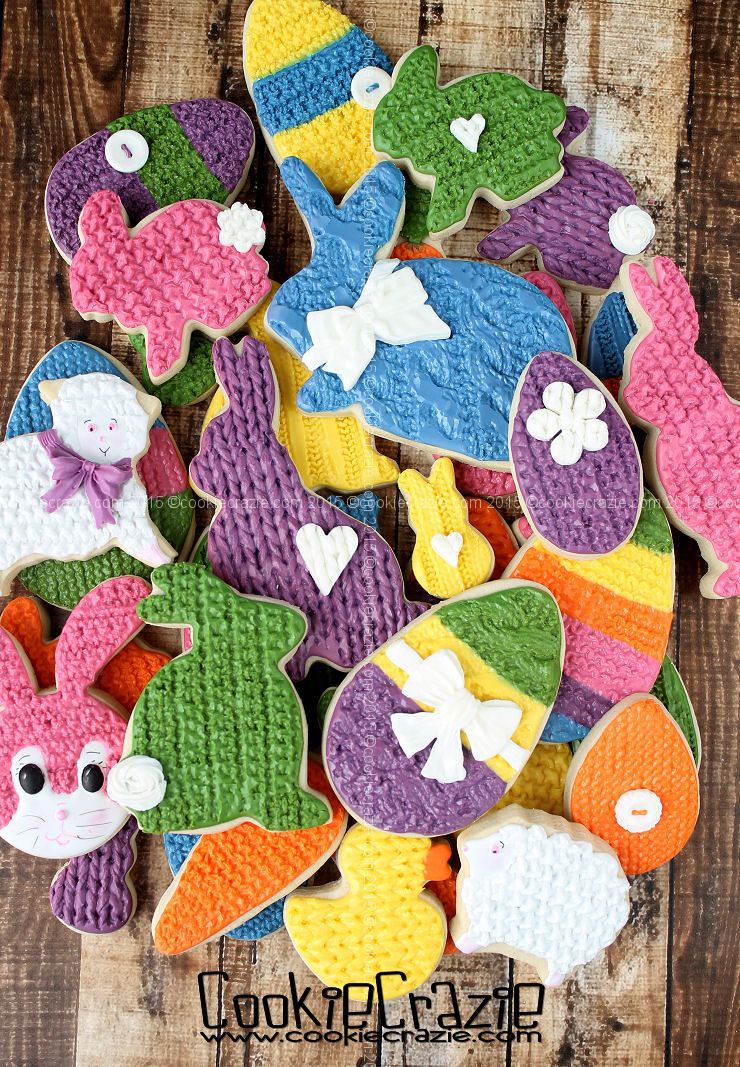
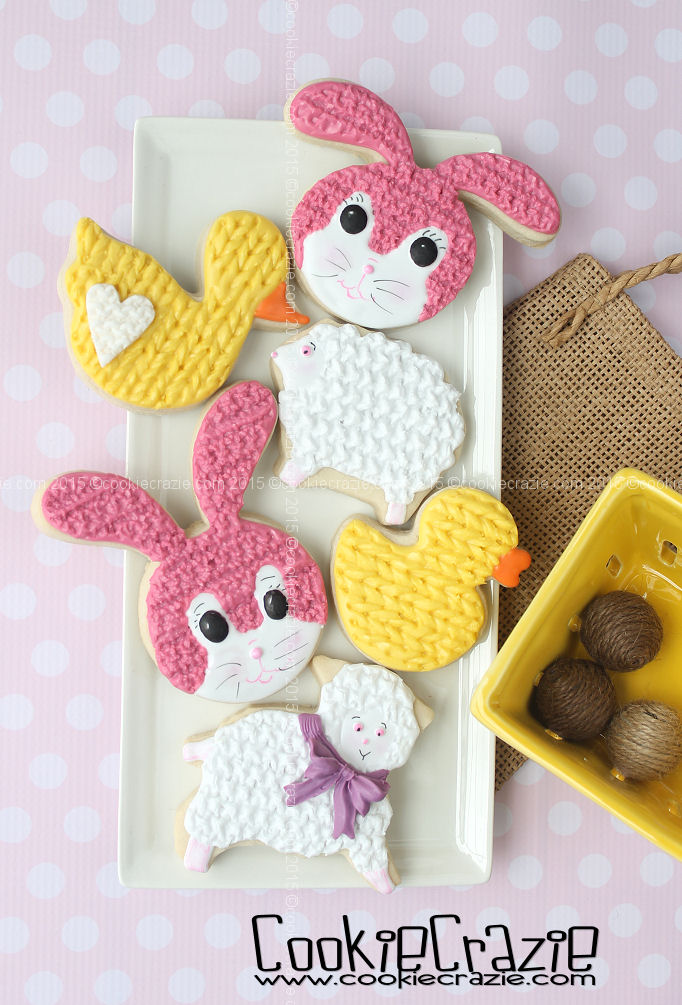
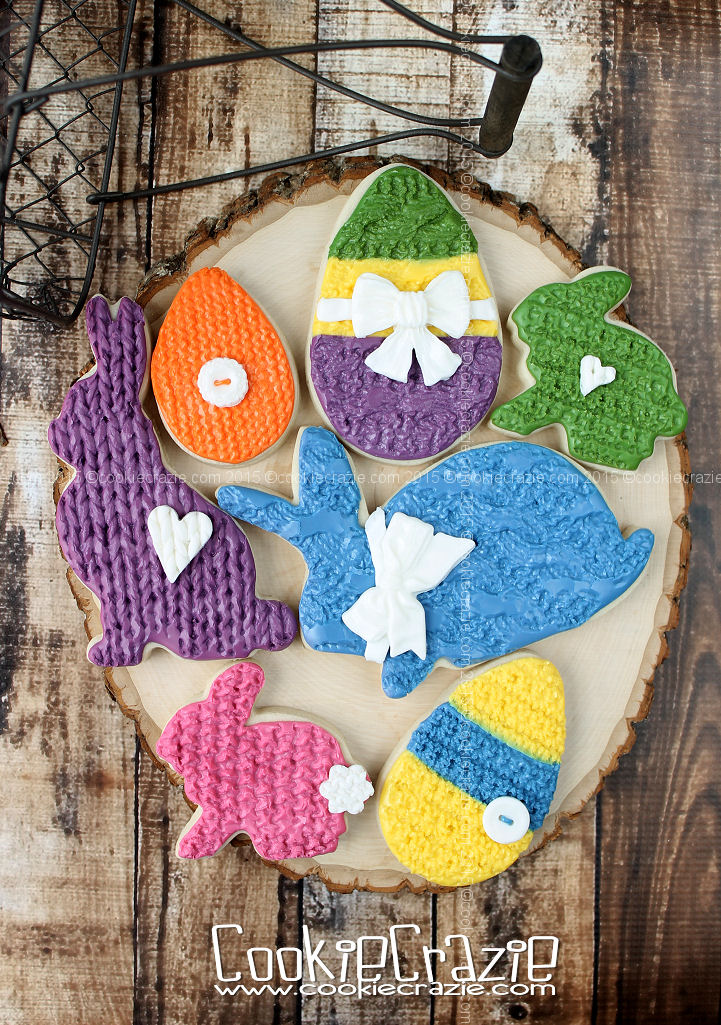
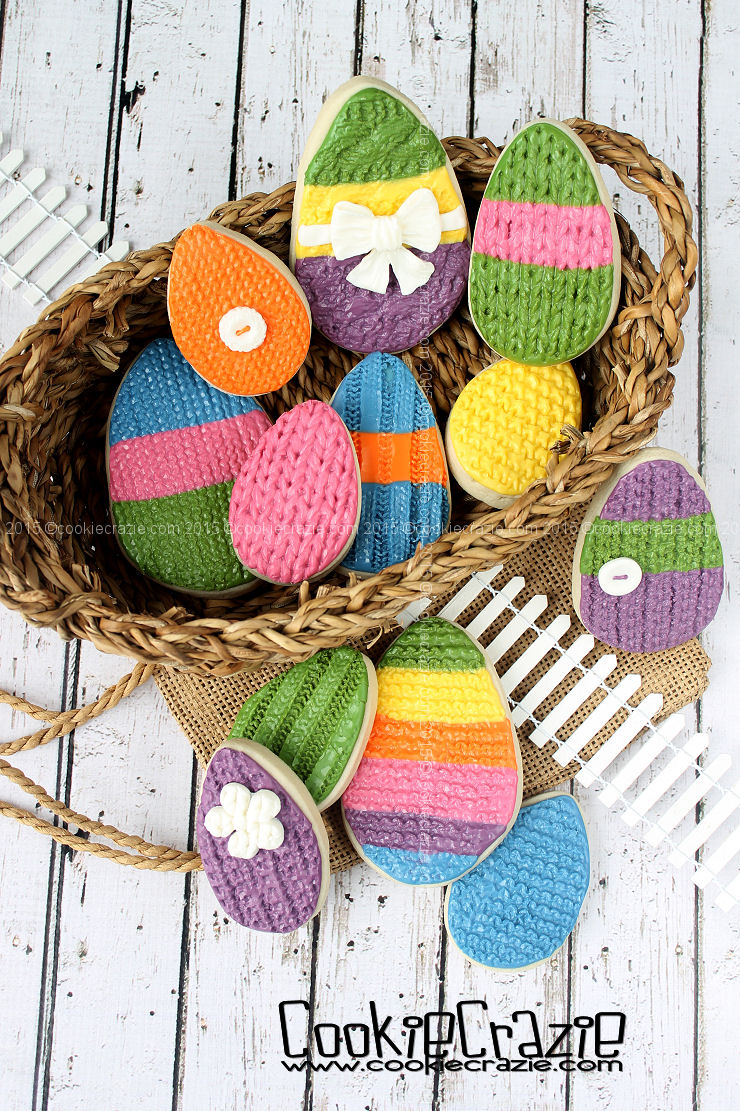
There's something about the knitted and crochet textures that really make these spring cookies pop!
The colors.....the shapes.....all of it screams S.P.R.I.N.G!


/www.cookiecrazie.com//2015/03/knittedcrocheted-spring-animal-cookies.html


/www.cookiecrazie.com//2015/03/spring-edible-clay-cookie.html


I hope your Easter season is filled with lots of wonderful memories and joyous celebrations.


For what I received I passed on to you as of first importance: that Christ died for our sins according to the Scriptures, that he was buried, that he was raised on the third day according to the Scriptures.
1 Corinthians 15:3-4


Happy Resurrection Day to all of you!


Spring Edible Clay Cookie Embellishments (Tutorial)


Just recently I found some amazing characteristics of edible clay that
work great for embellishing decorated cookies.

So I tried several techniques out on my Easter/Spring collection.


For the bunny's ribbon, I piped edible clay around it's neck with a basketweave tip 
and then topped it with a bow made from edible clay using this mold.


The lamb's ribbon and bow used the same scenario......with this bow mold.


And this large Easter egg was the same.....only using this bow mold.


Just adding a cute little button and piping a  thread stitch on it really adds to an egg cookie too.

These buttons were made with this mold and this mold.


Use edible clay to add a swirly rose for the bunny tails.


Or mold the clay onto a texture mat and freeze it......
then cut out a shape from the cold clay and add it to your design.
(see photo below)


So many possibilities from edible clay!


/www.cookiecrazie.com//2015/03/knittedcrocheted-spring-animal-cookies.html


Knitted/Crocheted Spring Animal Cookies (Tutorial)

Now that I've found

these awesome texture mats

that resemble

knit

and

crochet

work,

it seemed like that texture would be a perfect for all-things-spring and Easter.

Basically, you just need to outline and flood

10-second glaze

onto your favorite spring shapes,

let them partially dry for about 4 hours, and then press the mats into the glaze.

Once they've been textured, add the details as desired.

For the lambs, I omitted the face, hooves, tail, and ears when flooding

so that I could go back and add a flat surface for contrast.

Let them partially dry for about 4 hours, and then press the mats into the glaze.

After you've textured the lambs, go back and fill in the face, hooves, tail, and/or ears.

(Oops.....I forgot to fill in the ears on the left lamb!)

Allow the lamb to dry overnight and then add some pinkish cheeks with

luster dust

,

pink eyes, nose, hooves with a

pink Foodoodler marker

,

and black eye pupil and eyebrows with a

black Rainbow Dust marker

.

For the bunny faces, flood everything but the eye and mouth area (shown below).

Let them partially dry for about 4 hours, and then press the mats into the glaze.

Once the texturizing is complete, flood the rest of the cookie with white glaze.

Wait about 15 min and then add eyes and a tiny nose. (see right bunny on photo below)

Dry overnight.

Use a

black Americolor gourmet writer

to color the eyes completely black.

Add some pinkish cheeks with

luster dust

,

pink nose and mouth with a

pink Foodoodler marker

,

and black lashes, eyebrows, and whiskers with a

black Rainbow Dust marker

.

Simply Winter Cookies: Snowman with Knit Cap (Tutorial)


To make a snowman cookie with knit cap you'll need:

 Cut out a cupcake cookie and a circle cookie and piece them together as shown.
Note: The cookie in the middle of these next two photos is the snowman with top hat.
The cookie on the left  is the snowman with knit cap.


Outline the "piles" of knitted cap on the top of the cookie.
After it has dried for about 15 minutes, add the flood icing and any pattern you'd like.

Outline and flood the little pompom on top of the hat.
Allow the cookie to dry overnight.

 Using black and orange glaze, add eyes and a carrot nose.
 Use a food color marker to make a mouth, eyebrows, or any other details you'd like.


Here's the three snowman cookies I made with my new cupcake cutter.
Tutorial for the snowman with top hat HERE.
Tutorial for the snowman scene coming soon.

Simply Winter Cookies

Pastel Christmas Cookie Collection


One of my favorite projects this season.
I've been wanting to do applique, the knitted-look, and a Christmas village.
So I did them all in pastels. :)


Member Login
Welcome, (First Name)!

Forgot? Show
Log In
Enter Member Area
My Profile Not a member? Sign up. Log Out