It's been a while since I've posted a cookie tutorial related to
Serving Mom Breakfast in Bed.....a COOKIE Breakfast.
One of the most popular cookies in that collection was BACON.
It seems that bacon is all-the-rage these days.
And for good reason.......it is delicious! :)
Making bacon look realistic on a cookie is WAY HARDER than I ever imagined.
Getting the colors "just right" is the hardest part.
There is no way to begin to tell you how to get the most authentic colors.......
but I can at least describe to you how I decorated the cookies.
To make the bacon cookies.......cut long rectangles, and then scrunch them up around the edges
and lay them willy-nilly over wadded up foil to give them that curvy look.
Bake as usual.
I made three different
10-second glaze colors: dark & medium reddish brown, and light tan.
With medium brown glaze, outline and flood some inner portions of the strip (see photo below).
And finally, with the tan glaze, fill in the rest of the strip of bacon.
(There's no need for long dry times since bleeding is perfectly acceptable in this case. :))
Allow the cookies to dry overnight.
Brush on a thin layer of corn syrup and sprinkle
black sanding sugar (pepper!) on each strip of bacon.
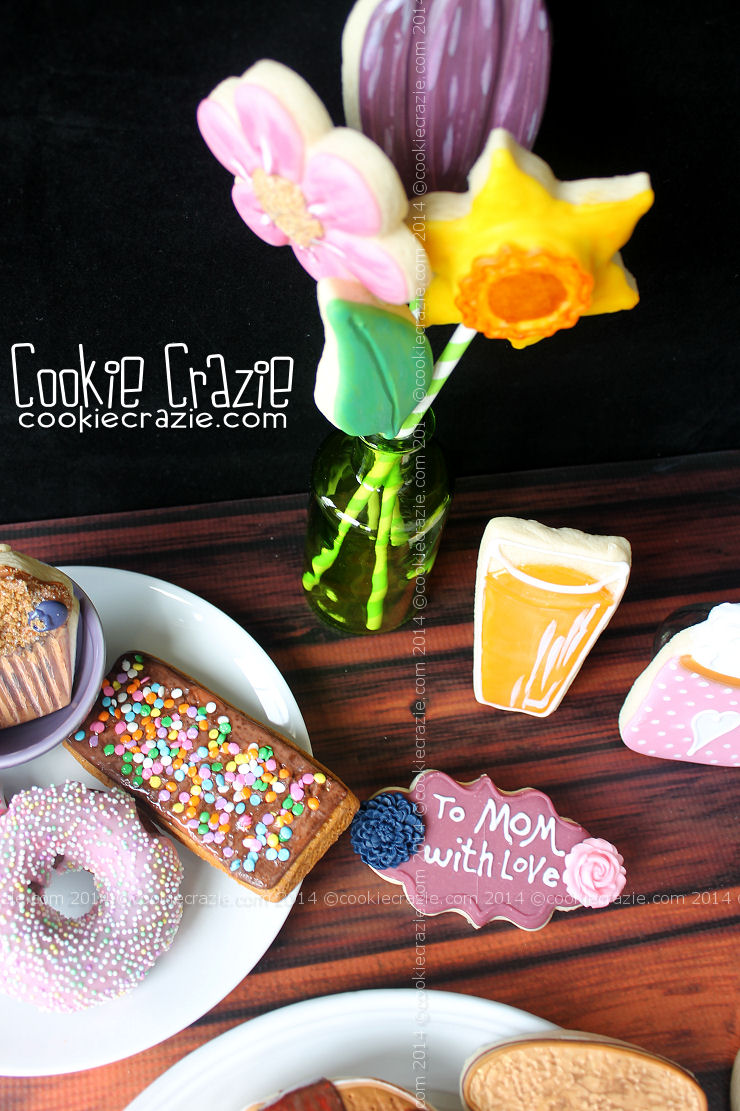
Dessert for Breakfast Cookie Collection