rain

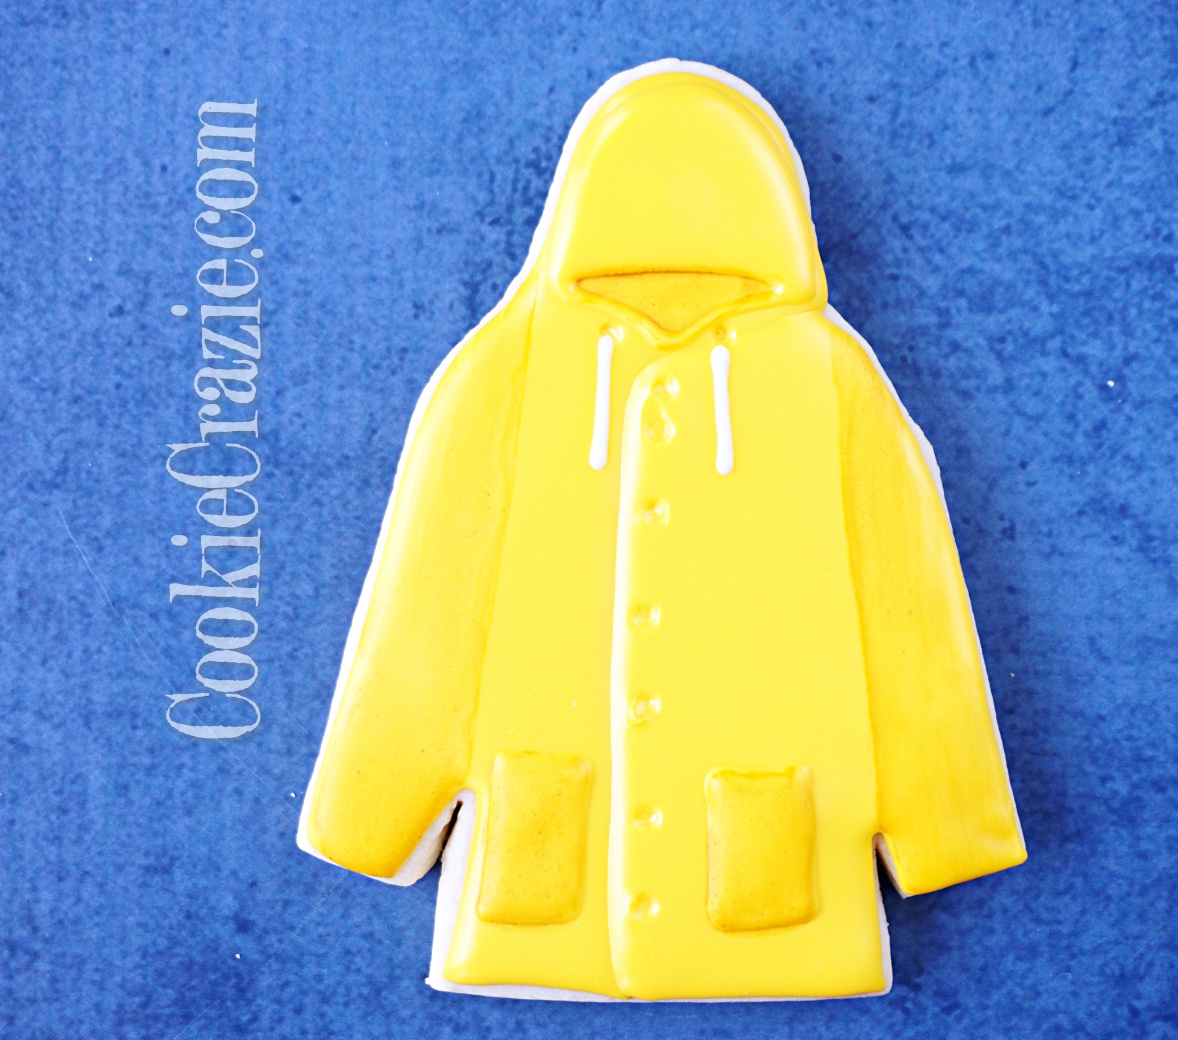
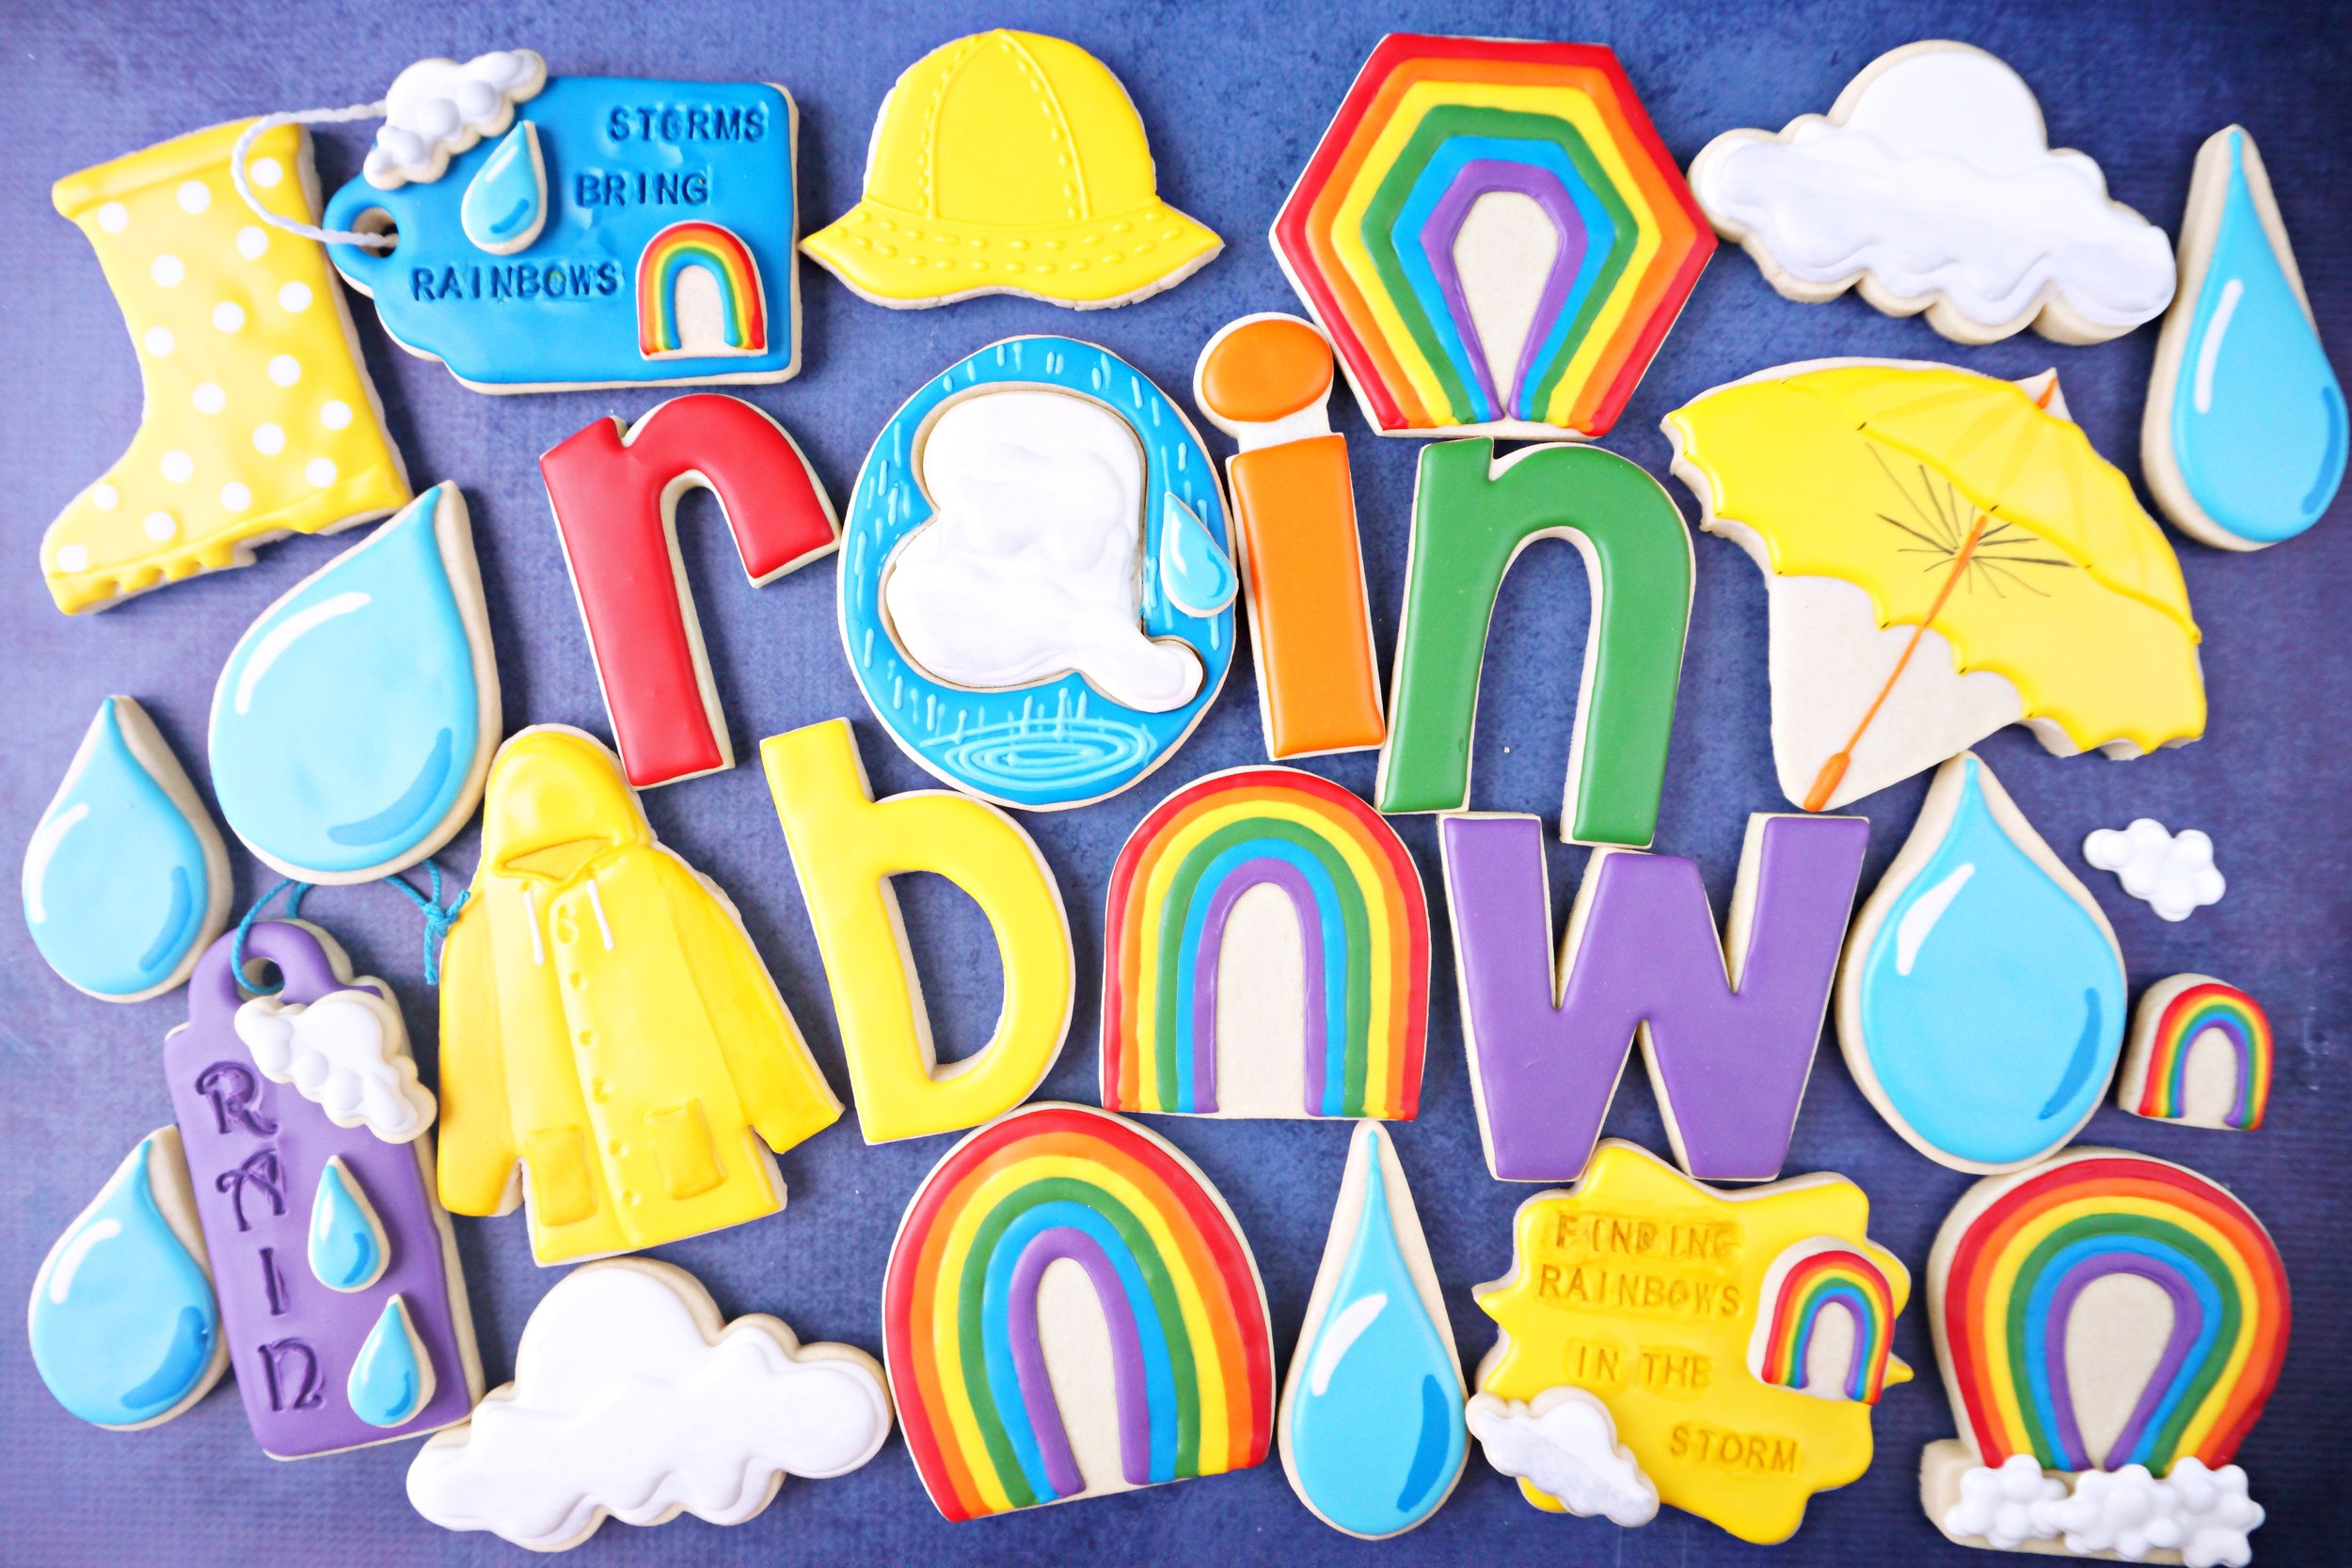
Finding Rainbows in the Rainstorms Decorated Cookie Collection

In these last many months of dealing with a health crisis, I’ve realized that decorating cookies can be yet another way for me to focus on the truth…..and convey the messages that I’m learning through this life journey. I suspect that my cookie collections will come to reflect more and more of what is going on in my heart. ❤️

Rainstorms are often depressing and difficult. The day is dark & gloomy….you get wet if you go outside….wind and lightning can cause destruction, etc. But the truth is…..we need the rain for many reasons. And one of them is to experience rainbows on the other side of the storm. :)

🌈💧☔️🌧🌈


April Showers Decorated Cookie Collection

April Showers bring May Flowers......so now you know my agenda for this spring.

I love a rainy day.......it's a snuggly, read-a-book kind-of-day. And the sound of rain falling is so calming and soothing. It seems perfect to celebrate all those spring showers in a cookie set.


Stained Glass Raindrop Decorated Cookie (Tutorial)

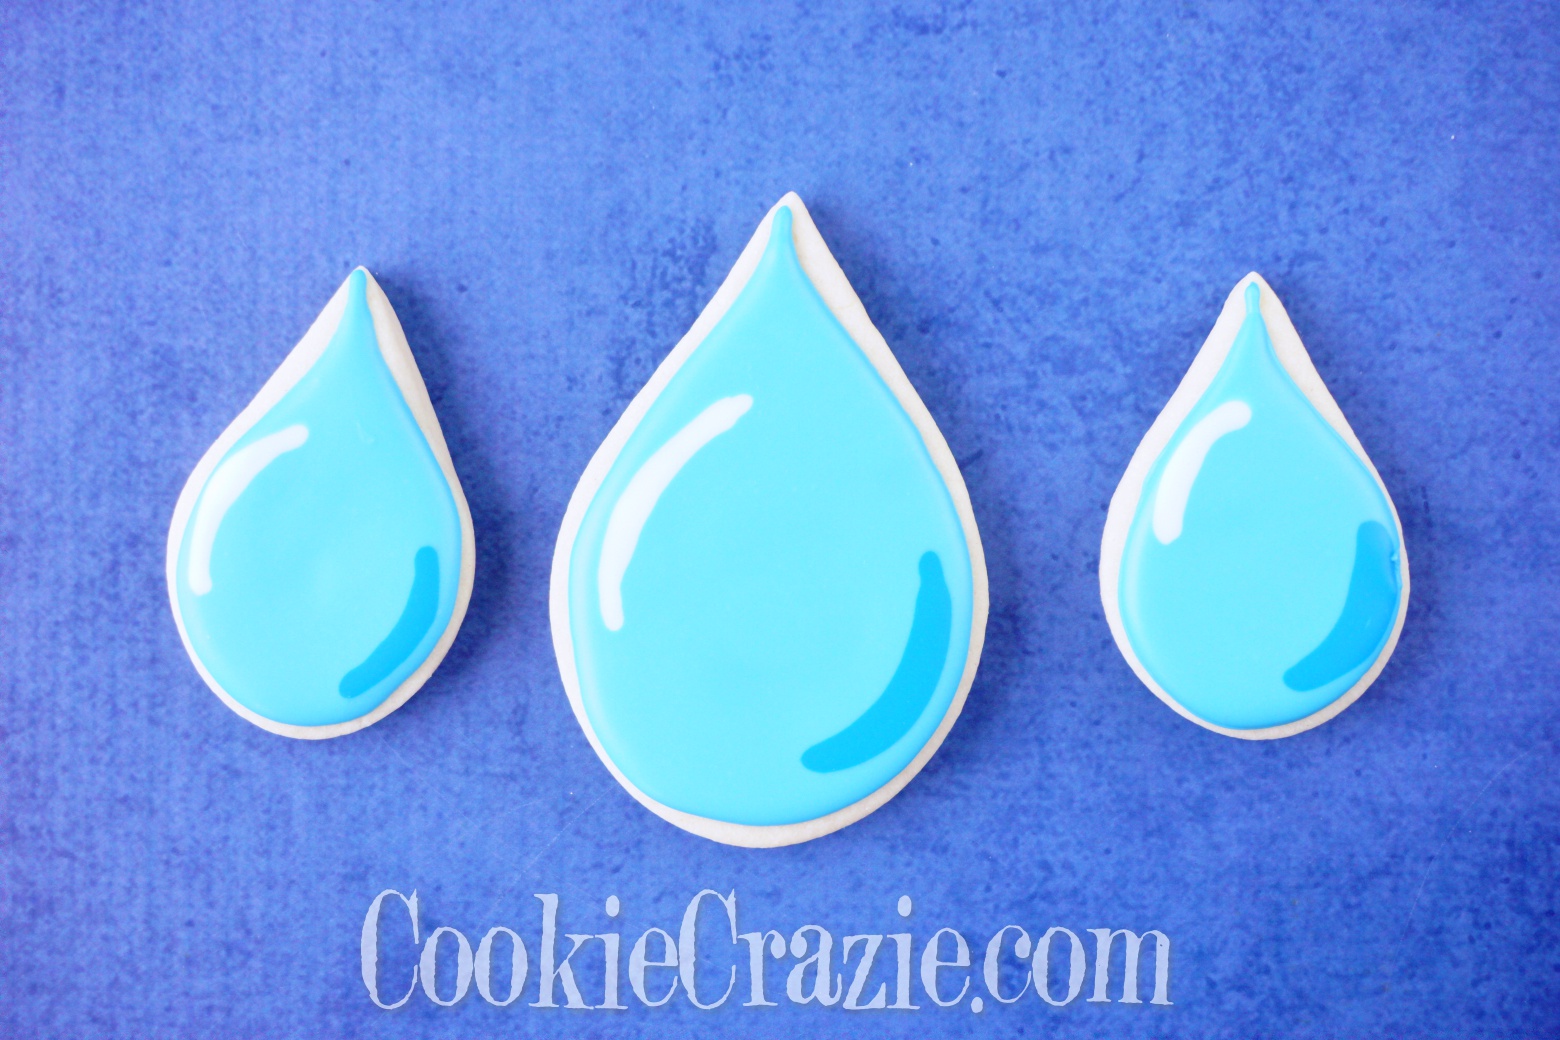
When I started thinking about doing raindrop cookies for this April Showers cookie set, I wanted to do a unique shiny raindrop cookie. I remembered some Christmas cookies I saw in December that used melted hard candies to fill in cookie dough that had a seasonal cut-out shape. Bam......my raindrop cookie was born.

Even though there's not technically any glaze decorating on this cookie, it IS dressed up with a beautiful stained glass style.

From what I've read, the best hard candy to melt into your cookie design is Jolly Ranchers. And the blue raspberry color is PERFECT for raindrops. :)

The "hardest" part of this process is crushing the candies. But actually it's kind of fun to beat the candies into tiny slivers that melt easily in a preheated oven. I used a meat tenderizer to crush up the candies. (The reason the photo shows all the colors is because I attempted a rainbow cookie too.....and it wasn't photo worthy.)

For the cookie part, use a large tear drop cutter and then a corresponding smaller tear drop cutter to cut out the center of each raindrop cookie. (see photo below)

Bake the plain empty cookies for 10 minutes.
Immediately take them out of the oven and fill in each middle space with some crushed blue hard candies.
Place the cookies back in the oven to bake the final 6-10 minutes.
The candies will melt into a beautiful glass like layer.

Allow the finished product to cool off before moving to a parchment paper. The candy portion will be somewhat sticky for a while, so keep parchment paper under it until it has dried out well.


Umbrella Decorated Cookie (Tutorial)

April showers require umbrellas......unless you want to get wet.

The problem with the typical umbrella shape is the long handle that can easily get broken off if it is a cookie. Solution?.....leave the handle off. haha

To cut a handle-less umbrella, use an oval cutter and SweetSugarbelle's scalloped edger found in the Shape Shifters set. (see photo below)

Bake and cool the cookies.

Start decorating by outlining and flooding every other segment of the umbrella with one color of glaze. (see photo below)

Allow the first run to dry for about 30 minutes, and then fill in the empty segments. 
(see photo below)

If desired, add an accent line to each segment after the entire cookie has dried for at least 30 minutes.


Rainbow Decorated Cookie (Tutorial)

April showers bring May flowers.......but they also bring rainbows.

I love how whenever we see a rainbow......we are captivated. They truly are a gift from God.

The only drawback to making rainbow cookies is that you have to mix up lots of colors of icing. Thankfully, I had many of these left over from my spring palette. 

It's not necessary to have a specific rainbow cookie cutter. Just use a plain oval cutter with a corresponding smaller oval to cut out the inside of the rainbow. (see photo below)

After the cookies are baked and cooled, start adding the colored lines of glaze from outside of the rainbow to the inside. Pipe about 3-4 lines of each color before moving to the next color. This can be done wet-on-wet.
(For a guide on what order to place the colors, google rainbows and you'll see a pattern.)

 
Member Login
Welcome, (First Name)!

Forgot? Show
Log In
Enter Member Area
My Profile Not a member? Sign up. Log Out