Spring

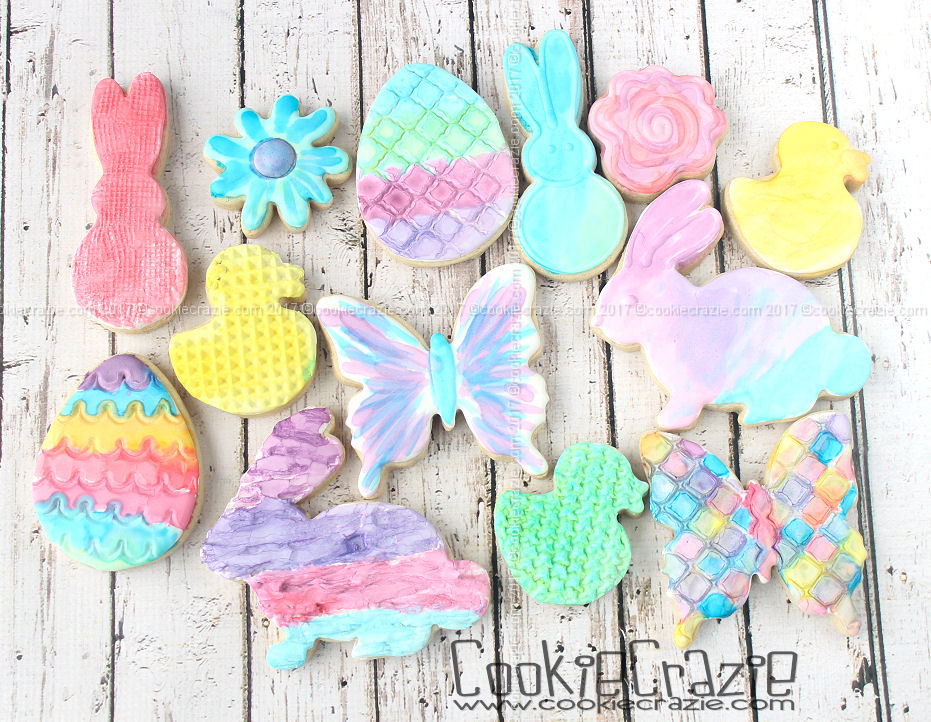
WaterColor Decorated Cookies

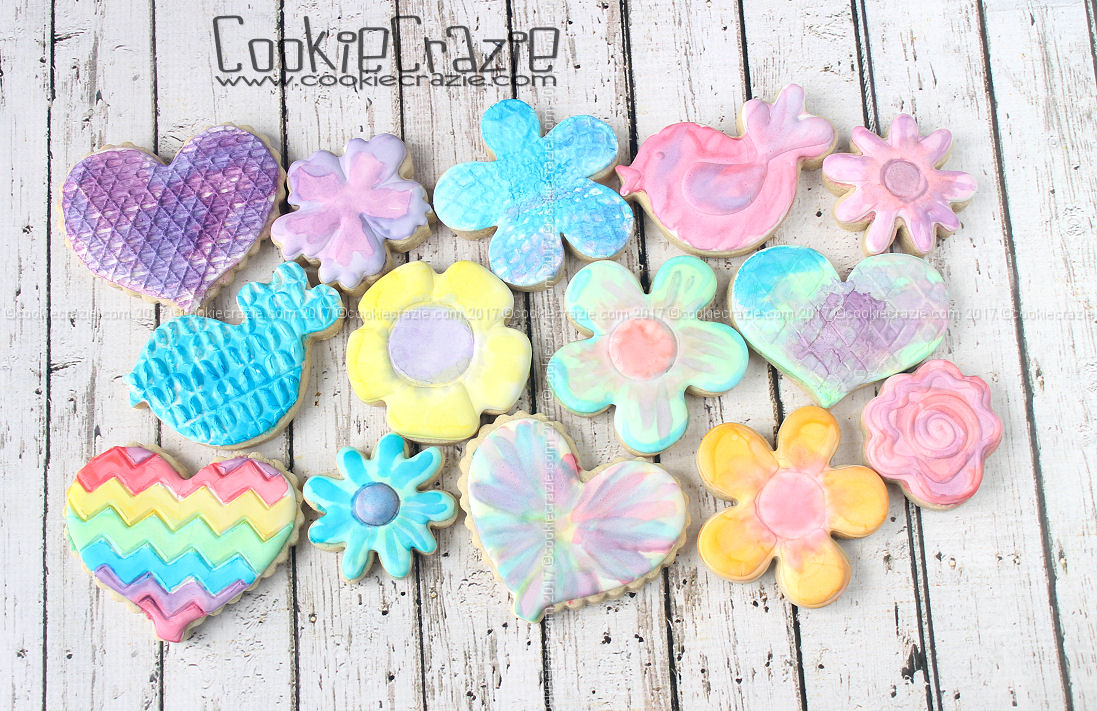
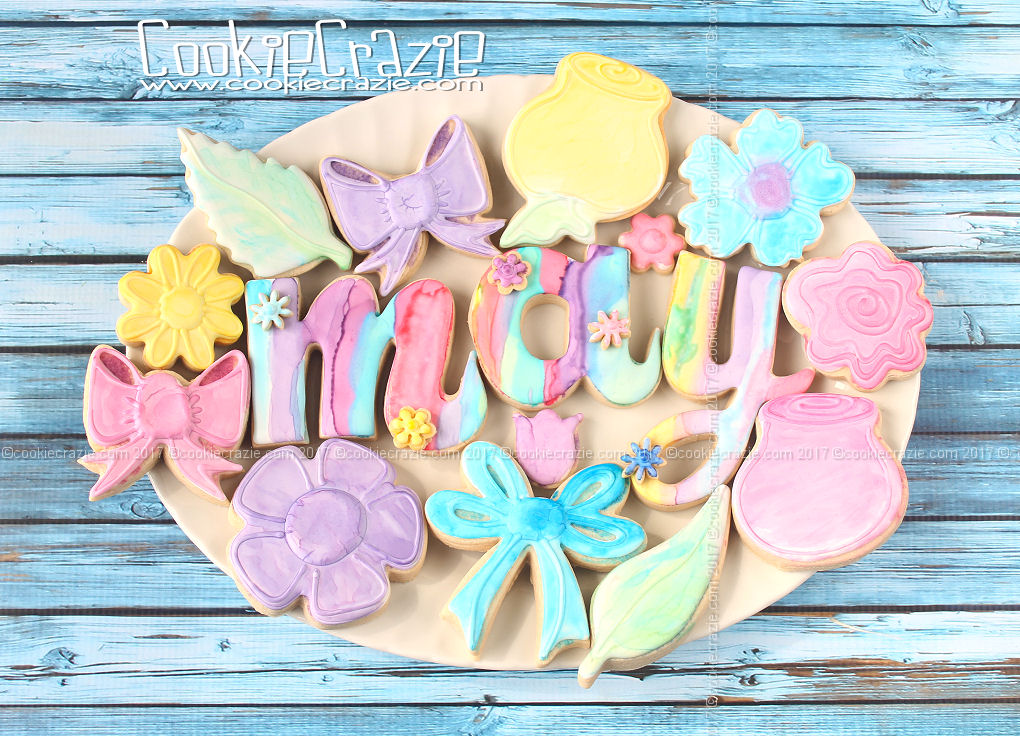
Ever since I was in The Painted Box (Angela Nino)'s class at CookieCon2017 I've been itching to do some "watercolor" designs on cookies. The fact that she uses my glaze recipe for her "canvas" means I've got a head start.

Angela was gracious to make a YouTube video about how she creates her "watercolors paints" for cookies. After watching it a few times, I quickly purchased some glass stopper bottles, strainer, glass funnel, half pint mason jars, and some EverClear. 

Angela makes it look super easy. I have no idea what I'm doing when I pick up a paintbrush, so these look like a child painted them. But thankfully, watercolors are pretty forgiving. Even though these are pretty rough.....they were still super fun to create and it just makes me want to practice and improve my technique. :)

Thank you, Angela, for sharing your beautiful art with all of us! 

Even though this photo was not taken with the cookies featured in this blog post, I wanted you to see the set-up I used to create my watercolored cookies. Angela's YouTube video explains how to make the bottles of color.
 

Aquash Water Brush Spring Decorated Cookies

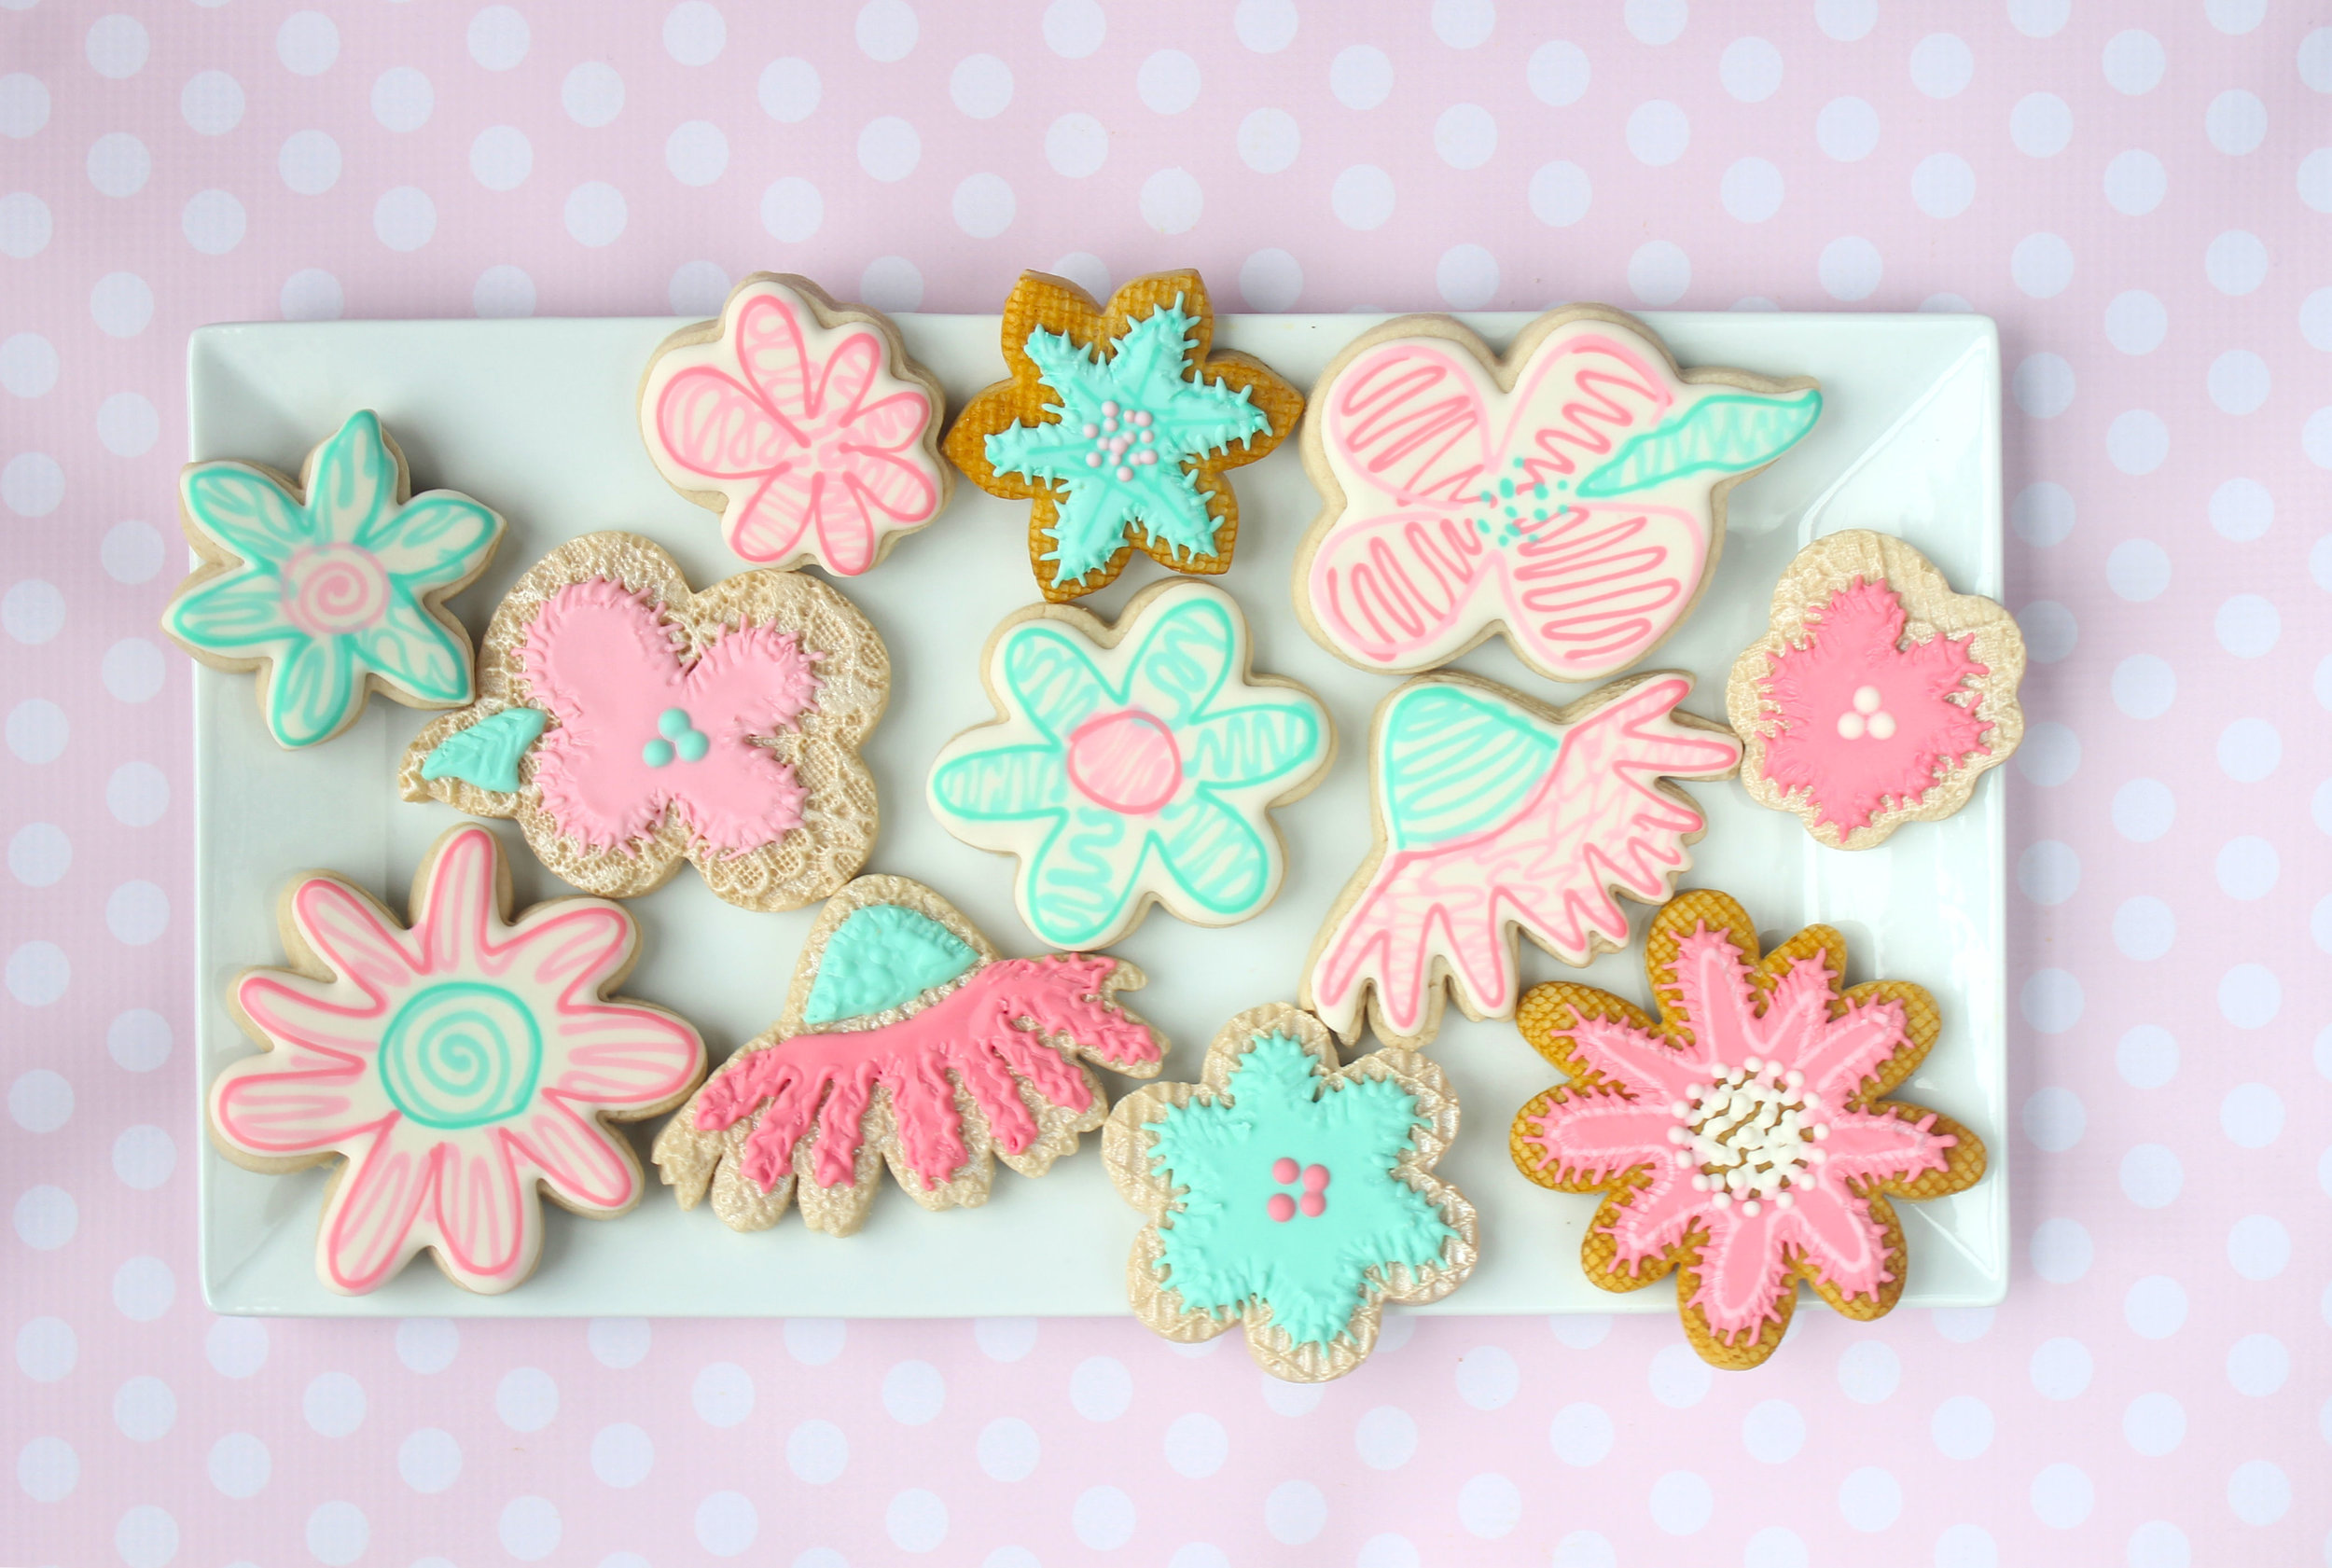
After CookieCon 2017, I was anxious to get home and try The Painted Box (Angela Nino)'s awesome watercolor techniques. But while I was waiting for the supplies to come in to make my watercolors, I remembered that I had an Aquash water brush that I could try out to at least get a feel for the watercolor effect.

This brush is not expensive and it's easy to use. Basically it allows you to fill up the "pen" with water and then load color to the brush and paint on the cookie. (I used it on glaze icing with success.....but I'm not sure you can use it on royal icing the same way.)

Once you're done with a color that is loaded on the brush, you squish the body of the pen to push water up into the brush and "clean out" the brush. (You don't want to actually squish the brush while you're painting on a cookie or you'll have a messy puddle.) Once there is only water coming off the brush, you can move to another color. Pretty cool!


For these cookies I used airbrush colors since they are already very liquid and not too concentrated. I chose AmeriMist Electric Airbrush colors this time around. It definitely made for a SPRING effect. :)


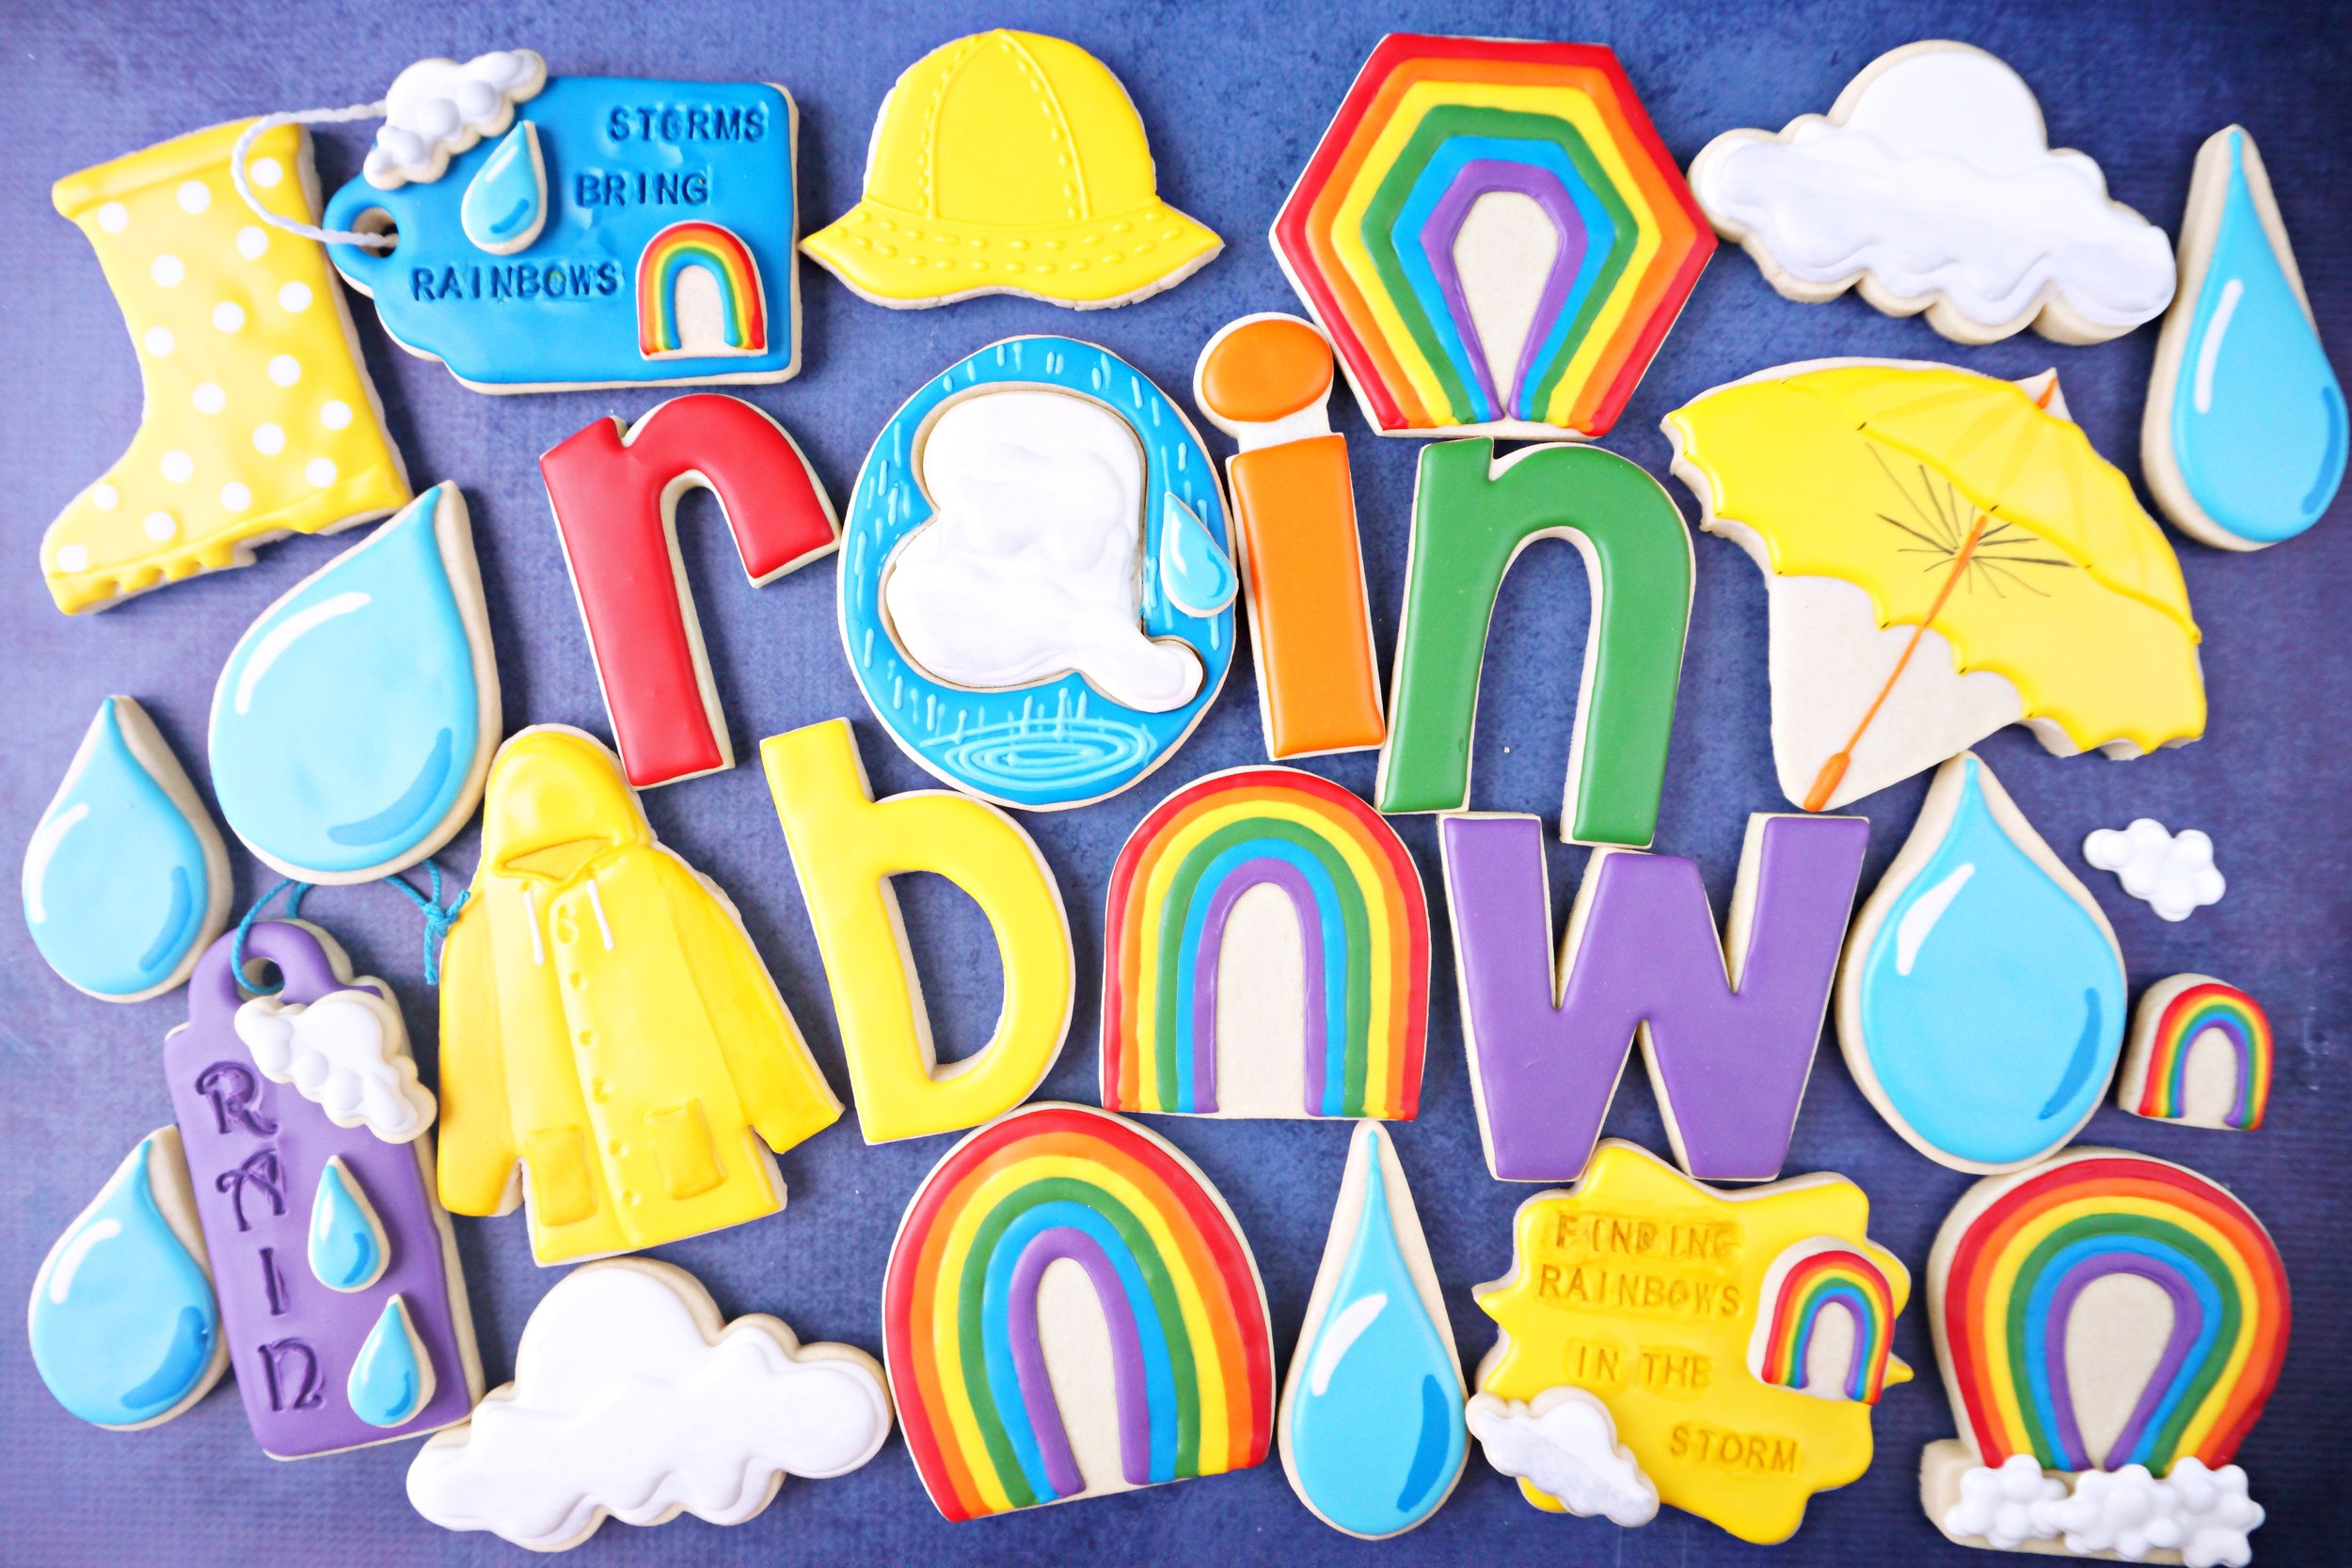
April Showers Decorated Cookie Collection

April Showers bring May Flowers......so now you know my agenda for this spring.

I love a rainy day.......it's a snuggly, read-a-book kind-of-day. And the sound of rain falling is so calming and soothing. It seems perfect to celebrate all those spring showers in a cookie set.


Stained Glass Raindrop Decorated Cookie (Tutorial)

When I started thinking about doing raindrop cookies for this April Showers cookie set, I wanted to do a unique shiny raindrop cookie. I remembered some Christmas cookies I saw in December that used melted hard candies to fill in cookie dough that had a seasonal cut-out shape. Bam......my raindrop cookie was born.

Even though there's not technically any glaze decorating on this cookie, it IS dressed up with a beautiful stained glass style.

From what I've read, the best hard candy to melt into your cookie design is Jolly Ranchers. And the blue raspberry color is PERFECT for raindrops. :)

The "hardest" part of this process is crushing the candies. But actually it's kind of fun to beat the candies into tiny slivers that melt easily in a preheated oven. I used a meat tenderizer to crush up the candies. (The reason the photo shows all the colors is because I attempted a rainbow cookie too.....and it wasn't photo worthy.)

For the cookie part, use a large tear drop cutter and then a corresponding smaller tear drop cutter to cut out the center of each raindrop cookie. (see photo below)

Bake the plain empty cookies for 10 minutes.
Immediately take them out of the oven and fill in each middle space with some crushed blue hard candies.
Place the cookies back in the oven to bake the final 6-10 minutes.
The candies will melt into a beautiful glass like layer.

Allow the finished product to cool off before moving to a parchment paper. The candy portion will be somewhat sticky for a while, so keep parchment paper under it until it has dried out well.


Umbrella Decorated Cookie (Tutorial)

April showers require umbrellas......unless you want to get wet.

The problem with the typical umbrella shape is the long handle that can easily get broken off if it is a cookie. Solution?.....leave the handle off. haha

To cut a handle-less umbrella, use an oval cutter and SweetSugarbelle's scalloped edger found in the Shape Shifters set. (see photo below)

Bake and cool the cookies.

Start decorating by outlining and flooding every other segment of the umbrella with one color of glaze. (see photo below)

Allow the first run to dry for about 30 minutes, and then fill in the empty segments. 
(see photo below)

If desired, add an accent line to each segment after the entire cookie has dried for at least 30 minutes.

 
Member Login
Welcome, (First Name)!

Forgot? Show
Log In
Enter Member Area
My Profile Not a member? Sign up. Log Out