Spring

Rainbow Decorated Cookie (Tutorial)

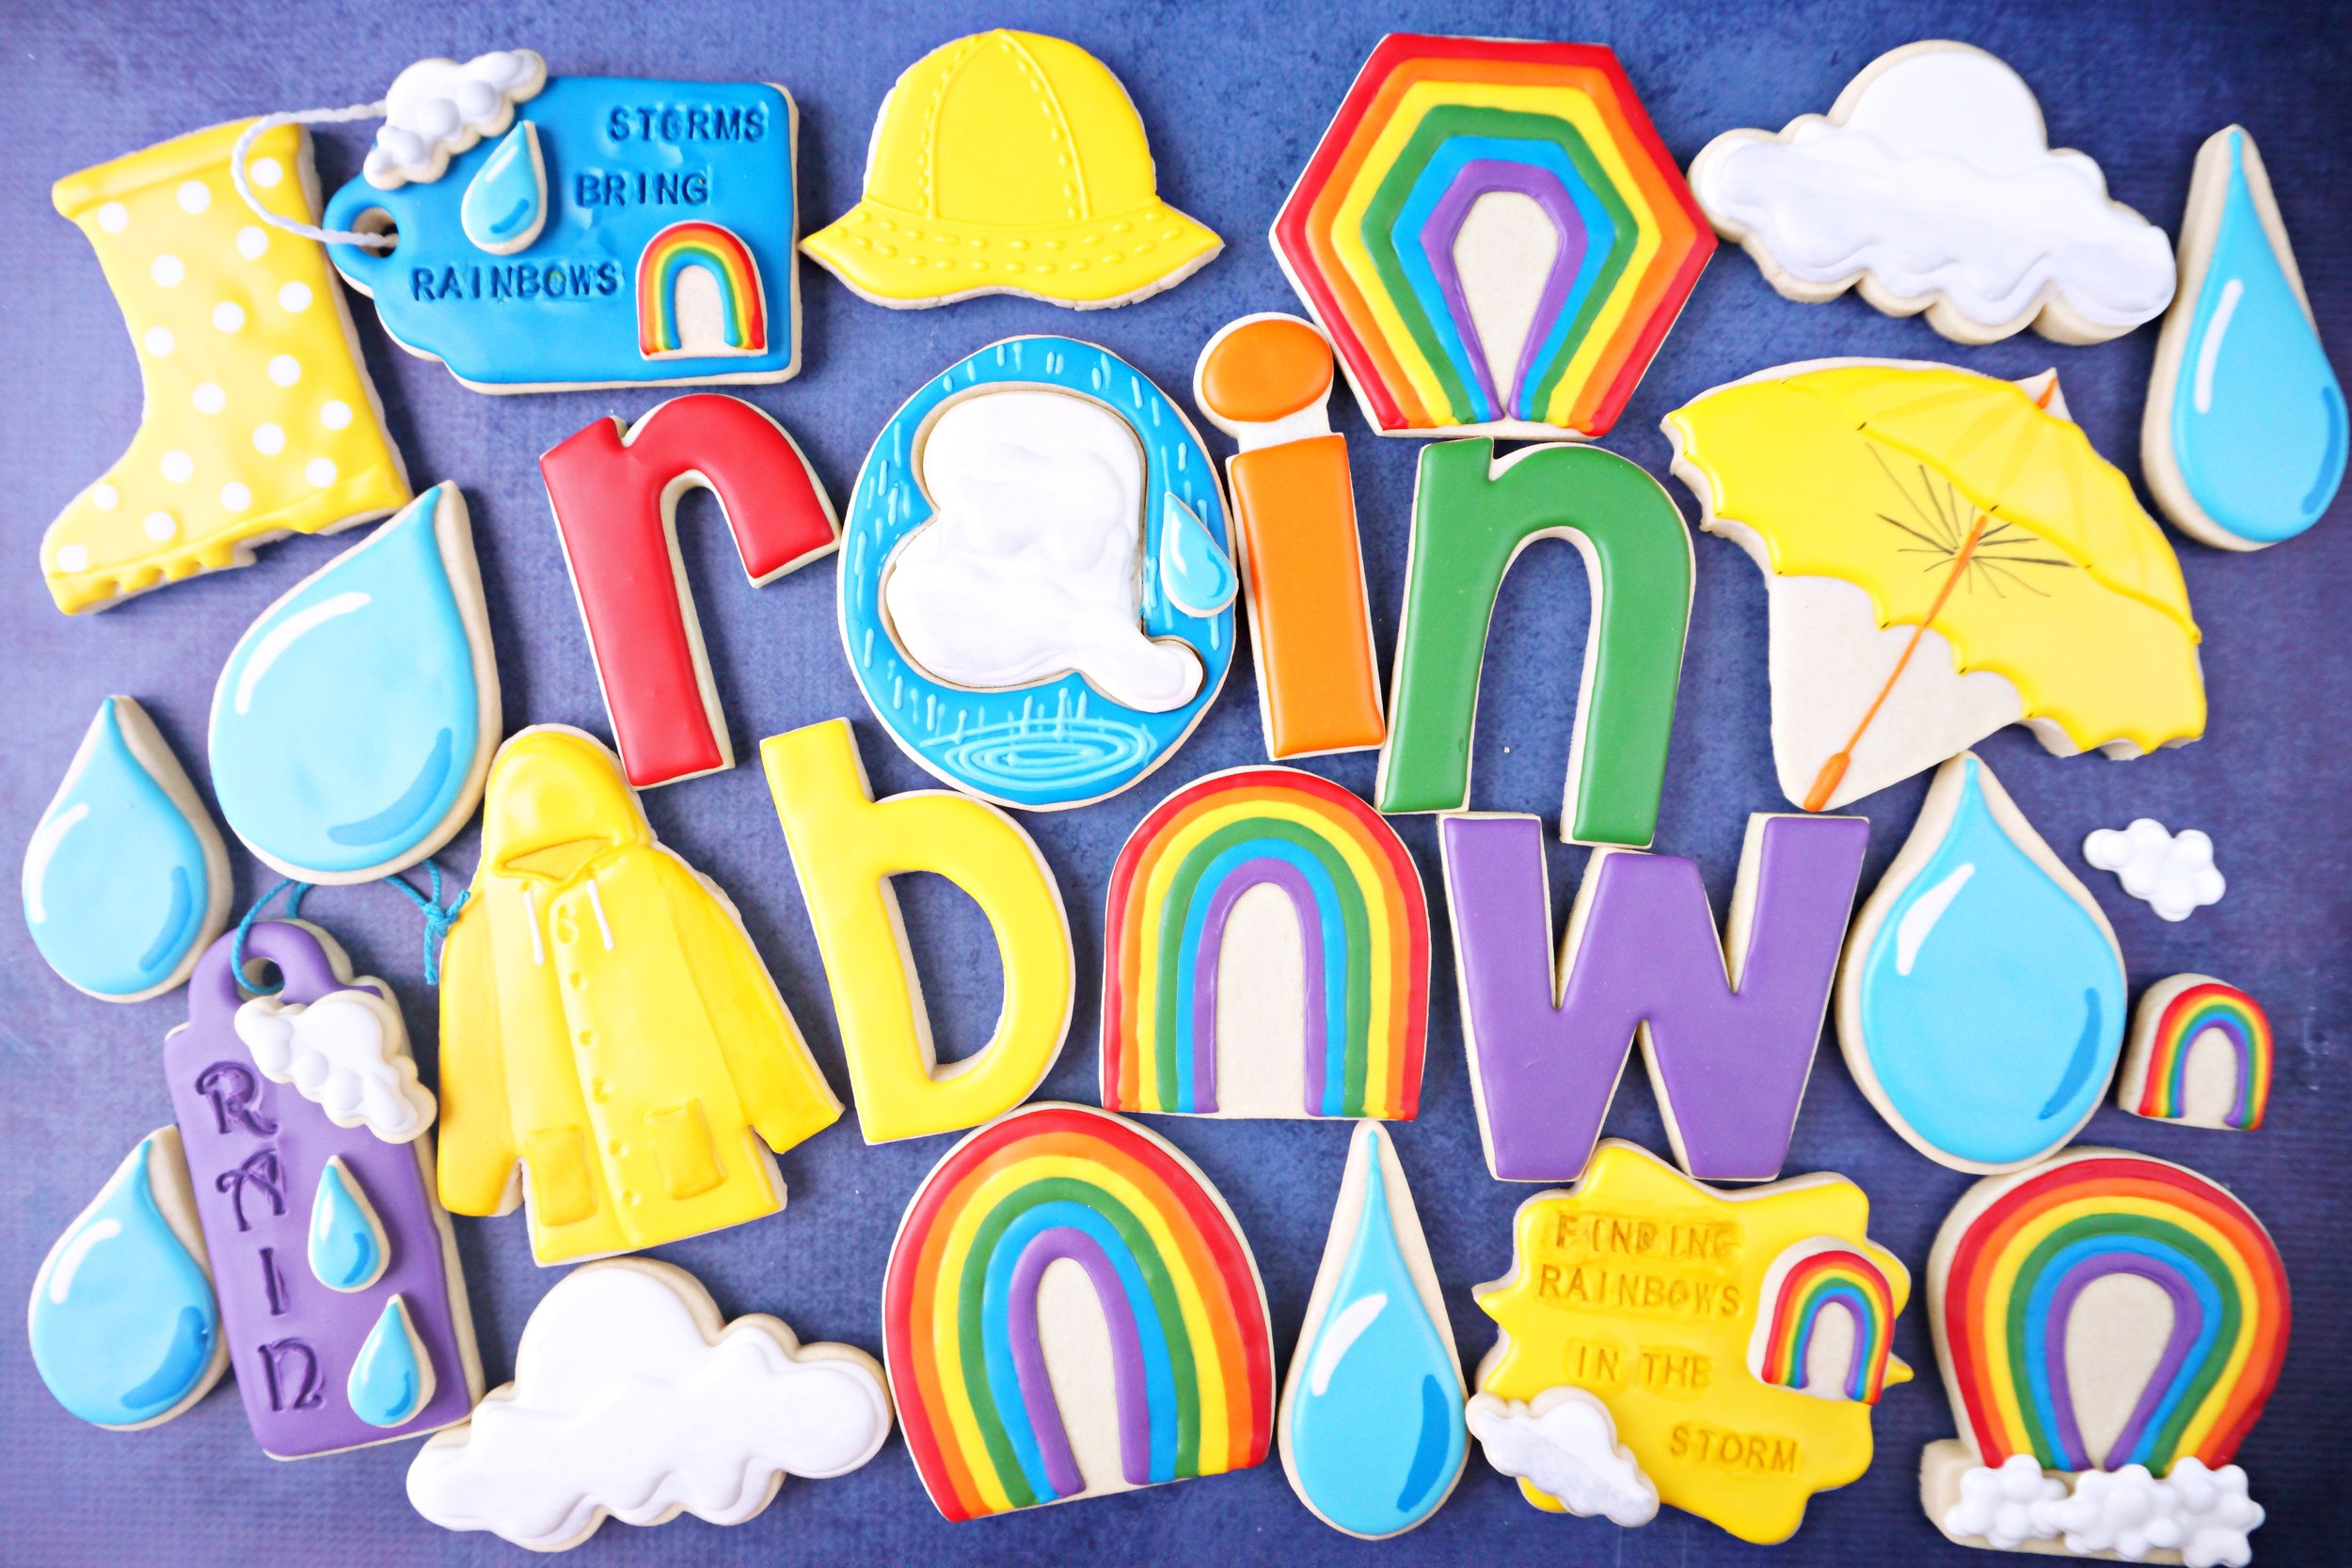
April showers bring May flowers.......but they also bring rainbows.

I love how whenever we see a rainbow......we are captivated. They truly are a gift from God.

The only drawback to making rainbow cookies is that you have to mix up lots of colors of icing. Thankfully, I had many of these left over from my spring palette. 

It's not necessary to have a specific rainbow cookie cutter. Just use a plain oval cutter with a corresponding smaller oval to cut out the inside of the rainbow. (see photo below)

After the cookies are baked and cooled, start adding the colored lines of glaze from outside of the rainbow to the inside. Pipe about 3-4 lines of each color before moving to the next color. This can be done wet-on-wet.
(For a guide on what order to place the colors, google rainbows and you'll see a pattern.)


Painted Background Silhouette Easter Decorated Cookies (Tutorial)

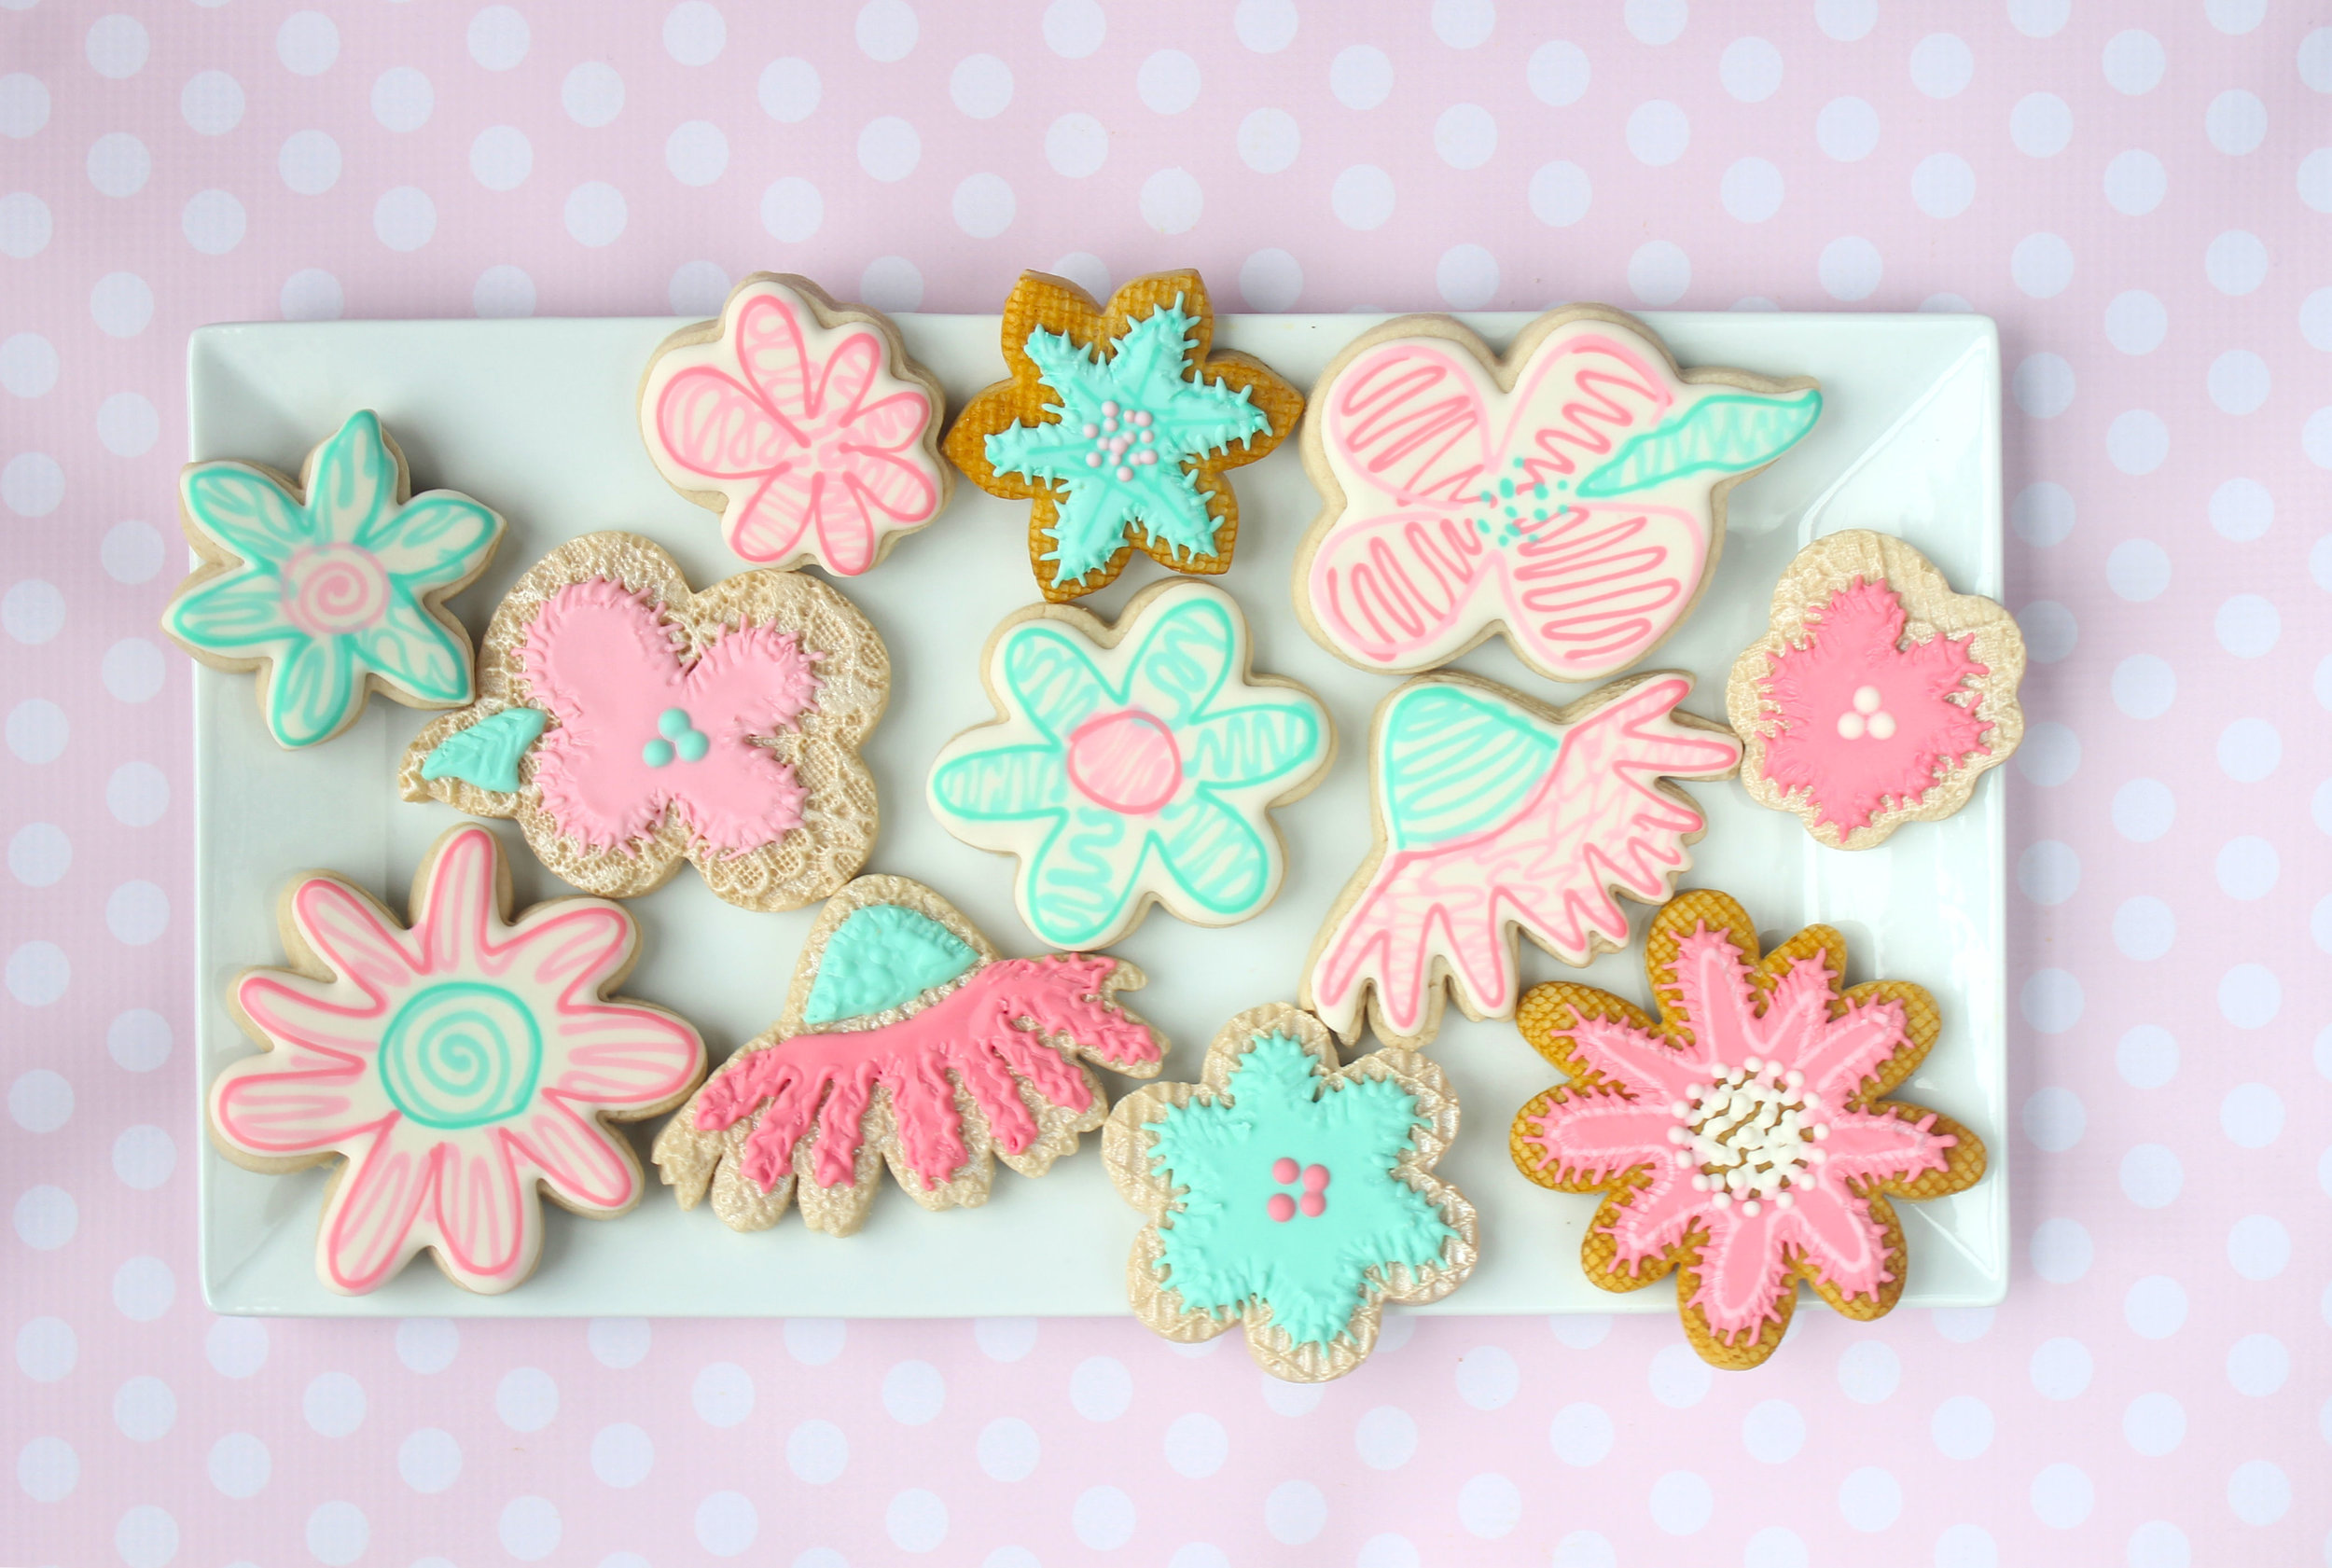
After discovering the neon sign style for cookies, I wanted to transfer that simple, clean look into a pastel spring color setting. I tried by using a white background on the cookies, but it was not the look I was going for. However, when I painted the cookies with bright spring-y colors and used white glaze for the silhouette and detail lines, it matched what I was envisioning.

Just like with the neon sign style, once you get the background painted on, the decorating is super quick and easy.

Using a mixture of bright Americolor gels and vodka (or a clear extract like almond), paint the surface of each cookie completely.

Allow them to dry for a few hours.

Using white glaze, add the outlines and detail lines to each cookie.
There are no set rules here, so have fun with this!
P.S. I had to keep reminding myself that simple is better. :)


Spring Bloom Decorated Cookie Collection

The change of all the seasons is always such a special time of year,
but after a cold bleak winter, spring is most definitely welcomed.

What better way to celebrate spring than to observe every thing blooming all around!


Bird Egg Decorated Cookies (Tutorial)

Bird egg cookies are really simple.
I debated on whether or not they were too simple to include in a blog tutorial.
But some of my readers request simple cookies, so here it is.

Use a mini egg cutter like this one to cut the cookies.
Outline and flood the cookies with white glaze.
Allow the cookies to dry overnight.

Rub some blue forget-me-not dust onto random spots of each egg with a cotton swab.
Add speckles to the eggs using Sugarbelle's template markers.


Basket of Spring Flowers Decorated Cookie (Tutorial)

With this awesome basketweave mold, it's fairly easy to make basket cookies just in time to "fill" them with spring flowers.

Place the mold face down over sugar cookie dough.
Using a rolling pin over the top of the mold, impress the dough with basketweave.
Take the cutter of your choice (I chose a tall rectangle) to cut out the cookie.
Feel free to leave the top portion of the cookie smooth for adding flowers. (see photo below)
Bake and cool the cookies as normal.

Cut out flowers using mini cookie cutters. I like to make the dough fairly thin so the flowers are not too overpowering on top of the basket cookie. Decorate these beauties as desired.

Brush chestnut dust over the basketweave portion of the molded cookies.

Add a greenery background on top of the basket by outlining and flooding it with green glaze.

Adhere the flowers on top of the basket with more green glaze. Add additional flowers and vines as desired.

 
Member Login
Welcome, (First Name)!

Forgot? Show
Log In
Enter Member Area
My Profile Not a member? Sign up. Log Out